


REMOVING YOUR GELNAILS AT HOME
YOUR STEP-BY-STEP GUIDE: HOW TO REMOVE GEL POLISH AT HOME WITHOUT DAMAGING YOUR NAILS
Proper removal of your gel polish is crucial for maintaining healthy, beautiful, natural nails. If you notice your gel nails starting to chip, lift, or show a gap due to regrowth, it is time to have them removed or professionally reapplied. While a salon visit is ideal, life can get busy — but your nails always deserve the best care. Learn how to safely and effortlessly remove your gel polish at home, plus discover the treatments you need to protect and nourish your natural nails.
WHAT YOU’LL NEED
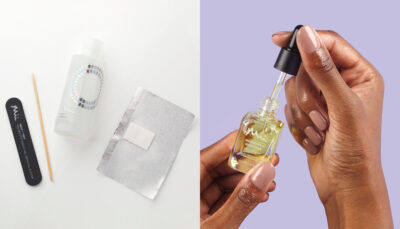
- Off + Away Home Gel Removal Kit – everything you need for safe, easy gel removal at home: Off + Away Gel Remover, Neat + Tidy Buffer, 20 foil wraps and an orangewood stick.
- Prescriptive base coat suitable for your nail type
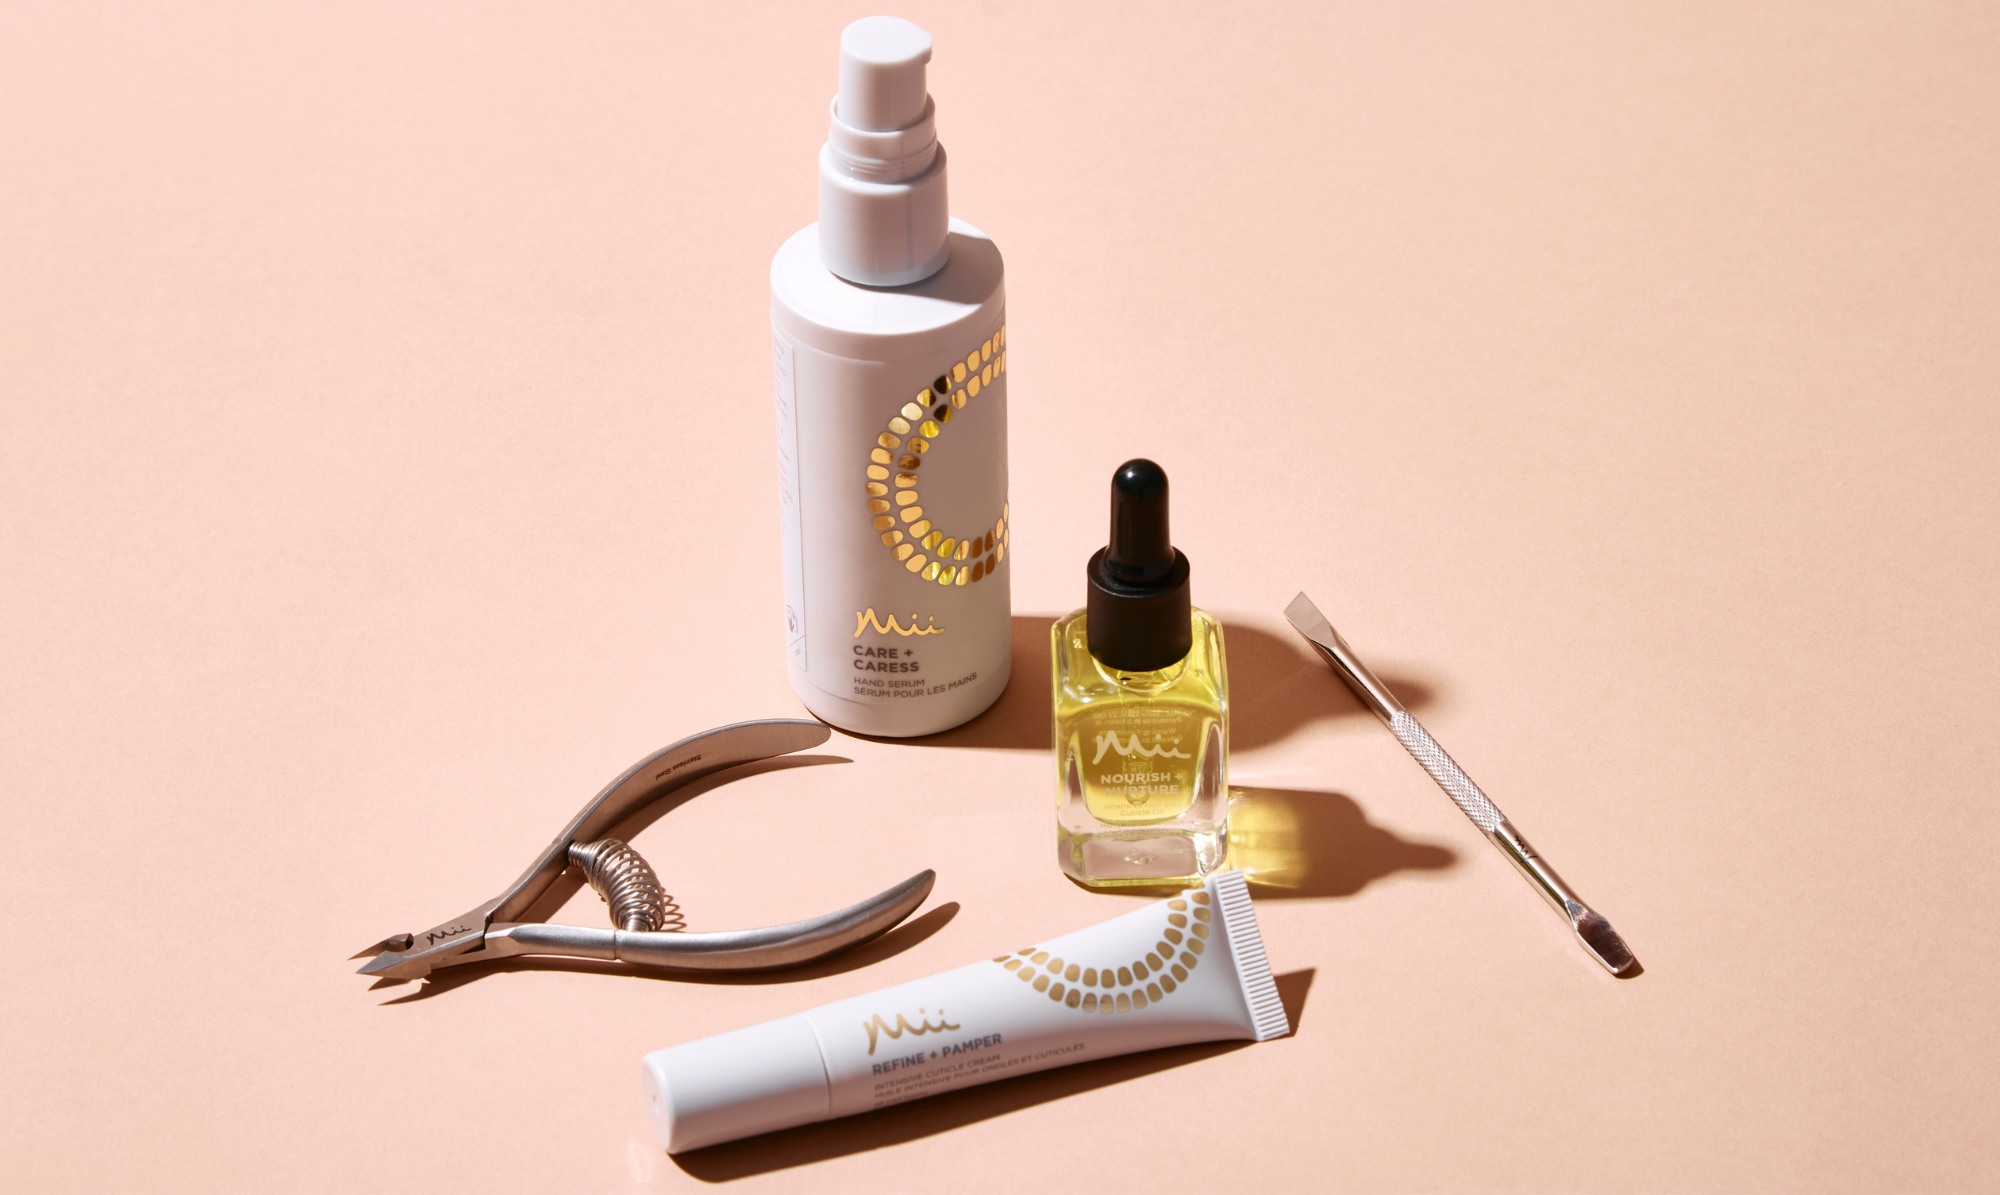
- Nourish + Nurture Nail and Cuticle Oil or Refine + Pamper Cuticle Cream
1. BUFF GENTLY
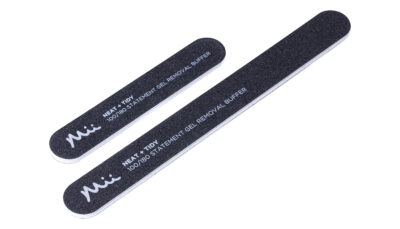
Gently buff the top layer of the gel polish using the Neat + Tidy Buffer. This removes the shine, breaks the seal and helps the remover penetrate more effectively.
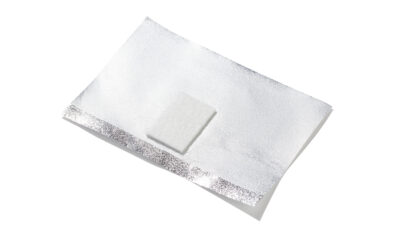
2. APPLY REMOVER + FOIL WRAPS

Saturate the pad attached to the foils with the Off + Away Gel Remover, and place it on the nail, ensuring the entire nail is covered. Wrap the top half of each finger tightly with the foil to secure the pad in place. Repeat on all fingers.
3. LET THEM SOAK + REMOVE
Gently press each wrapped nail to ensure full contact with the remover, then leave for 15 minutes to allow it to penetrate. After this time, unwrap one nail to check if the gel has softened. Use an orangewood stick at a 45-degree angle near the cuticle and glide it toward the tip of the nail — the gel should crumble or peel away without resistance. If it doesn’t lift easily, rewrap with fresh acetone-soaked foils and leave for a few more minutes before trying again. Always avoid scraping too hard to protect the natural nail.
6. PROTECT WITH A BASE COAT
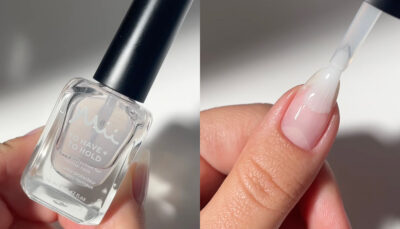
Once the gel has been removed, wipe over the natural nail with a lint-free pad soaked in nail cleanser (isopropyl alcohol) or acetone to ensure the surface is completely clean. Then wash your hands thoroughly and apply a layer of one of our prescriptive base coats to protect your natural nails and support healthy growth. Discover the ideal base coat for your nails:
- To Have + To Hold Base Coat for Normal Nails
- Preserve + Protect Base Coat for Brittle Nails
- Boost + Benefit Base Coat for Weak/Damaged Nails
- Strong + Stable Base Coat for Thin/Peeling Nails
7. HYDRATE + NOURISH
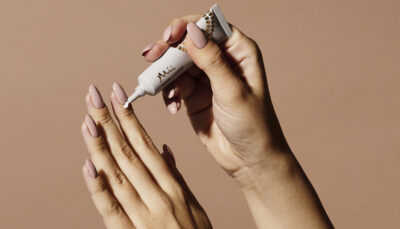
To deeply nourish and hydrate your cuticles, apply a few drops of Nourish + Nurture Nail and Cuticle Oil or a small amount of Refine + Pamper Cuticle Cream to each cuticle. Massage gently in circular motions until absorbed. For best results, use daily—morning and night—to keep cuticles hydrated, soft, and well-groomed while supporting healthy nail growth.
FINAL THOUGHTS
With the right tools and a little patience, removing your gel polish at home can be simple, safe, and stress-free. By following each step carefully and finishing with a nourishing base coat and cuticle treatment, you’ll keep your natural nails strong, smooth, and healthy between salon visits. Treat your nails with the same care you give your skin—they’ll thank you with lasting strength and beauty.