


AT-HOMEMANI
HOW TO: TREAT YOUR TIPS TO A LUXURIOUS AT-HOME MANICURE
Going to a salon is a luxury, and creating a professional-looking manicure at home can be just as rewarding and cost-effective. With the right tools, techniques, and a bit of practice, you can achieve the perfect at-home manicure. These steps will guide you through the process, so you can confidently create beautiful nails without leaving the comfort of your home.
STEP 1: CLEANSE & SOAK
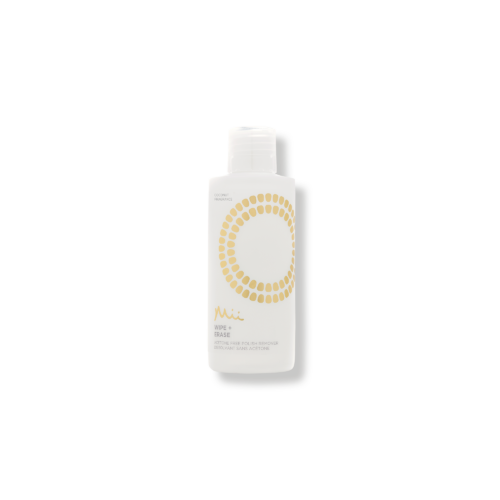
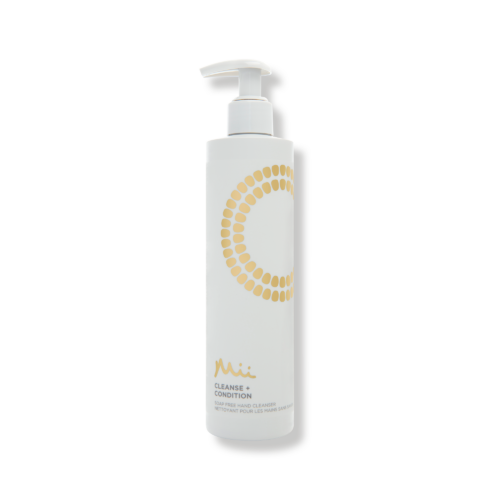
Start by removing any residual nail polish with Wipe + Erase Acetone Free Nail Polish Remover and a cotton pad. Next, soften your nails and cuticles in a bowl of warm water with one pump of Cleanse + Condition Soap Free Hand Cleanser. Soak your nails for around 5-10 minutes to soften your cuticles and make them easier to push back.
STEP 2: SHAPE YOUR NAILS
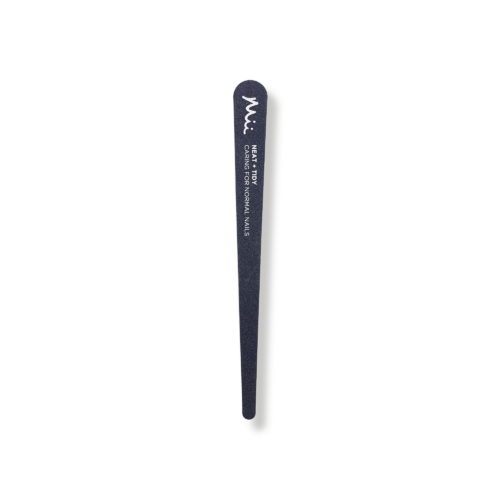
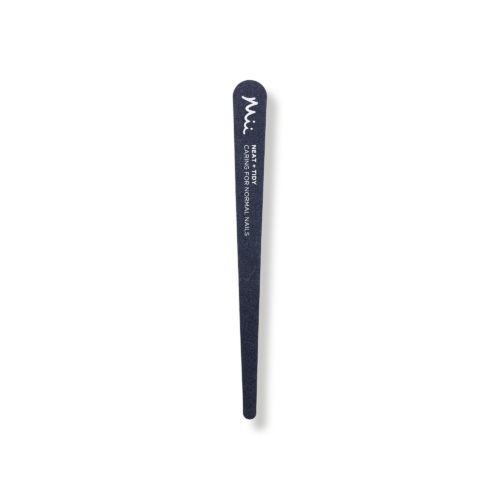
Make sure your nails are clean and dry before proceeding. Use the Neat + Tidy Stainless Steel Nail Clippers to trim your nails if and where needed. Next, shape your nails using a Neat + Tidy Professional Emery Board. File each nail edge into your desired shape, always filing in one direction to prevent splitting and weakening of the nails.

STEP 3: TEND TO YOUR CUTICLES
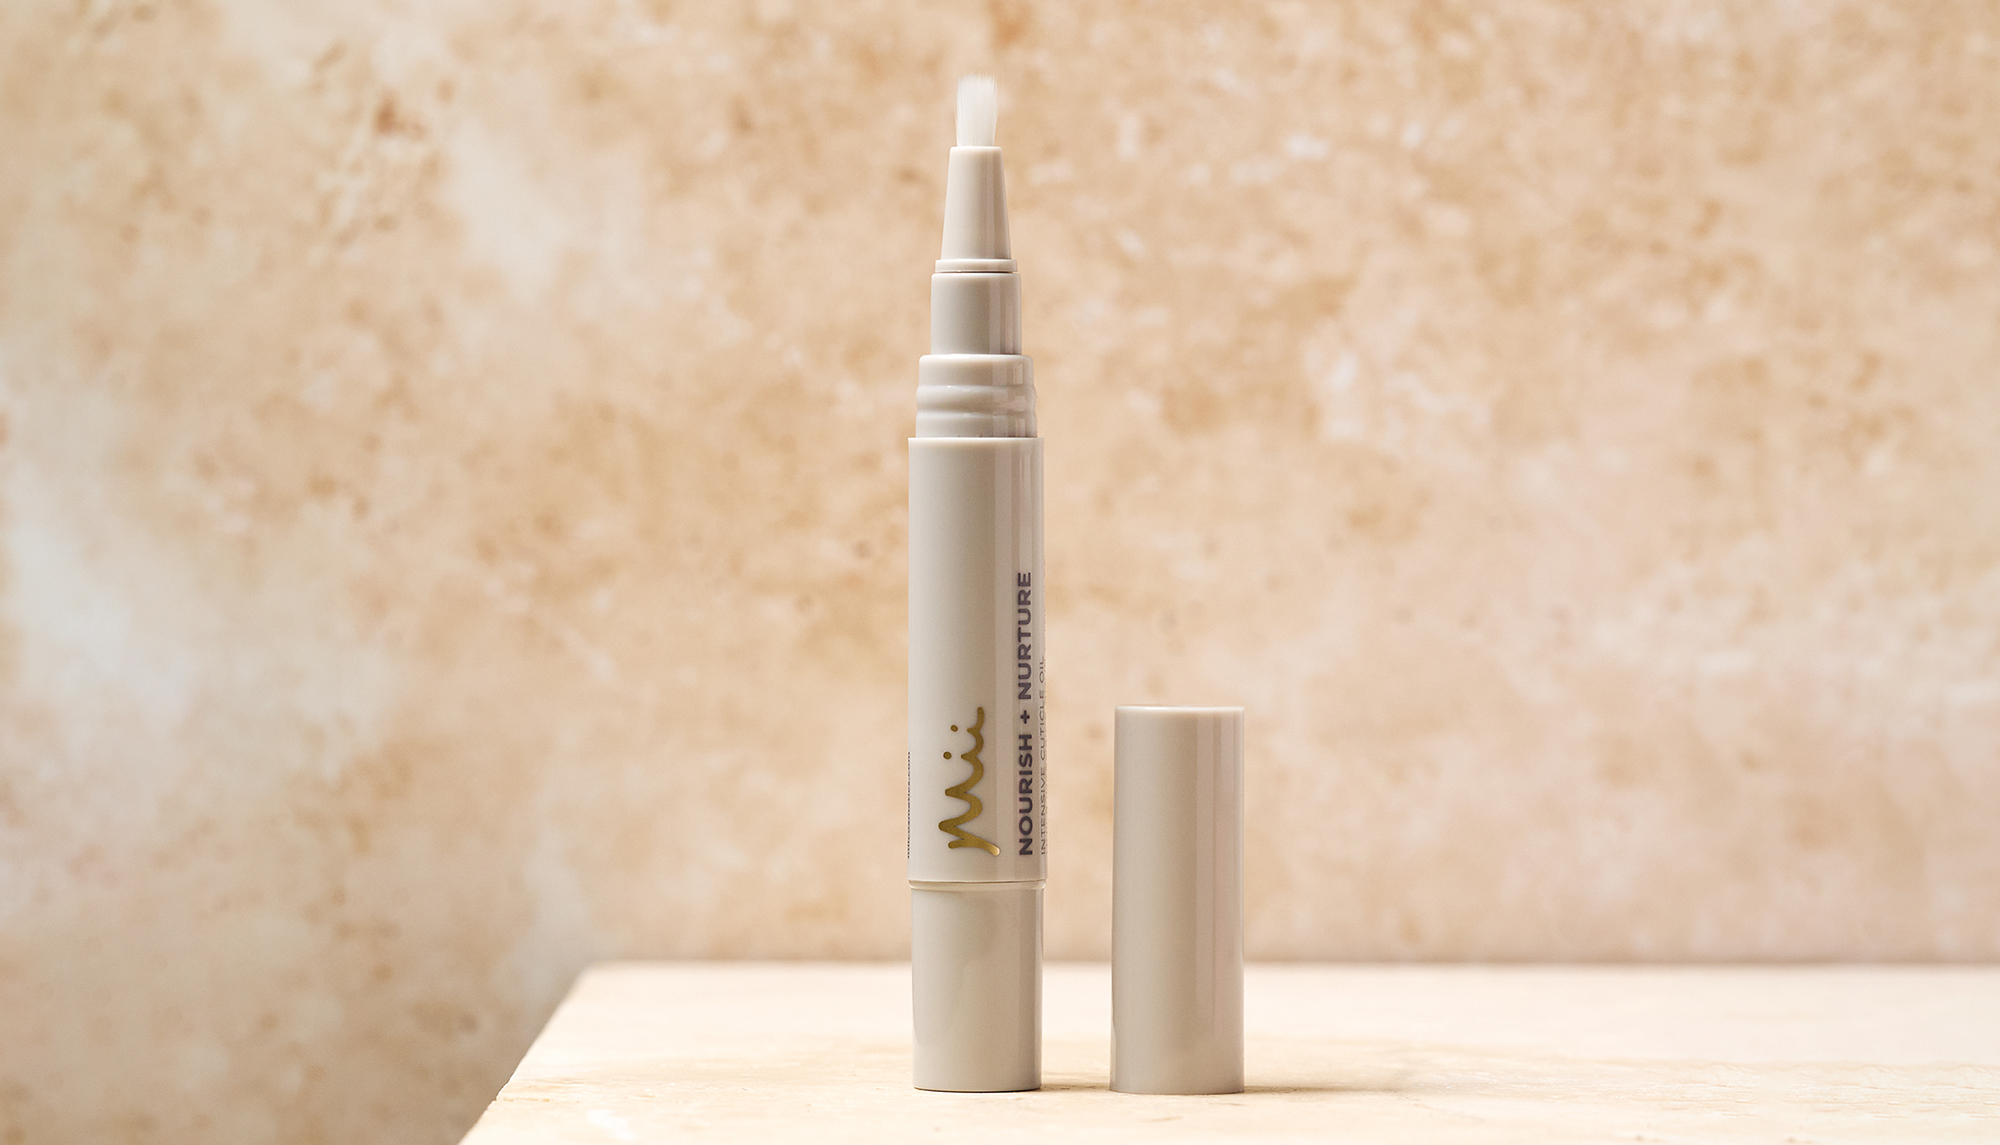
Apply a small amount of either Nourish + Nurture Cuticle Oil or Refine + Pamper Cuticle Cream to your cuticles and massage the product in. This will hydrate and soften the skin, preparing for cuticle removal.
Tidying up your cuticles will make your nail beds appear longer and your manicure neater. Your cuticles serve as a protective barrier for your nails, so it’s important to only push back a little and only remove any excess dead skin.
Gently push back your cuticles using the curved side of our Neat + Tidy Stainless Steel Cuticle Pusher. Use 3 downward strokes on the sides of each nail and a gentle circular movement at the base of the nail to loosen the excess cuticle. Then, use the sharper edge to carefully lift any loose dead skin.
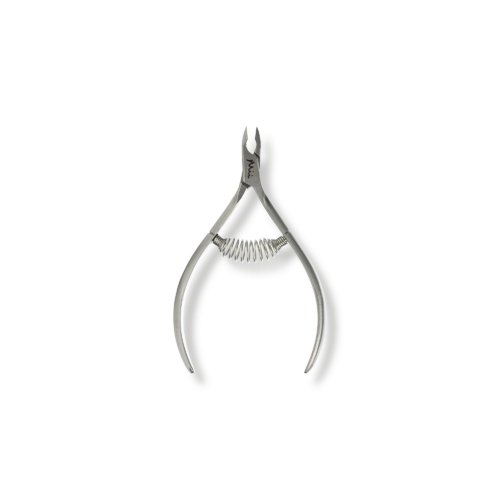
Once cuticles are pushed back, use our Neat + Tidy Stainless Steel Cuticle Nippers to nip away any excess dead skin. Be careful not to cut healthy cuticles, so as to maintain your nails’ natural defense against dust and infection.

STEP 4: APPLY BASE COAT
Swipe some Wipe + Erase Nail Polish Remover over your nails with a cotton pad to remove any residue from your cuticle oil or cream, to ensure the most flawless and long-lasting manicure. Using a base coat protects your nails from any staining, while also treating specific nail concerns. Apply a thin layer of your chosen Mii prescriptive base coat. Use 4 -5 long strokes of the pro-glide brush and cover the nail from base to tip.

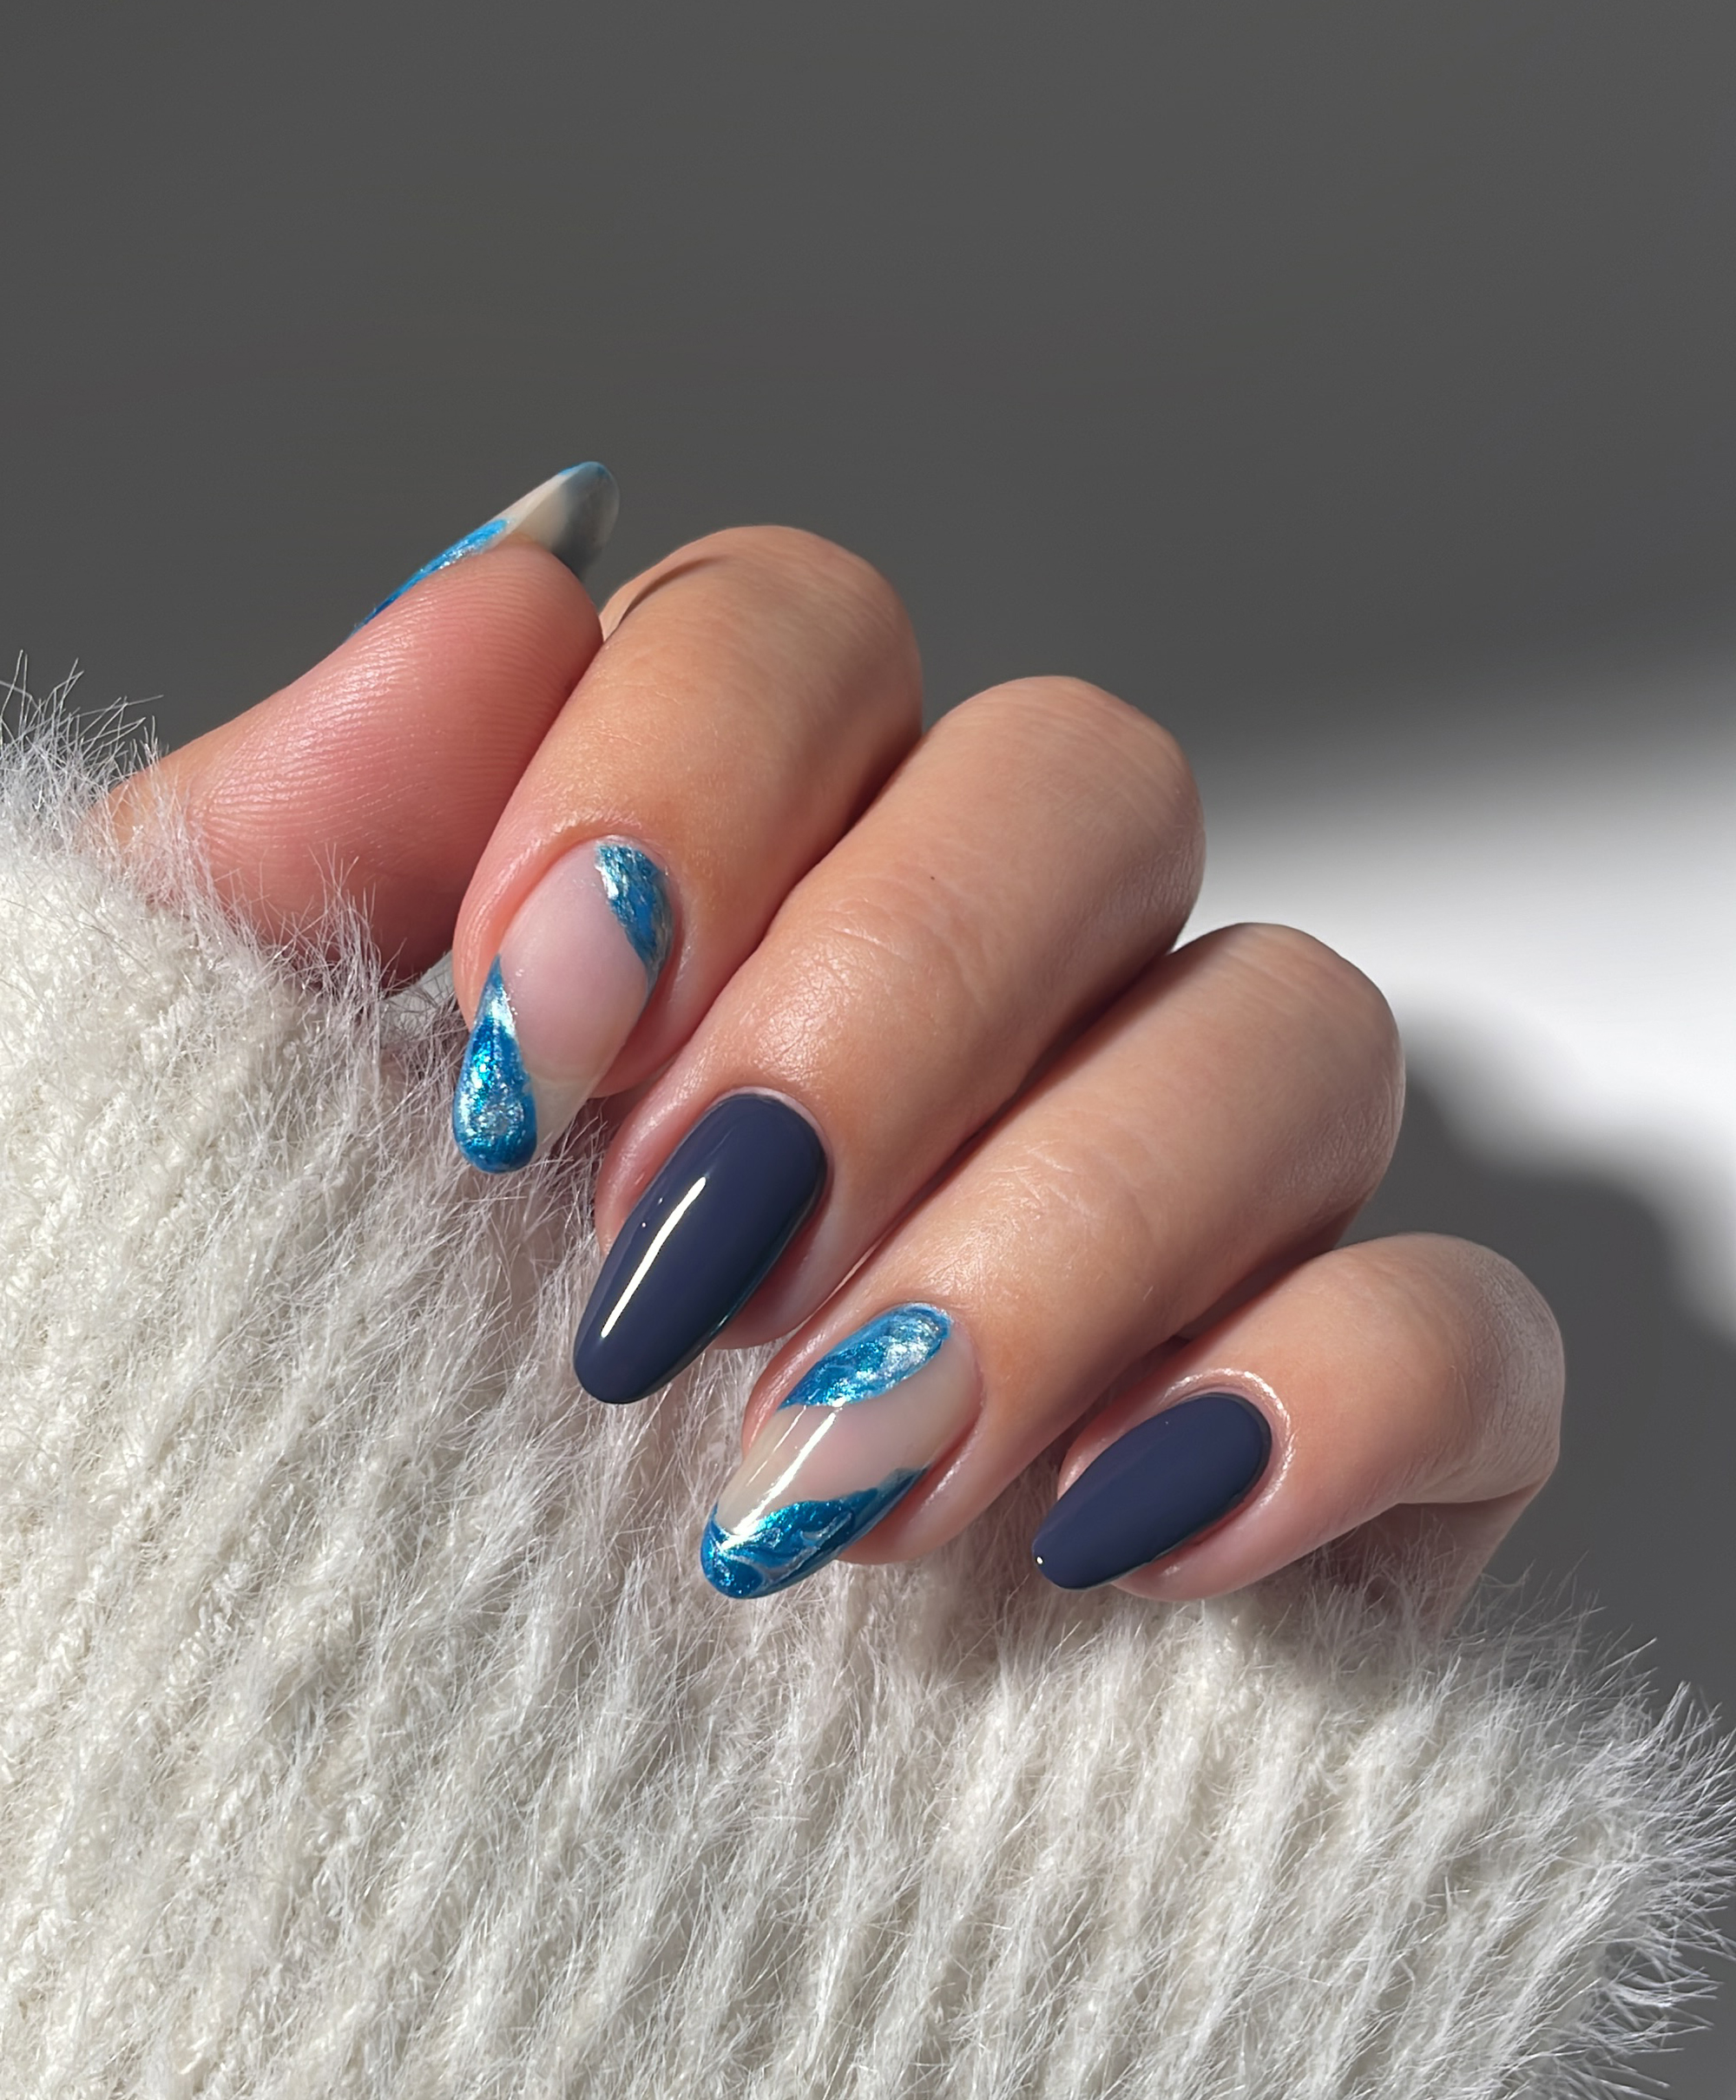
STEP 5: APPLY YOUR POLISH
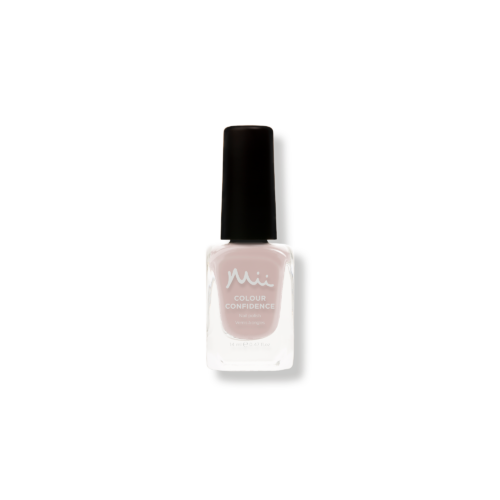
Use the same technique to apply two coats of your chosen Colour Confidence Nail Polish shade. Avoid applying thick coats as they take longer to dry and are more prone to smudging and let each coat dry before applying the next.

STEP 6: CLEAN UP MISTAKES
If you paint over the edges of your nail beds, you can use a Neat + Tidy Superfine Orangewood Stick to tidy up. Simply soak the end of your orangewood stick in some Wipe + Erase Acetone Free Nail Polish Remover and gently clean up any mistakes.
STEP 7: SEAL THE DEAL WITH A TOP COAT
Once your nail polish has had a couple of minutes to dry, seal the deal with your chosen Mii top coat. Finishing with a top coat will deliver a high gloss finish to your nails, whilst providing long-lasting performance and protection from UV to ensure your colour doesn’t fade. Apply 1 coat using just 1-3 long strokes. If your nails are long enough, you can also apply a little on the free edge at the tip of your nail, for extra protection.

STEP 8: POST MANICURE CARE
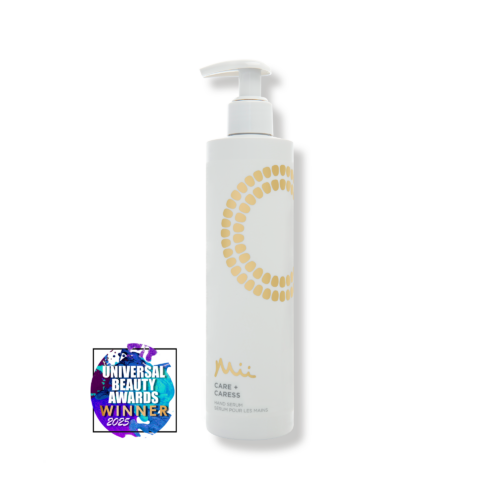
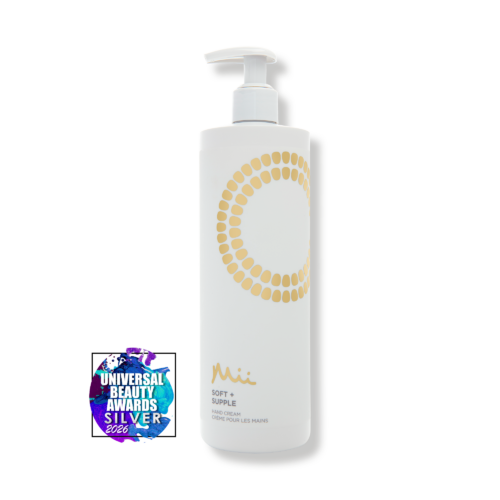
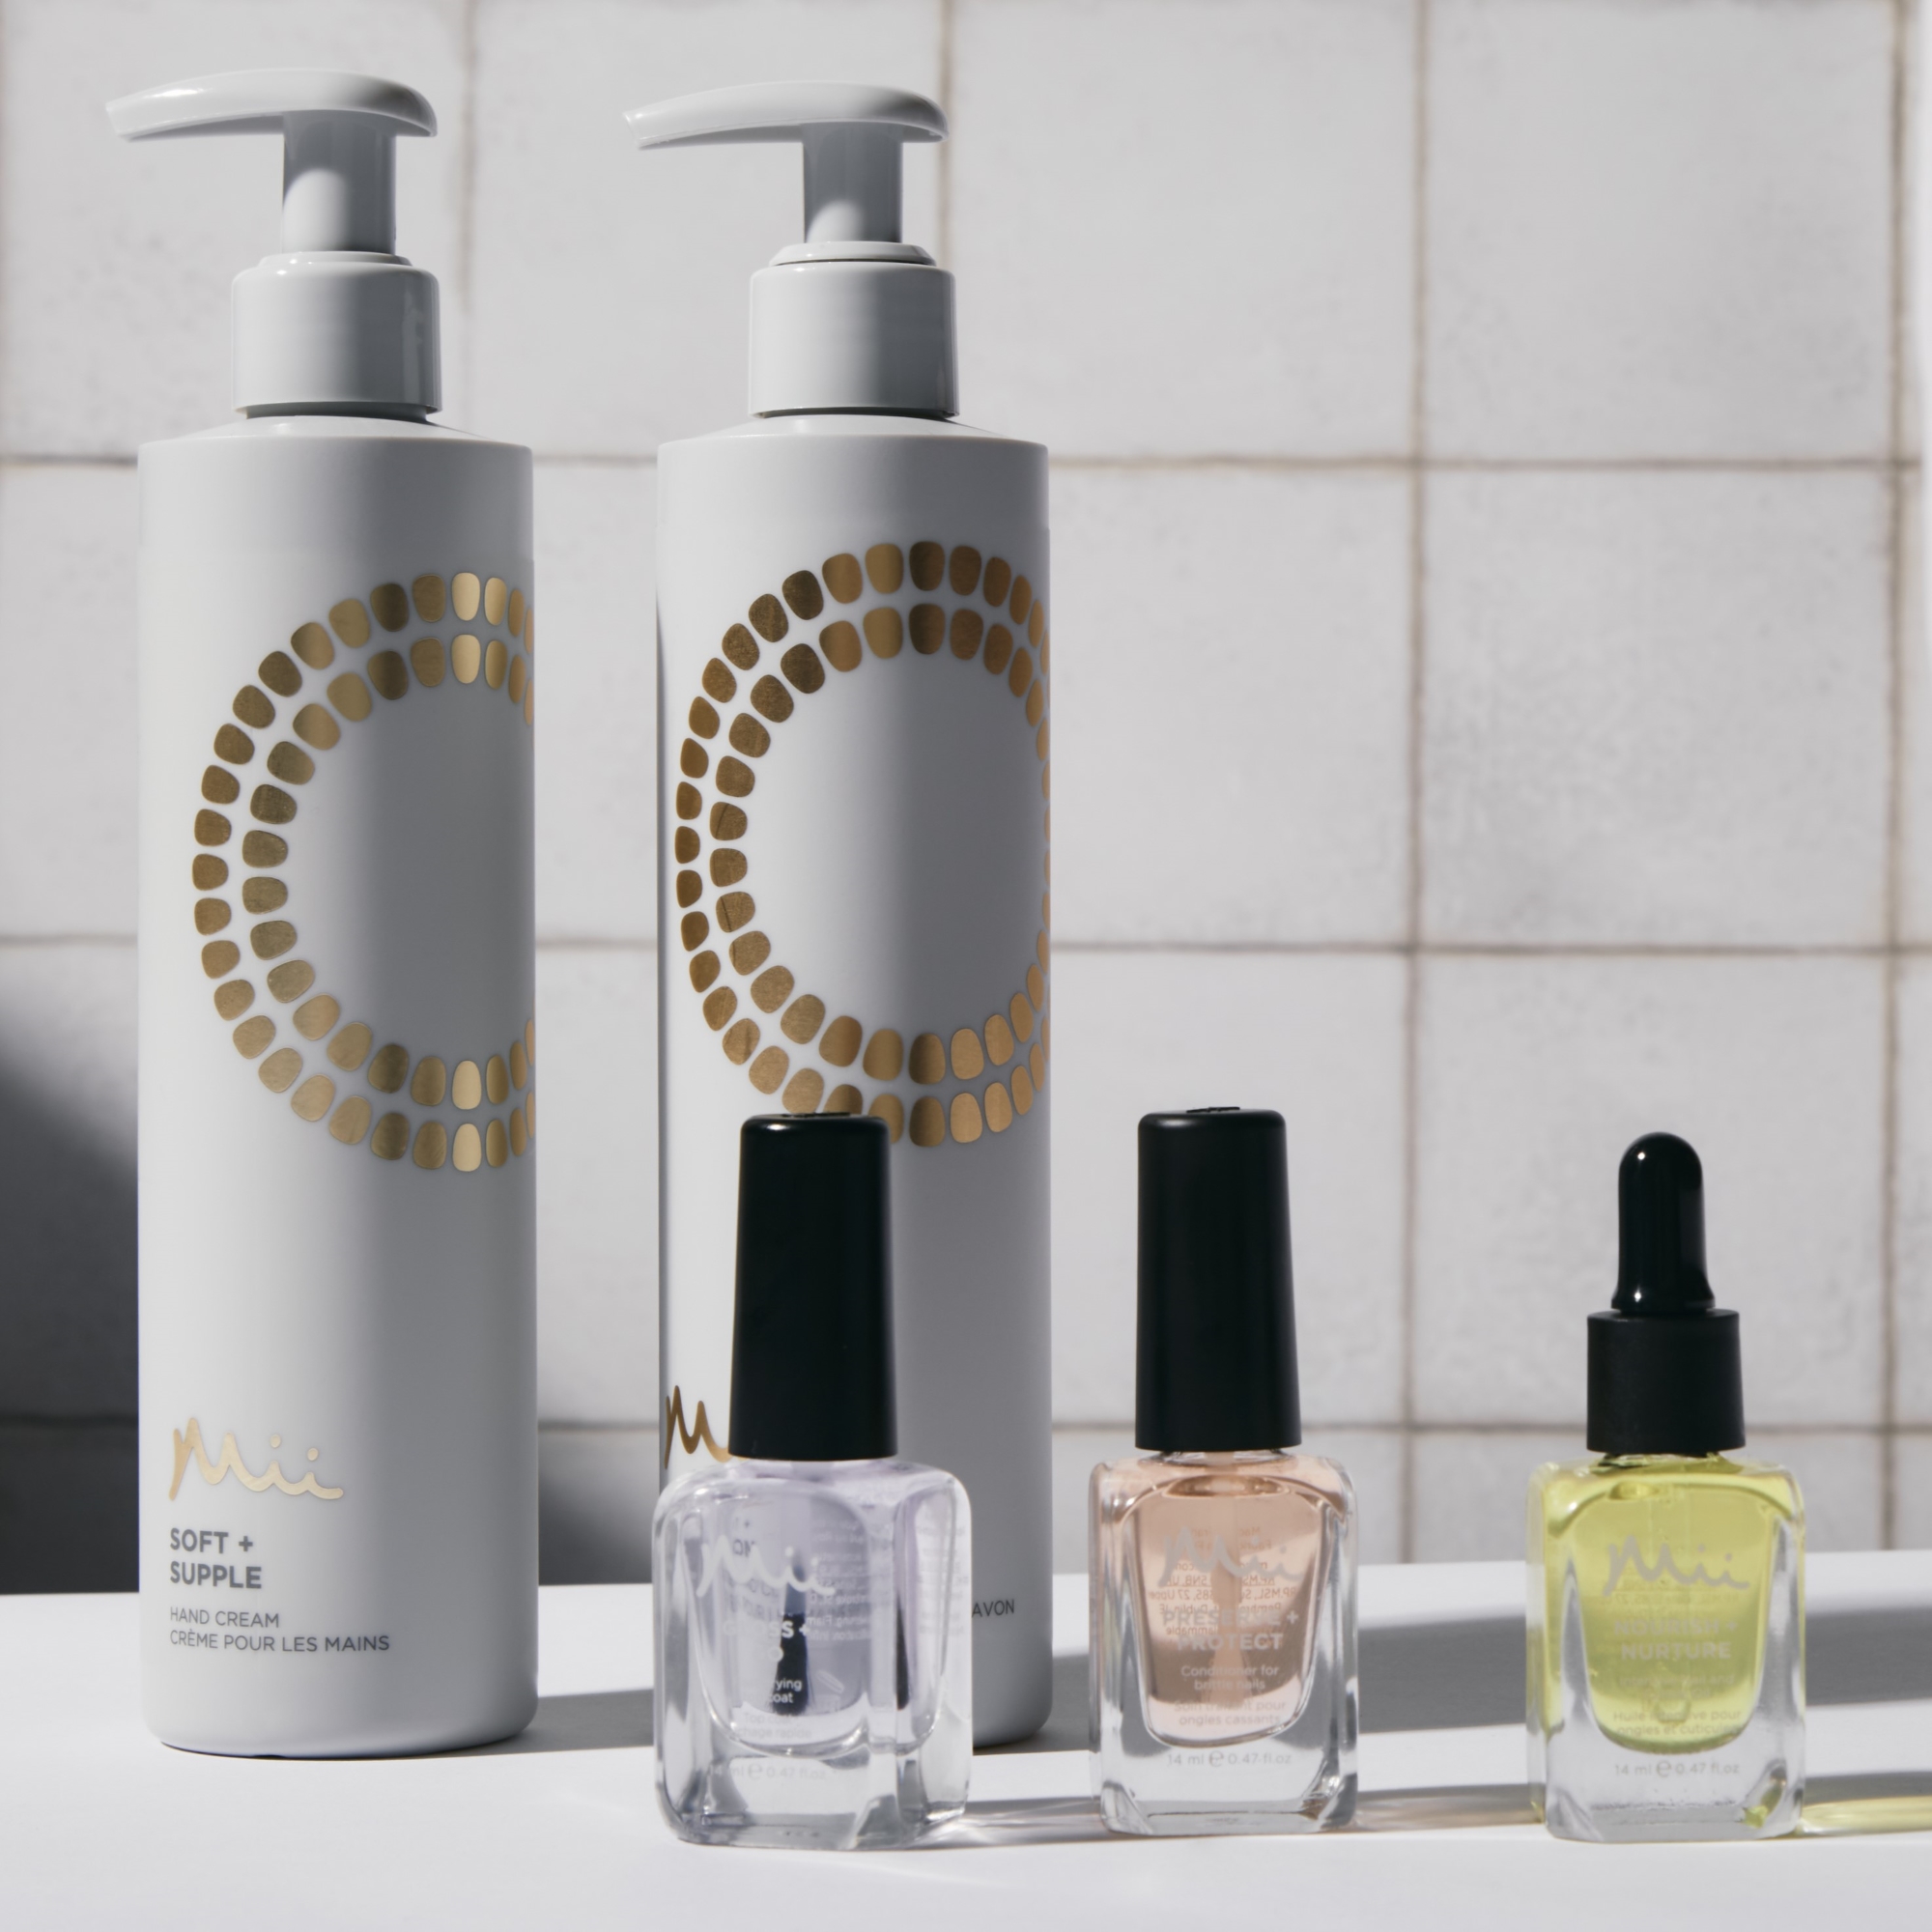
Give your nails a few minutes to be touch dry. Avoid using your hands for heavy tasks immediately after your manicure to prevent smudging. Then, finish off by applying 2 pumps of Soft + Supple Hand Cream, massaging into hands and arms. For a treatment boost, apply Care + Caress Hand Serum, and follow the same steps.
With these step-by-step instructions and a little practice, achieving the perfect at-home manicure is well within your reach. Happy painting!