


STARS & POLKADOTS NAILS
STARS & POLKA DOTS: STEP-BY-STEP NAIL ART GUIDE
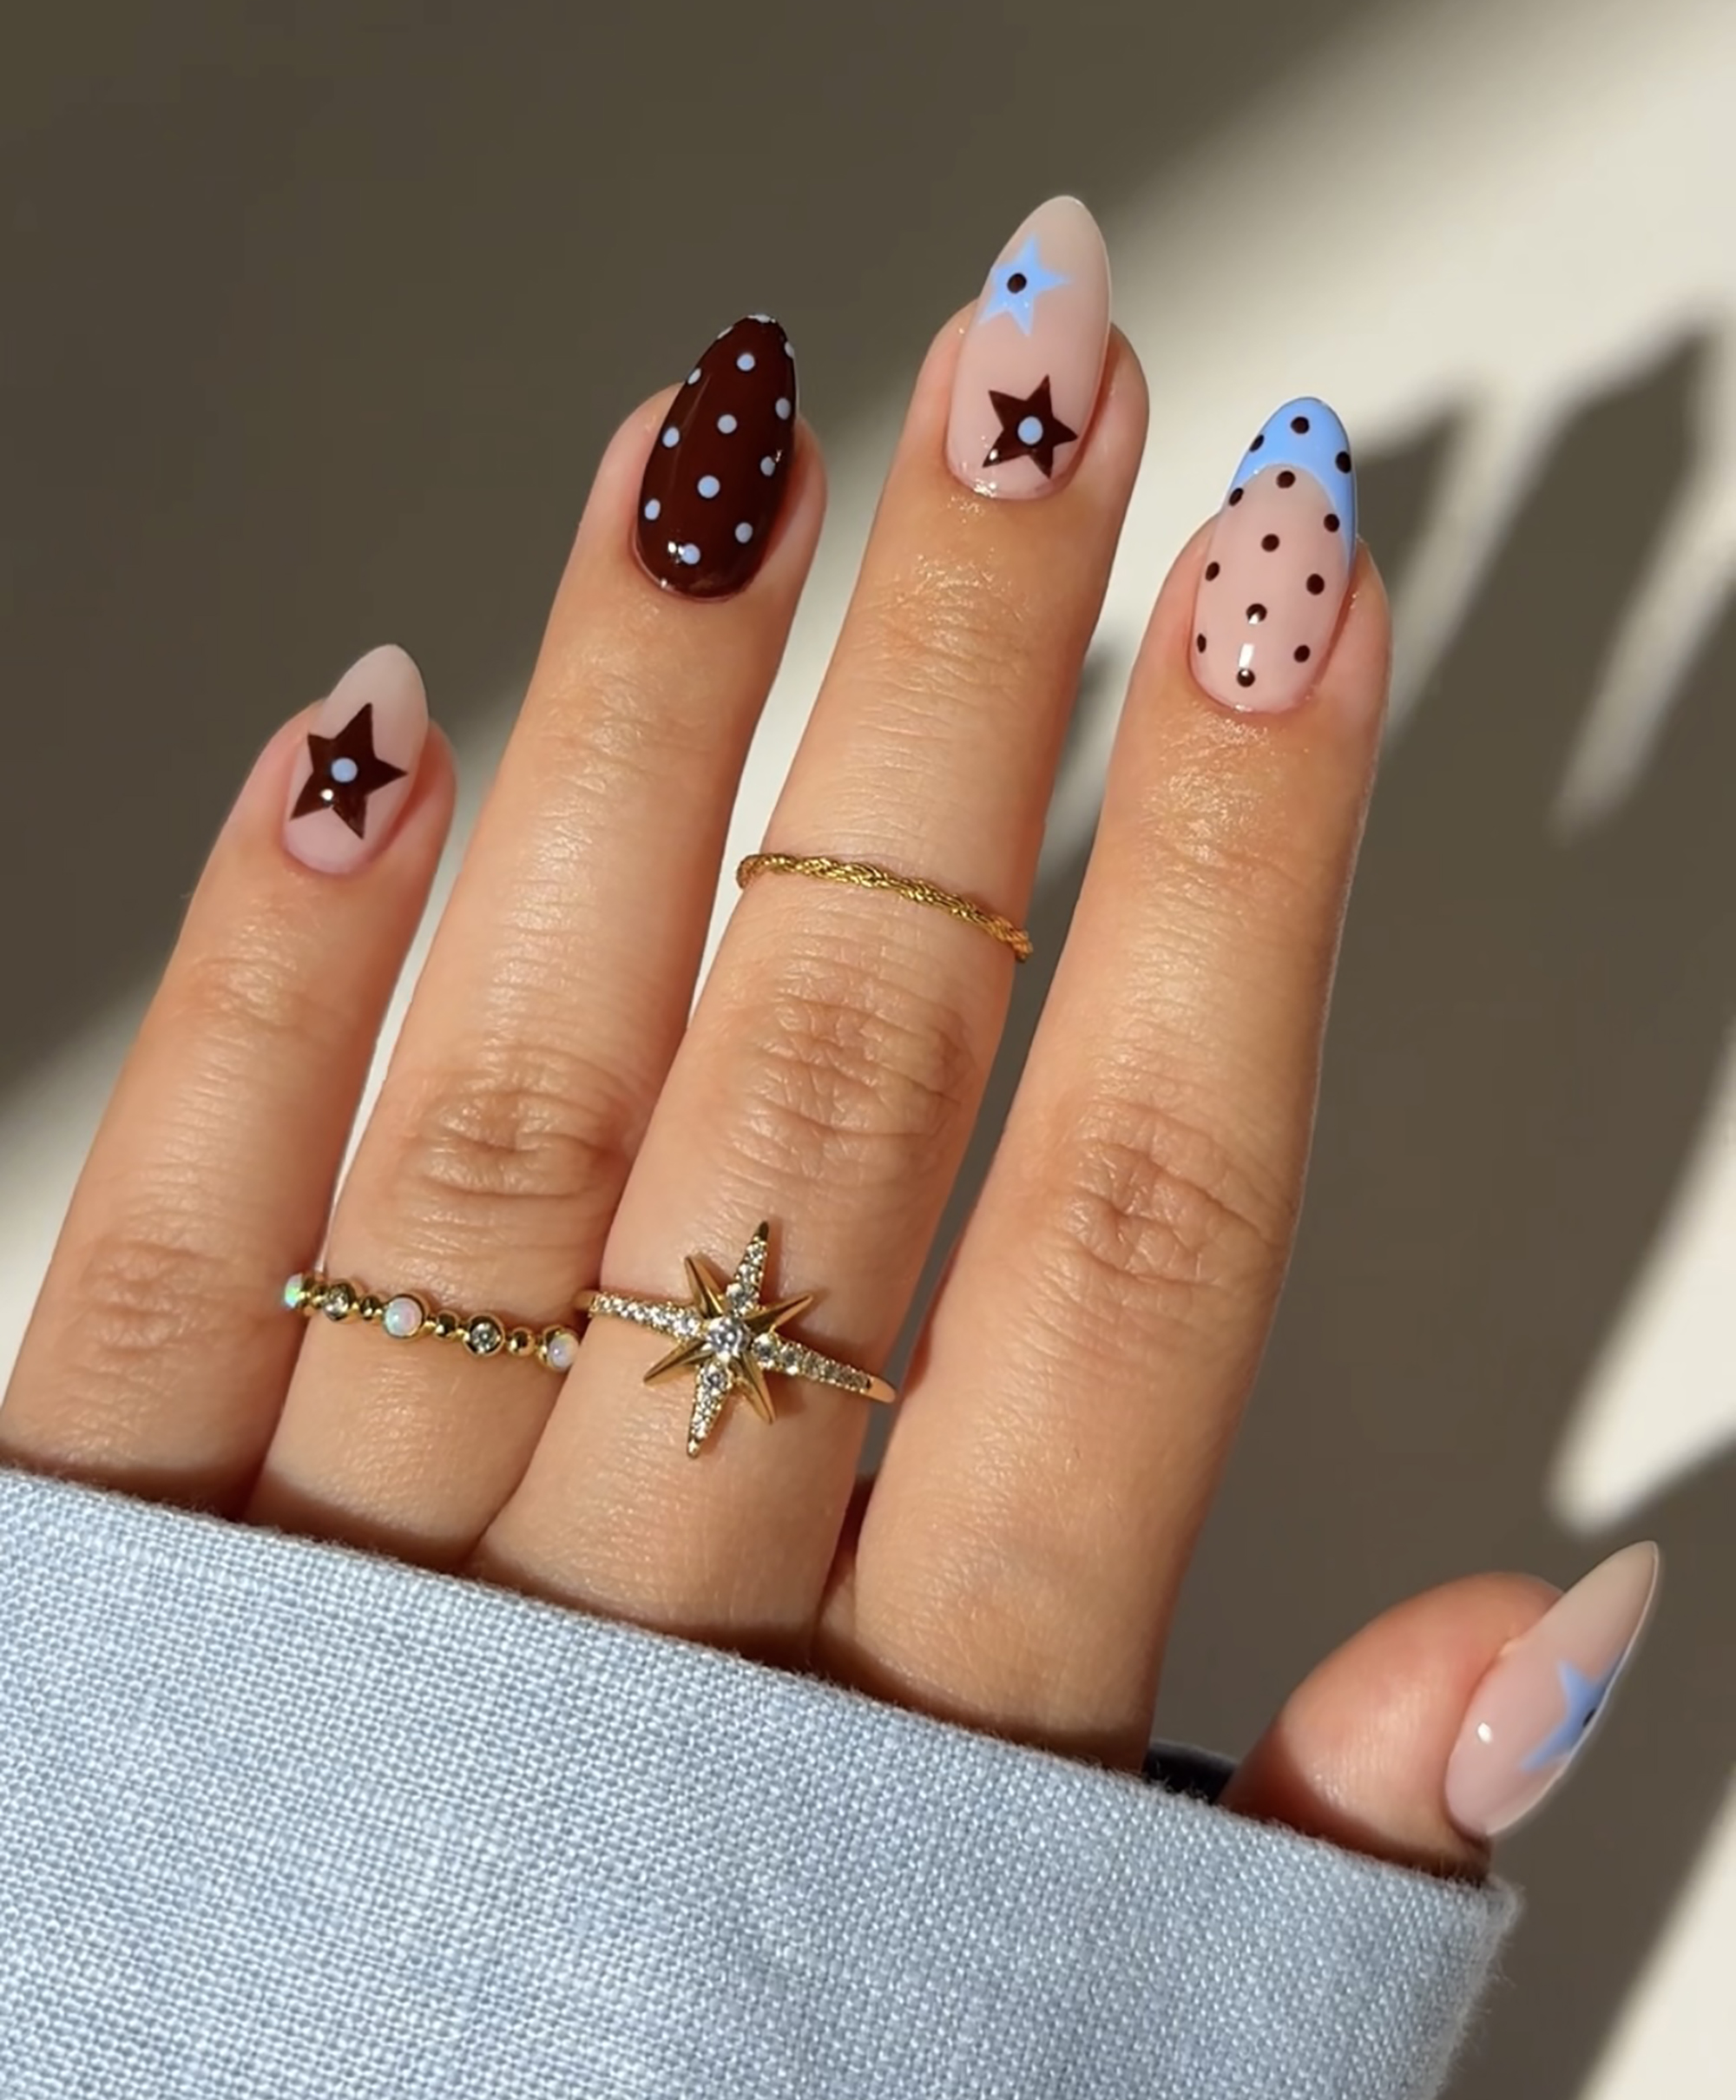
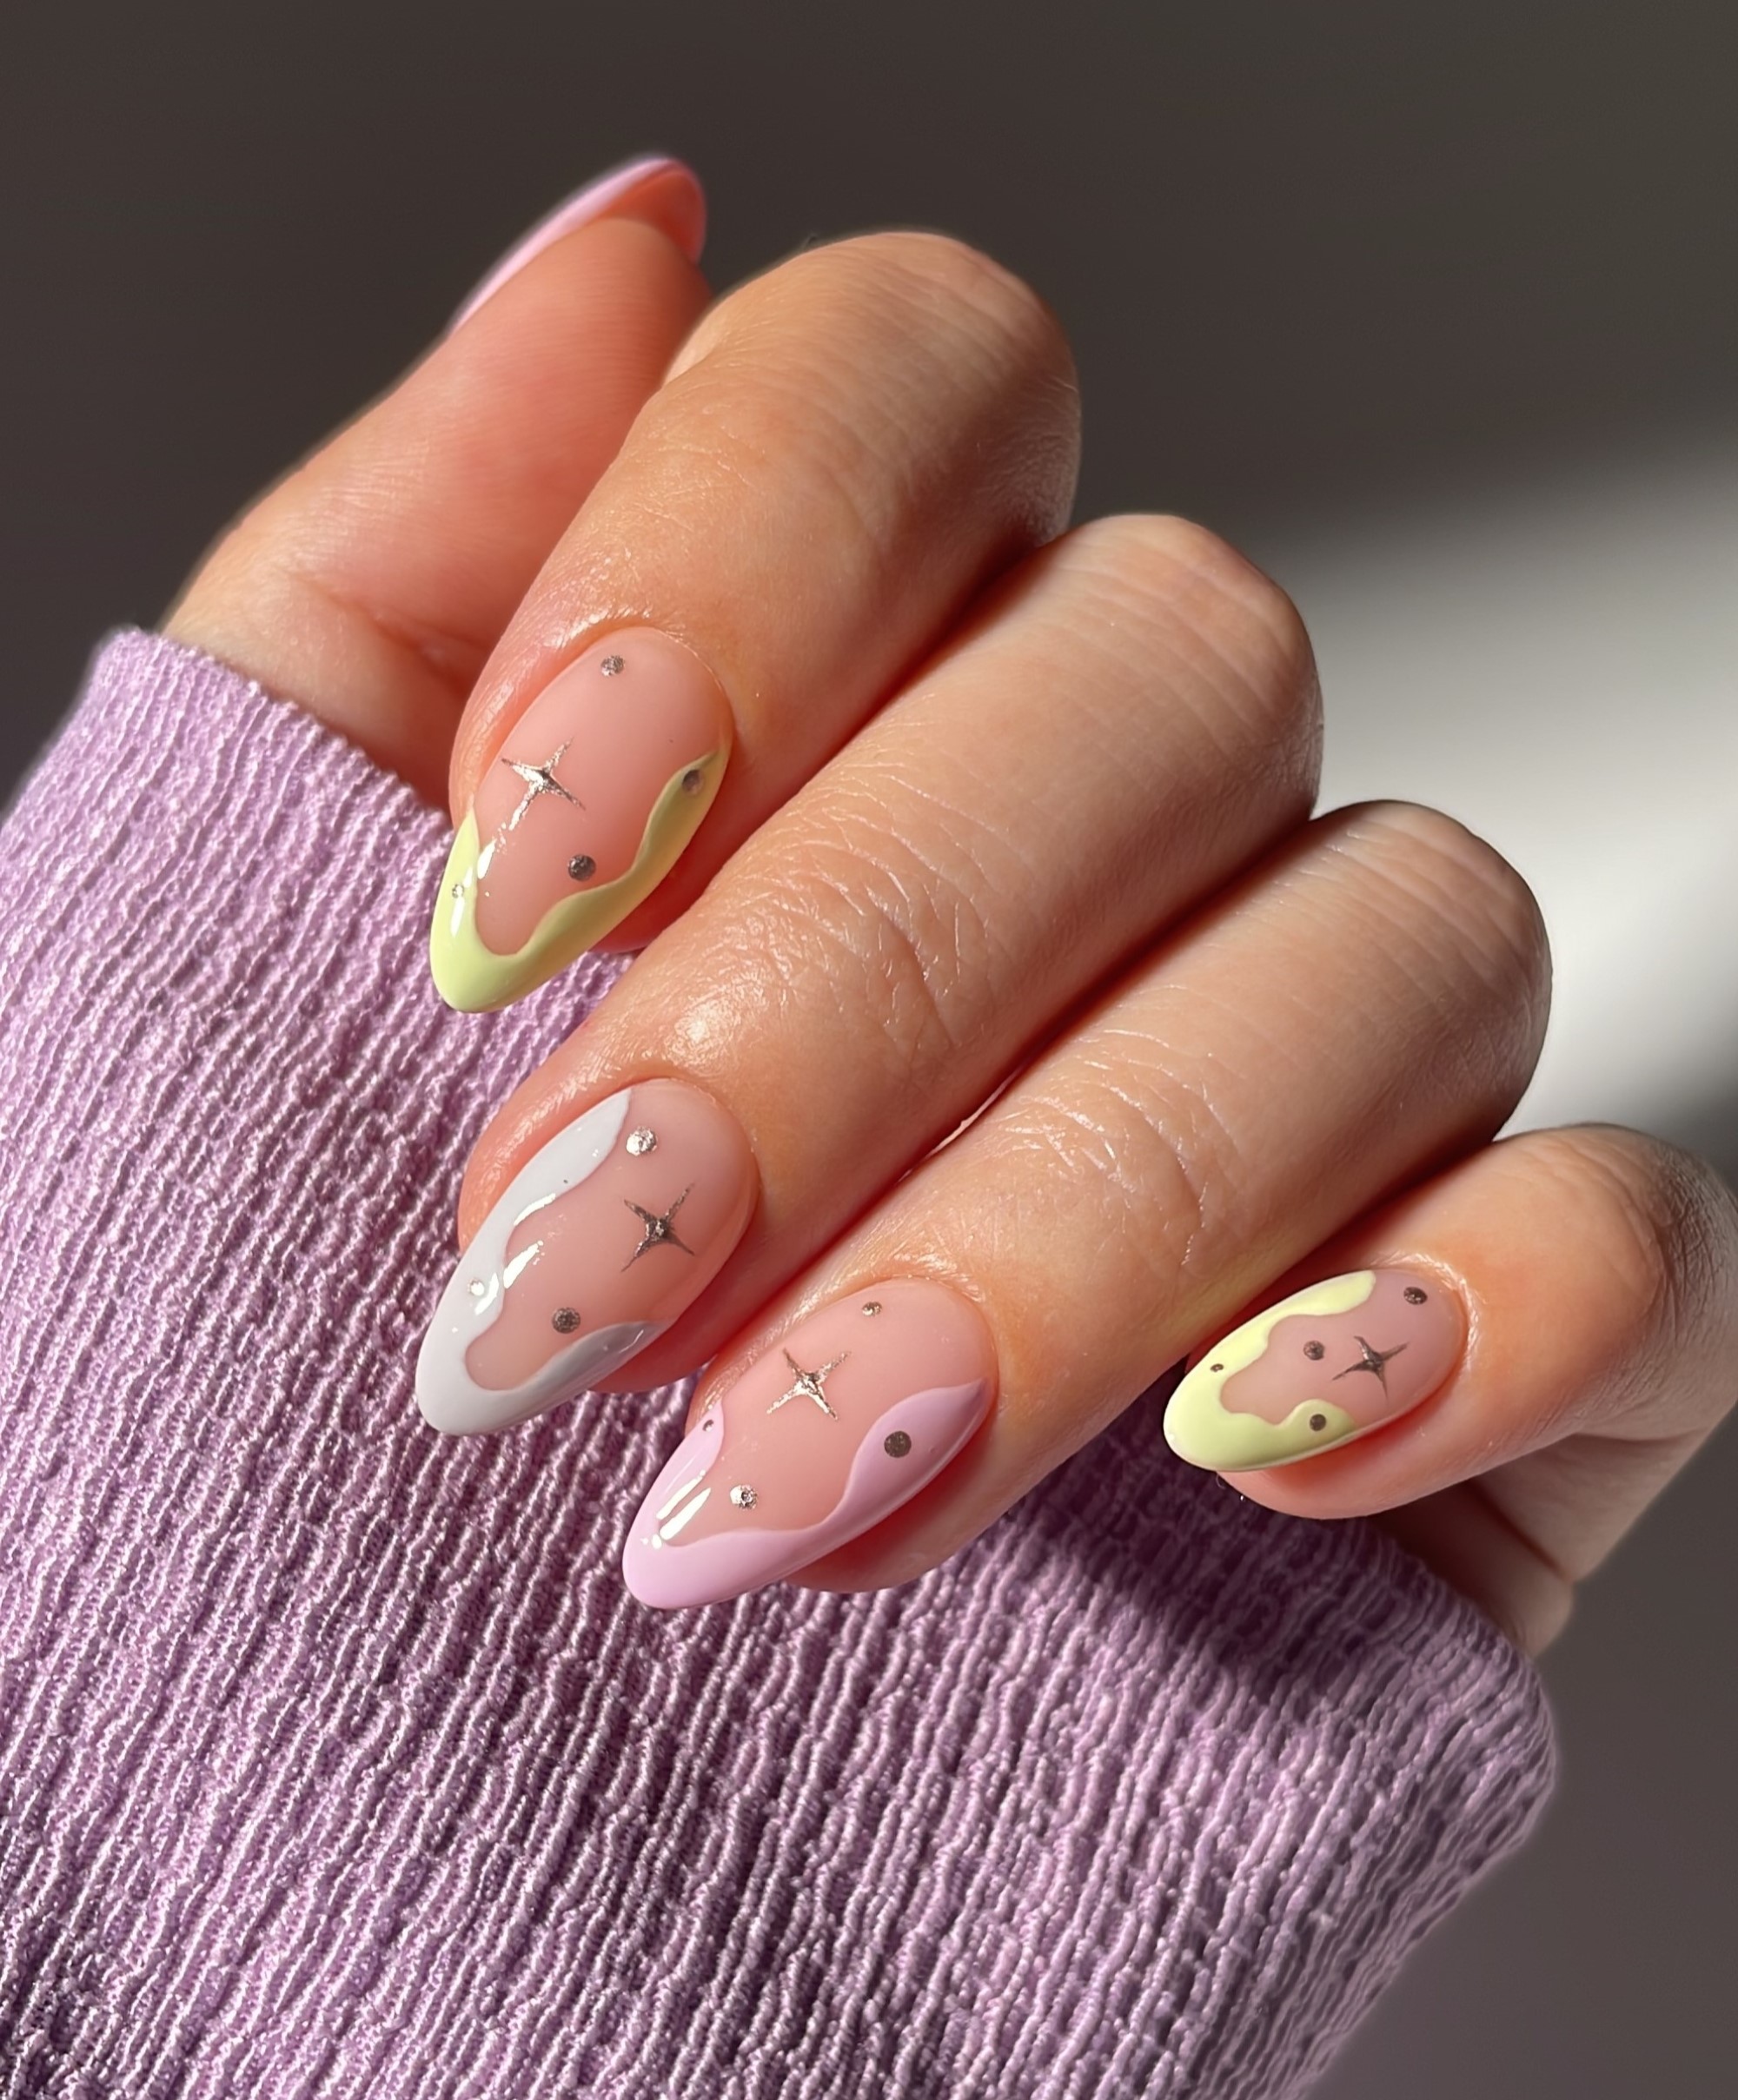
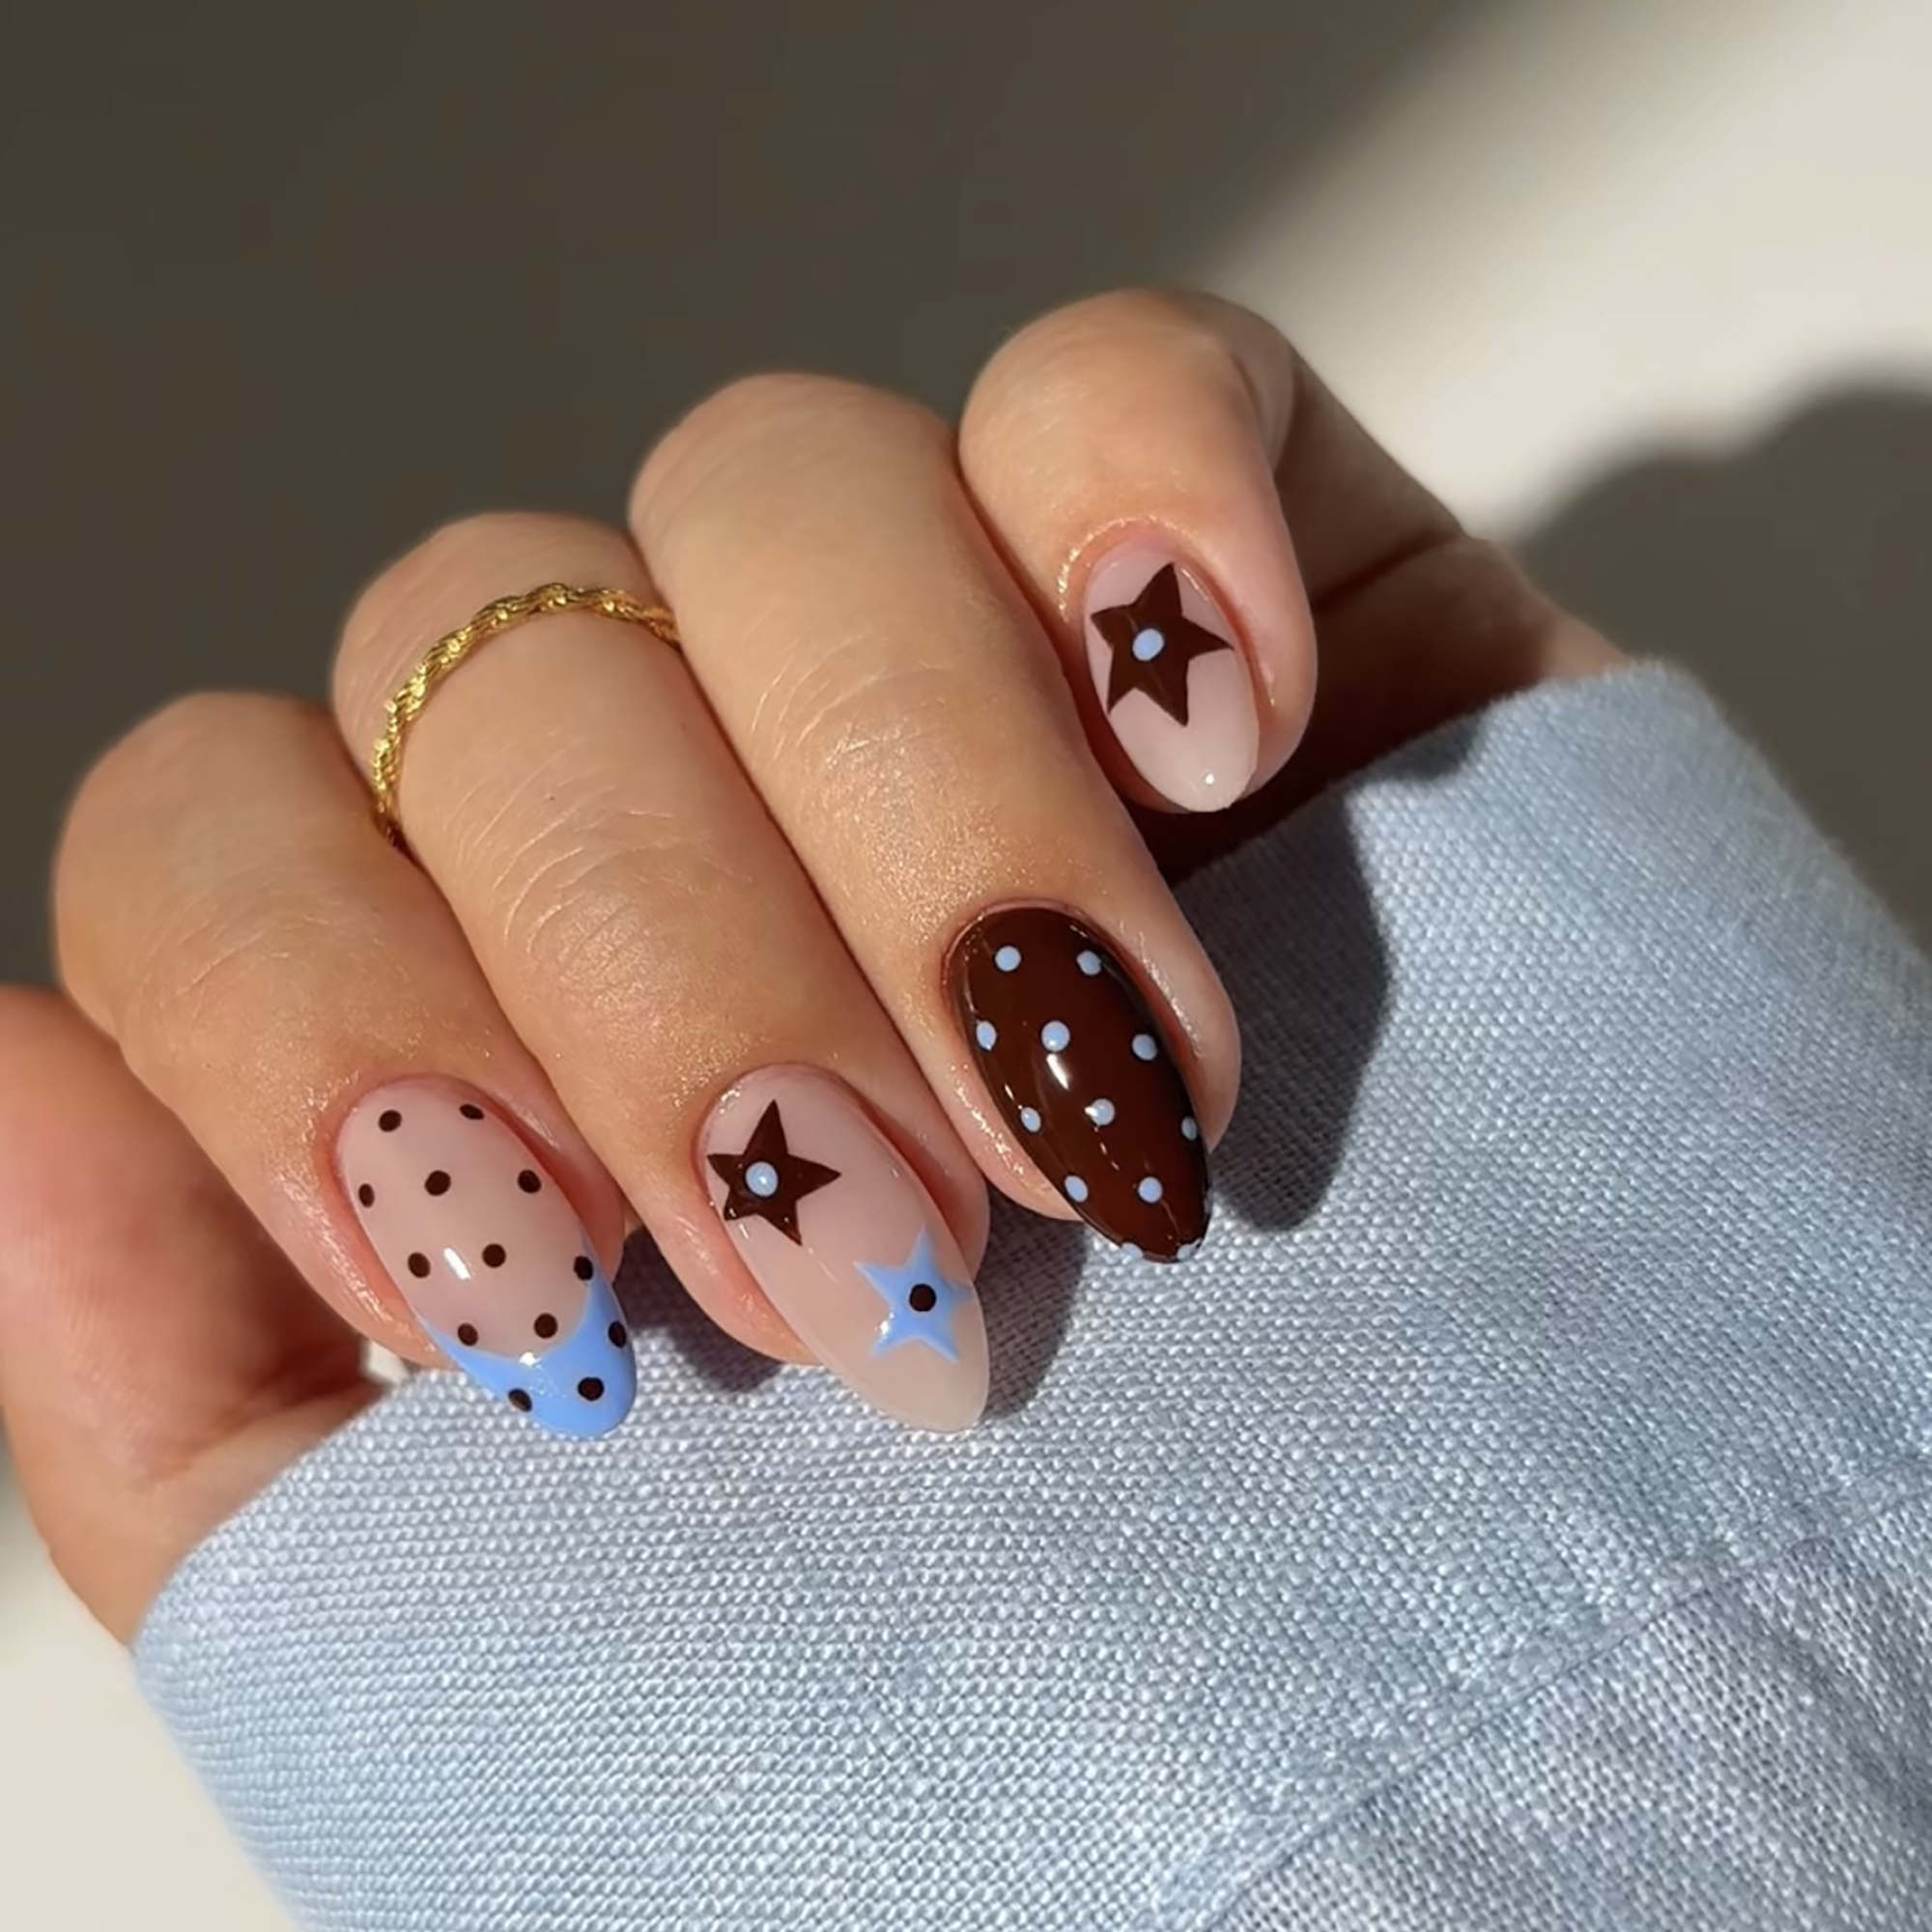
Playful, eye-catching, and right on trend, this design by @simlynail combines the timeless charm of polka dots with starry details and rich autumnal colours. Perfect for the season, it’s a fun way to elevate your manicure at home. Follow our step-by-step guide to recreate the look.
WHAT YOU’LL NEED

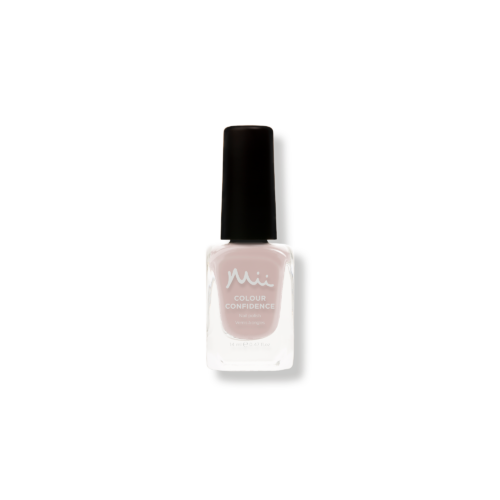
Naturally Modest – a sheer peach crème
Clear Skies – a cornflower blue crème
Coco Crème – a chocolate brown crème
STEP 1: GET PRIMED AND READY

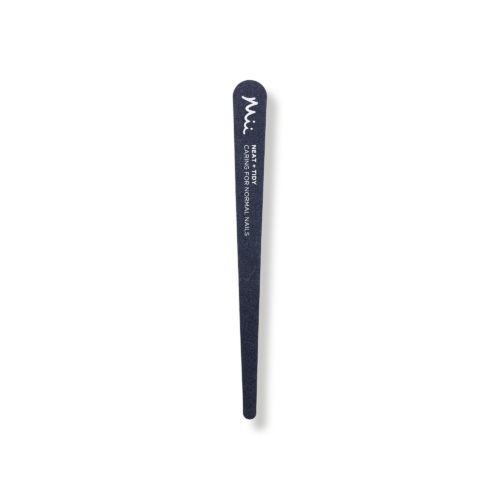
Start with clean, filed nails. Apply one layer of To Have + To Hold Base Coat to protect your natural nails and create a smooth canvas.
Once dry, apply two coats of Naturally Modest to all fingers except the ring fingers.
STEP 2: FRENCH POLKA DOTS

On your index fingers, use Clear Skies to create a French tip with the brush of the nail polish.
Once dry, take Coco Crème with the Neat + Tidy Nail Art Dotting Tool and place a vertical line of dots down the centre of each nail, followed by two parallel lines of dots on either side. Adjust the number of dots depending on your nail length.
STEP 3: STARRY STEPS

With a fine nail brush, draw a star on the right corner of your middle finger using Coco Crème, then add a second star on the left corner using Clear Skies.
After drying, dot the centre of each star with the opposite colour for contrast.
STEP 4: POLKA PERFECTION

Paint two coats of Coco Crème on your ring fingers.
When dry, repeat the polka dot design with Clear Skies, adding vertical lines of dots across the nails for a bold, patterned effect.
STEP 5: FINISHING STARS

On your pinkie fingers, use Coco Crème to paint a star in the centre.
Once dry, place a dot of Clear Skies in the middle of the star for an eye-catching highlight.
STEP 6: SEAL AND NOURISH

Lock in your design with Shine + Shield Top Coat for a glossy, salon-quality finish.
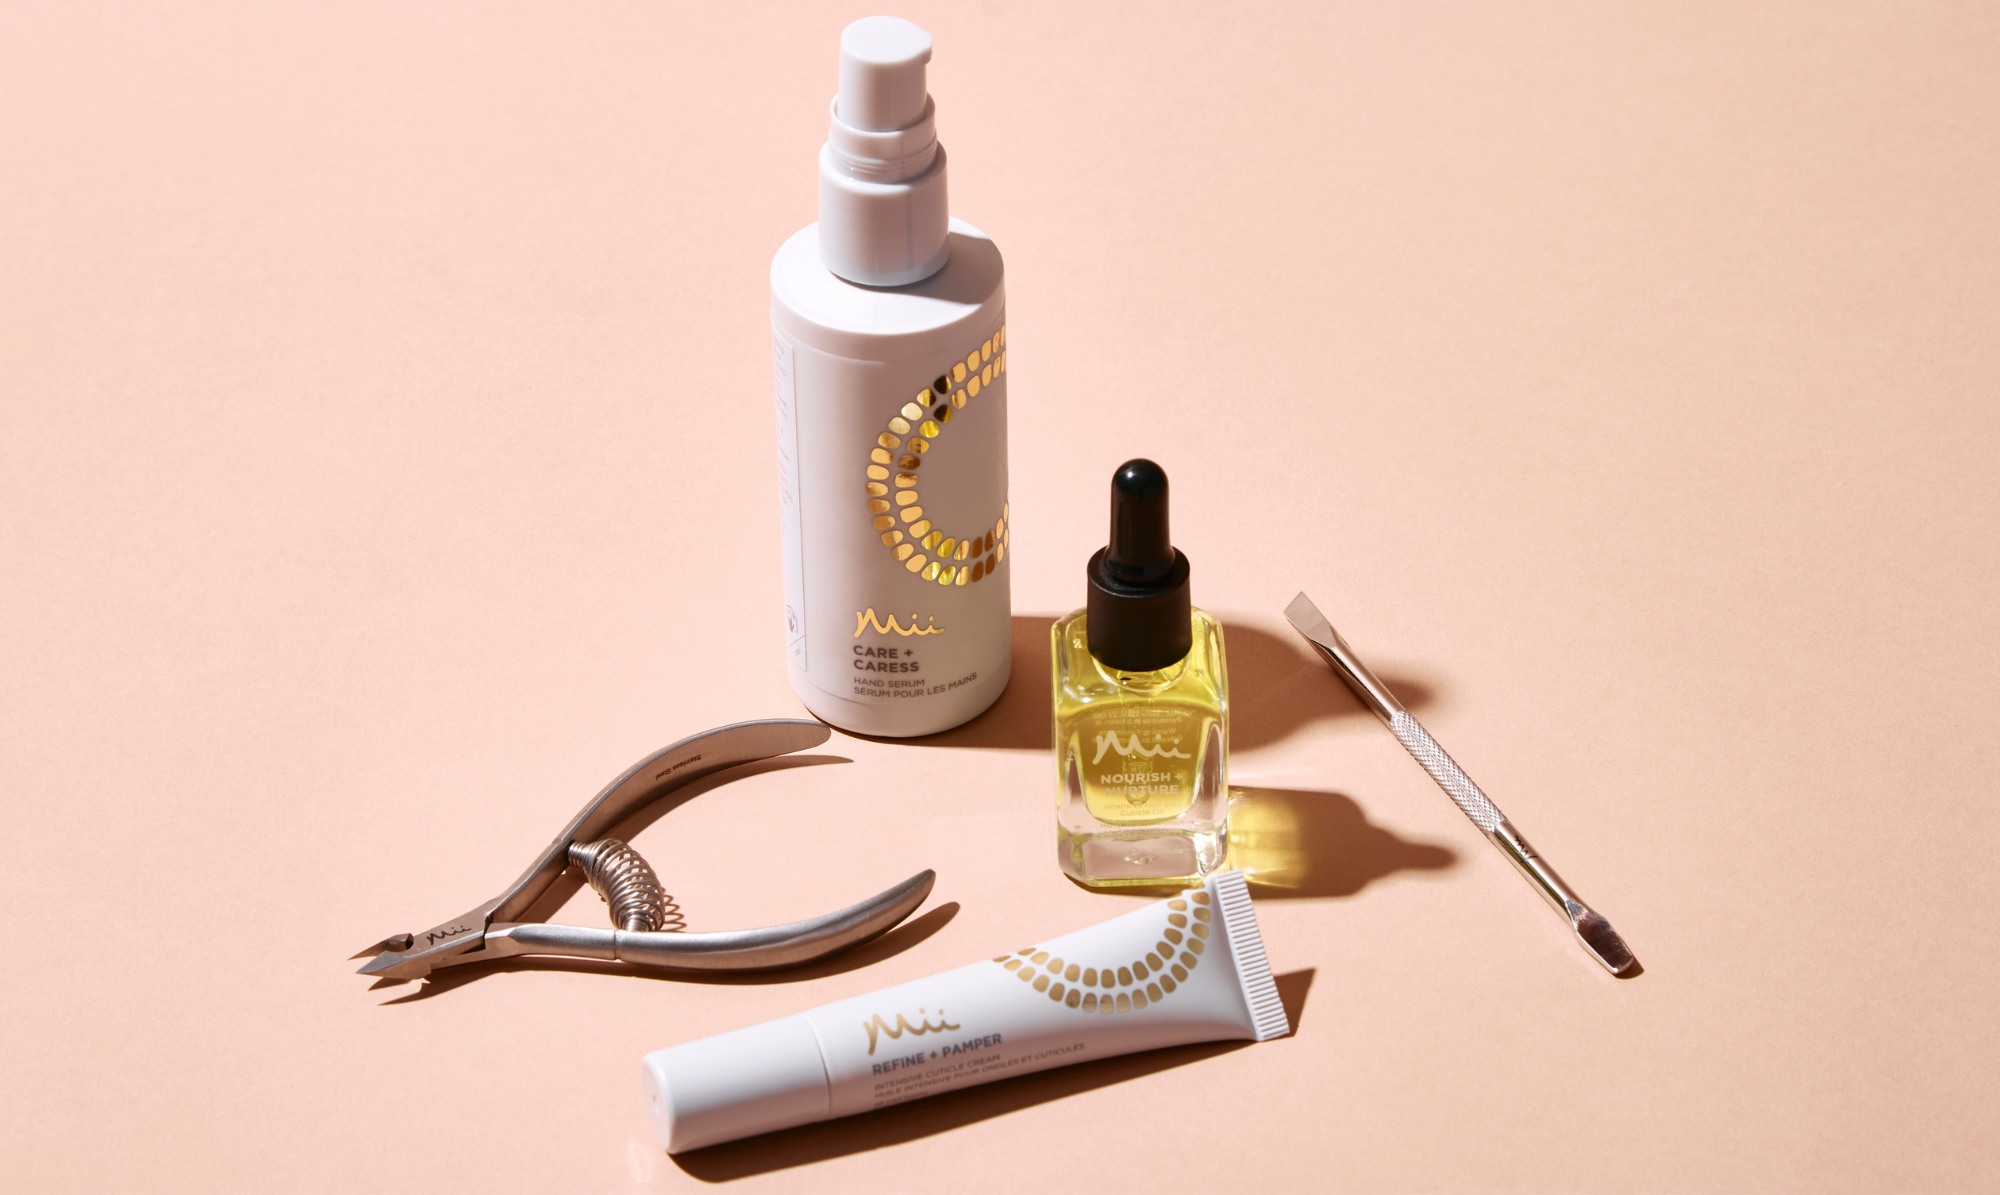
For the final touch, apply a few drops of Nourish + Nurture Nail and Cuticle Oil to hydrate and soften cuticles, leaving your manicure looking polished and healthy.
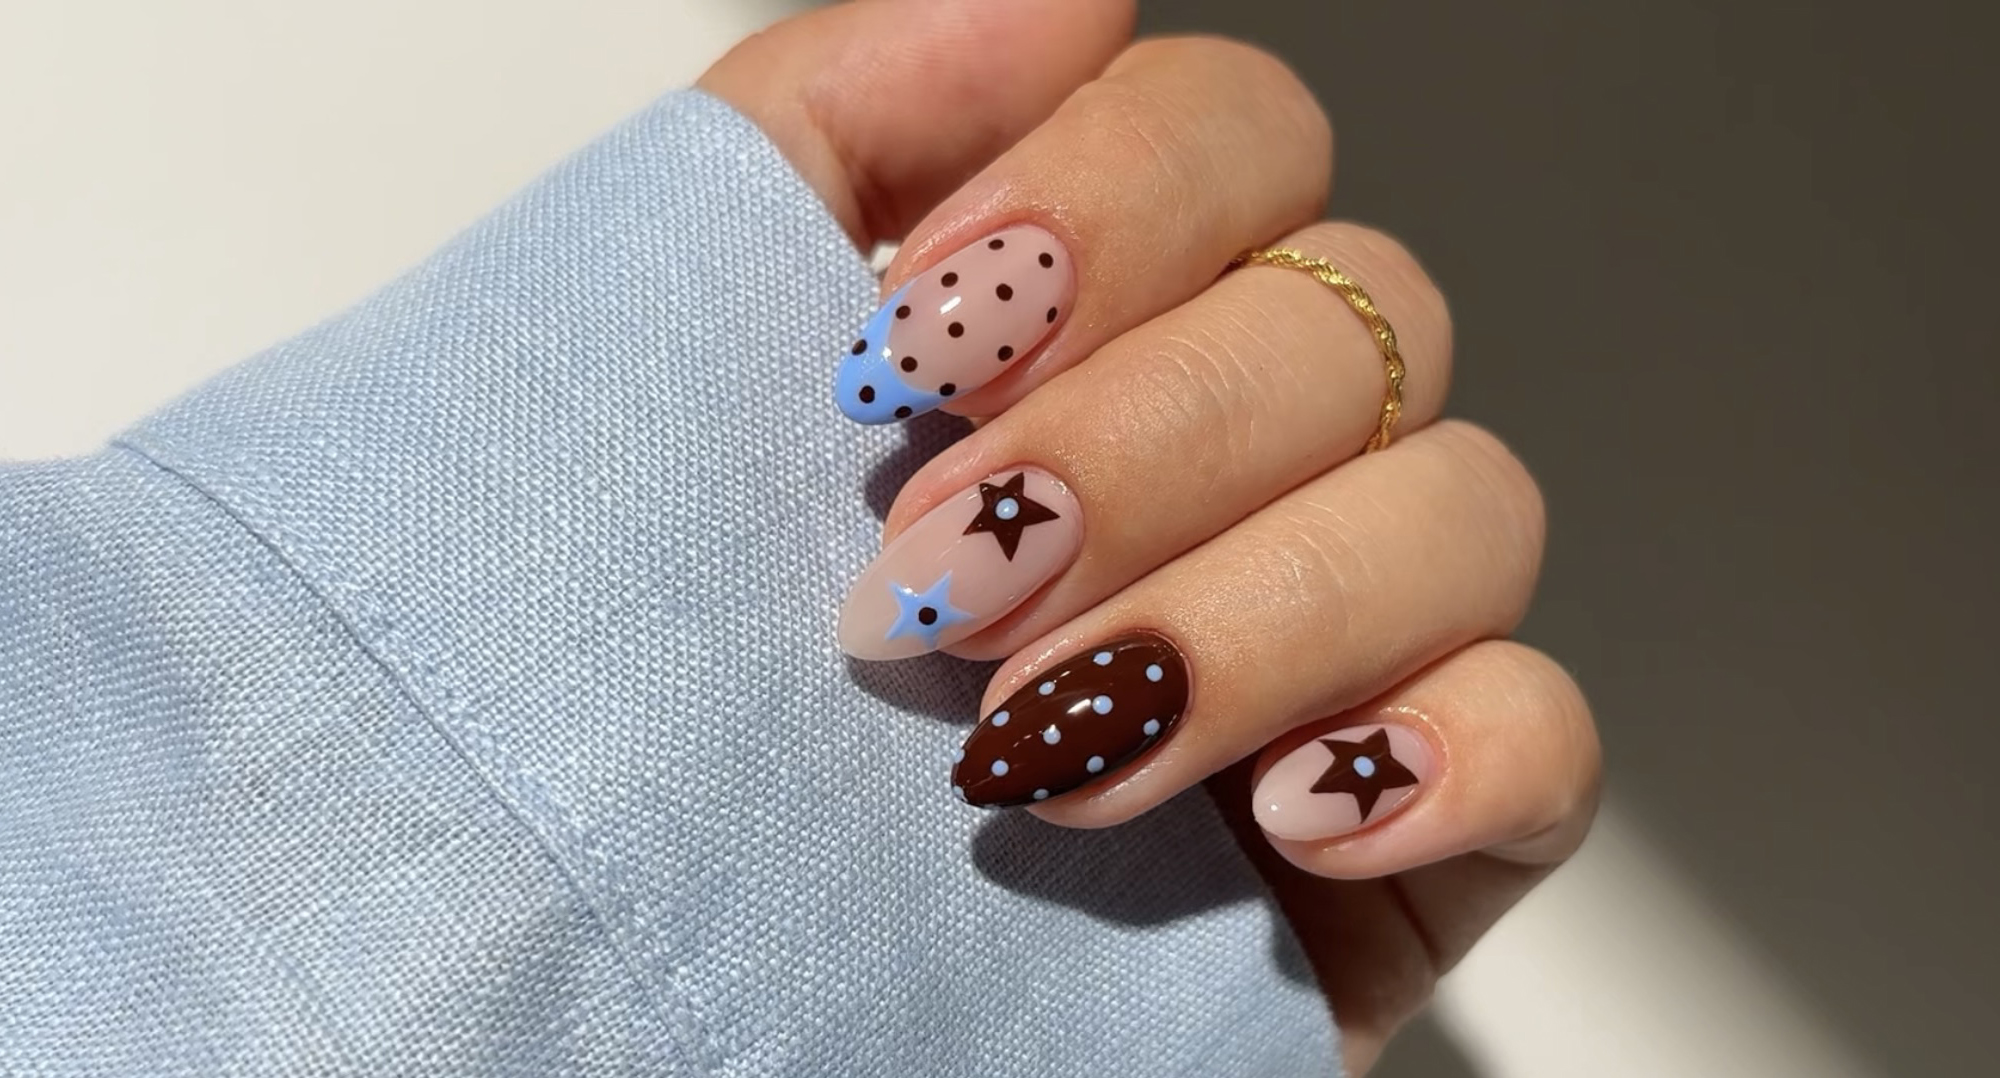
FINAL LOOK
The Stars & Polka Dots manicure is a playful twist on autumn nail art, balancing whimsical detail with chic seasonal colours. It’s a versatile design that works for everyday wear or special occasions, and with a few key tools, you can achieve it effortlessly at home.