


DREAMY CLOUDNAILS
DREAMY CLOUD NAILS: STEP-BY-STEP TUTORIAL INSPIRED BY PANTONE’S COLOUR OF THE YEAR
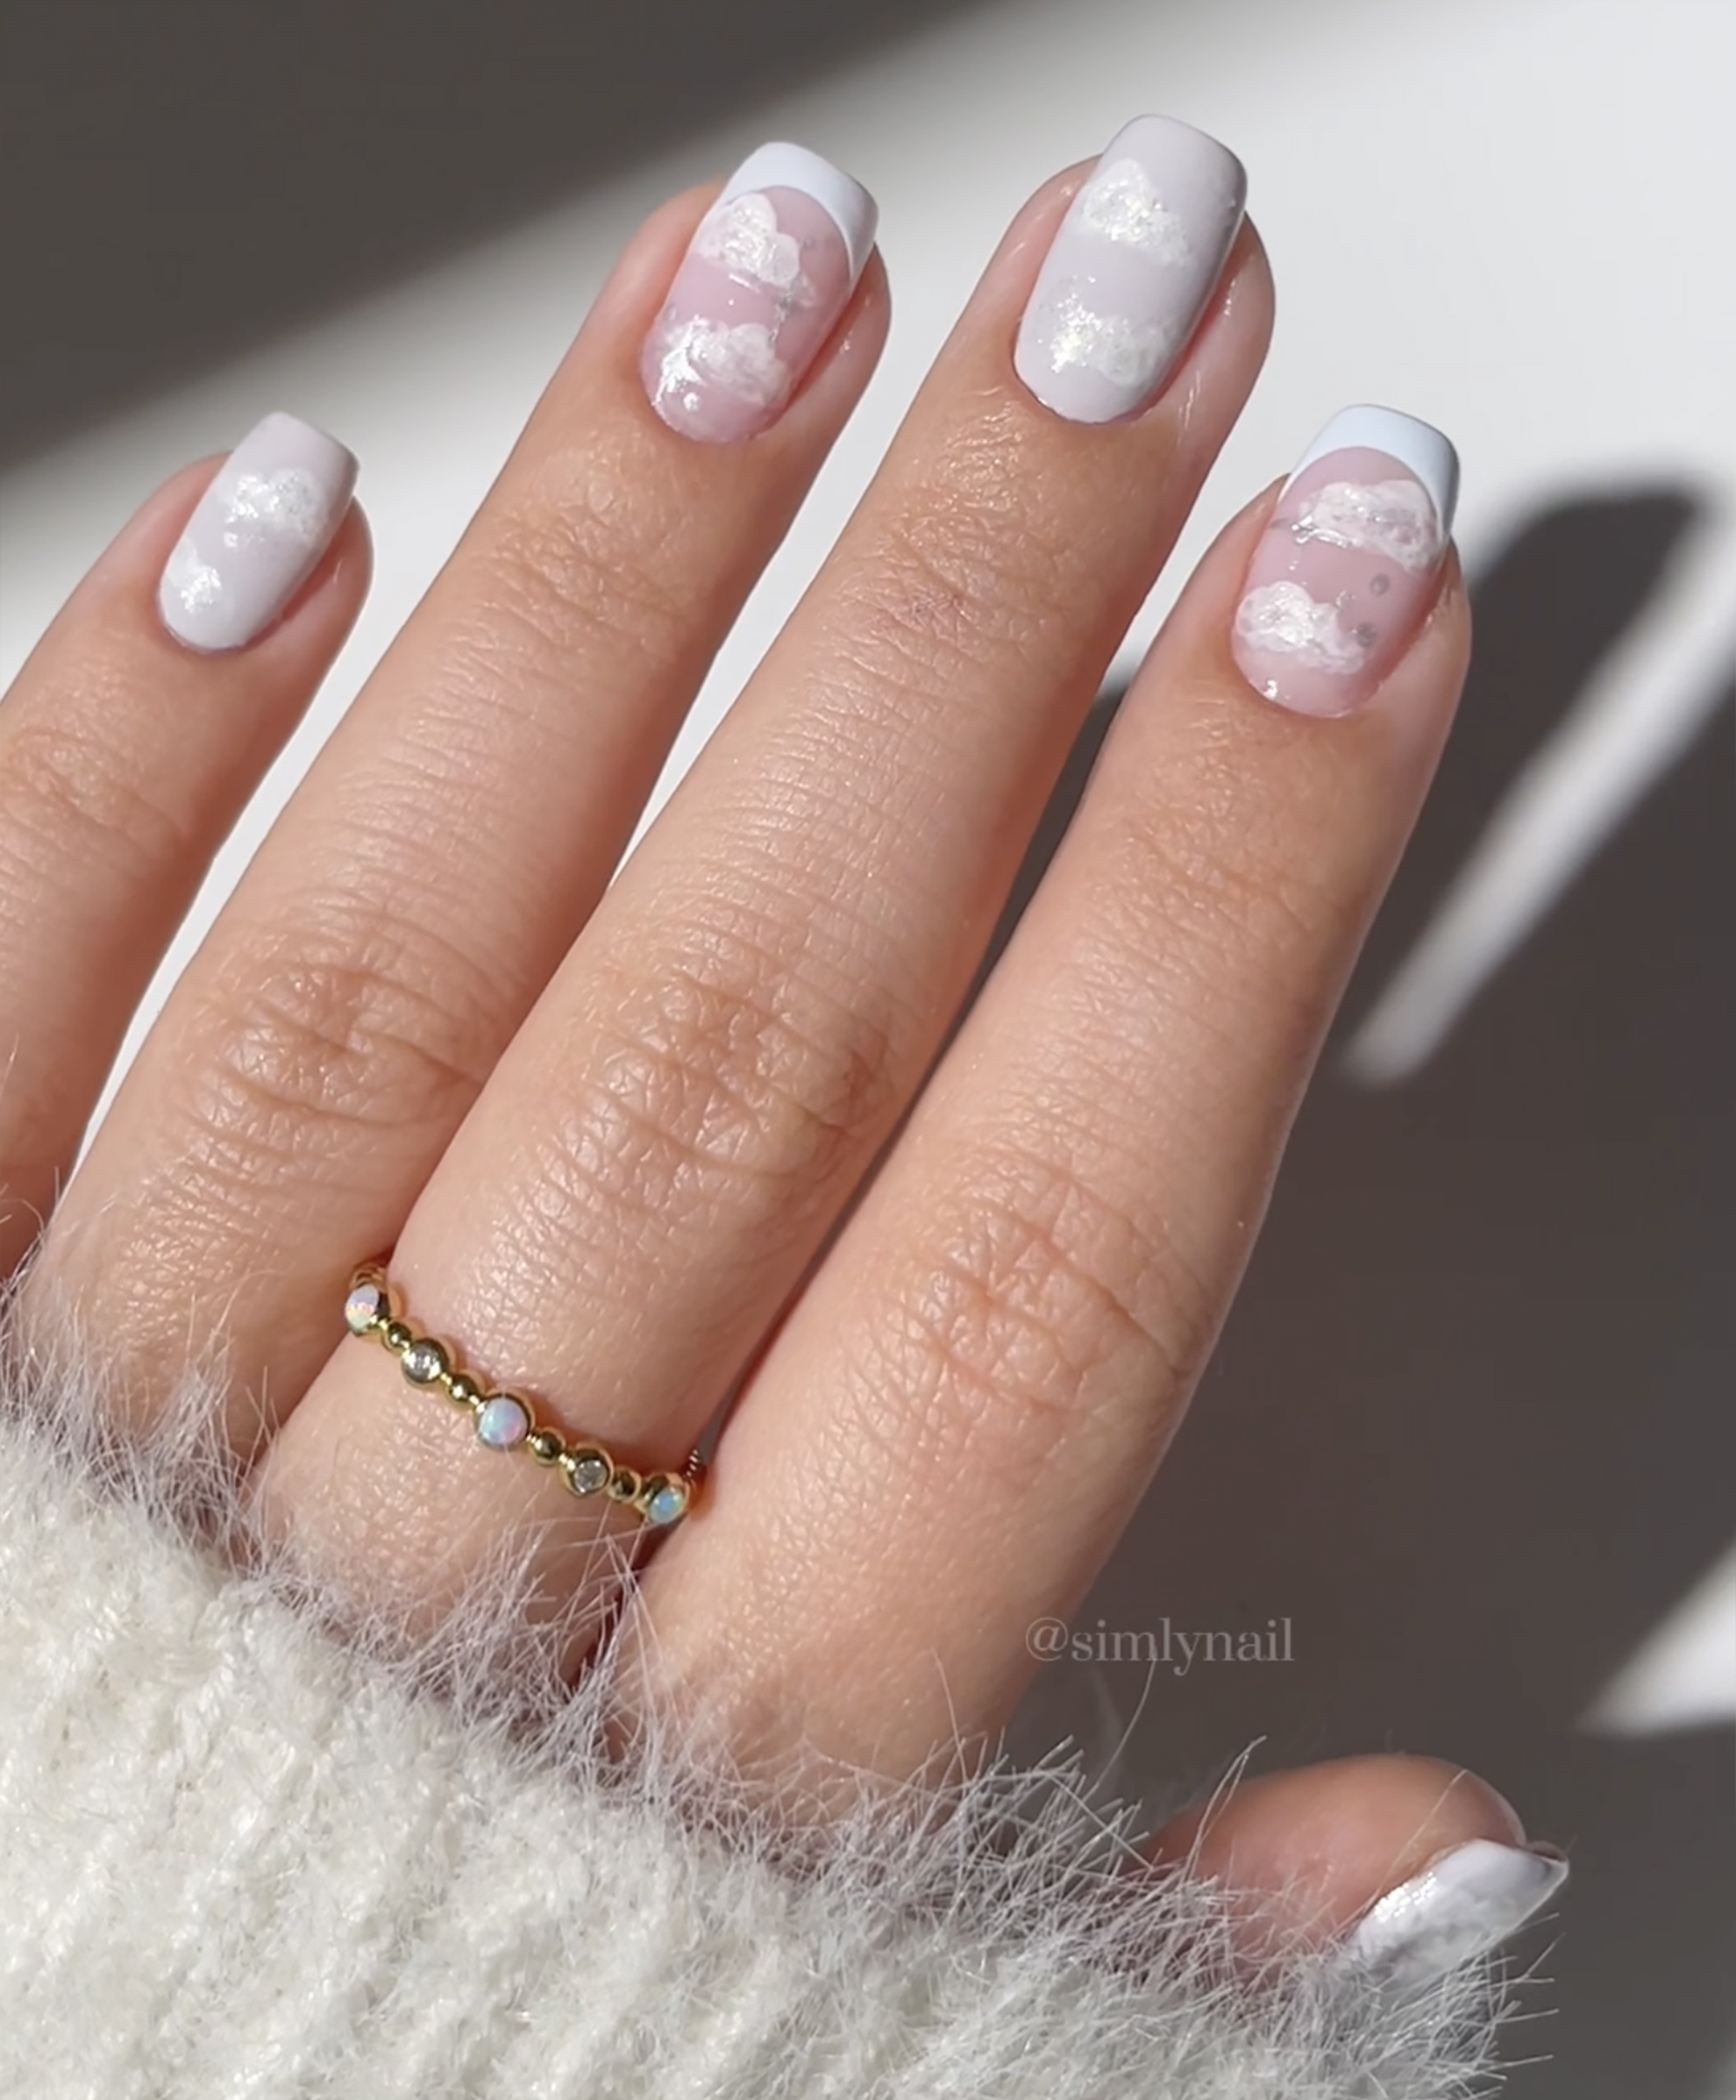
Elevate your nail game with this serene and airy cloud-inspired manicure, designed around Pantone’s Colour of the Year, Cloud Dancer. This soft, dreamy look by @simlynail captures the elegance of floating clouds and adds a whimsical, ethereal touch to your nails—perfect for spring or any season you want to feel light and fresh.
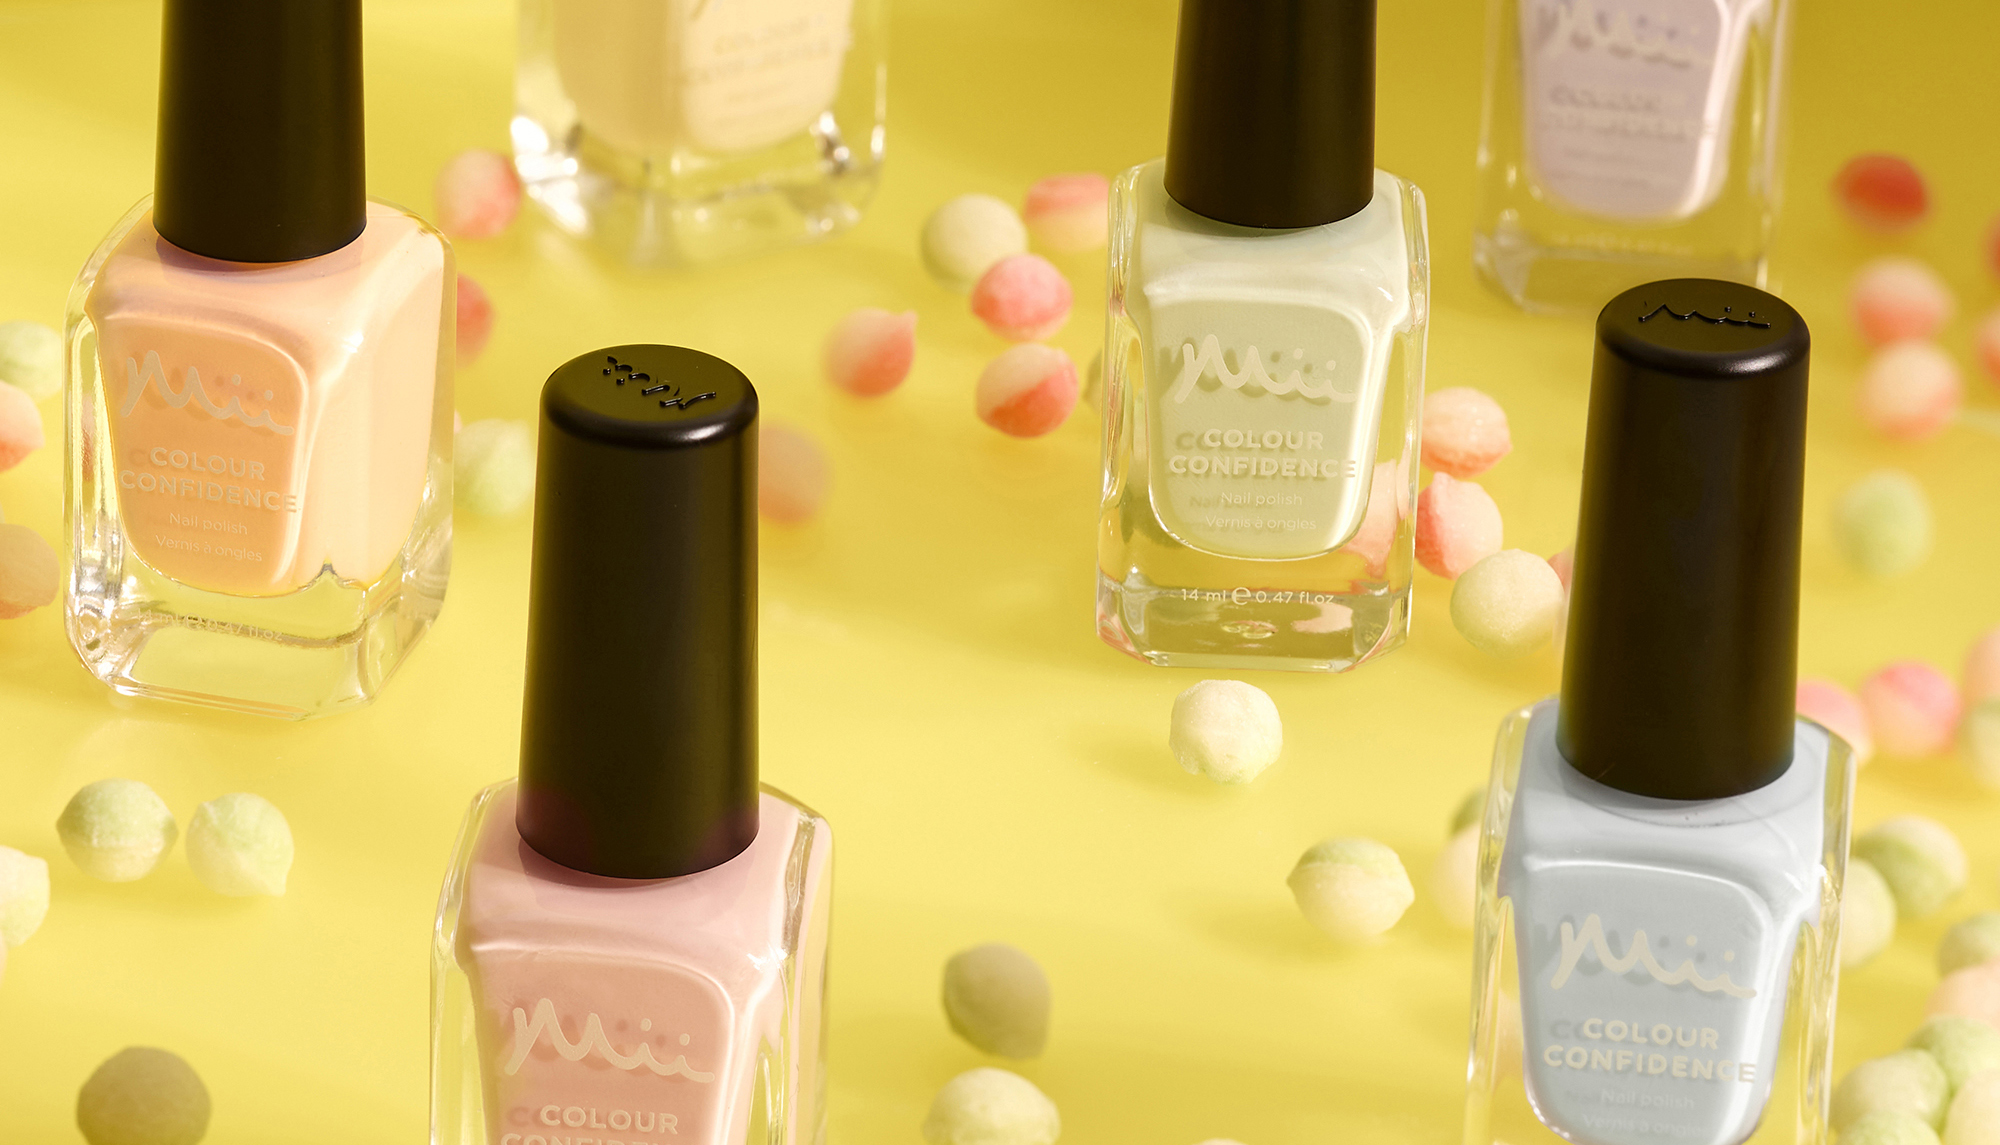
WHAT YOU’LL NEED:

3 Times A Lady– a white blue crème
Only Say Yes– a bright white crème
Diamond Chip– a metallic silver
Full of Grace– a sheer light nude shimmer
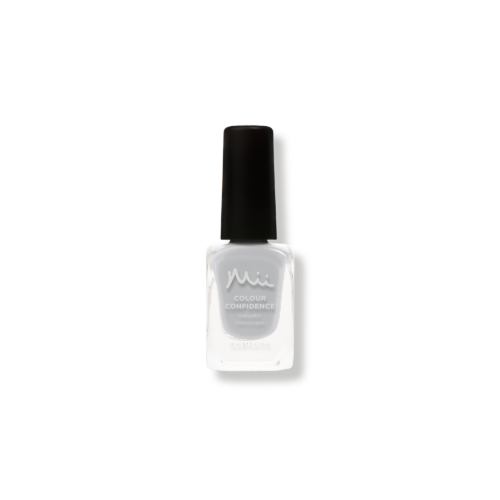
Glass Slipper– a pastel grey crème
STEP 1: CREATE THE PERFECT BASE

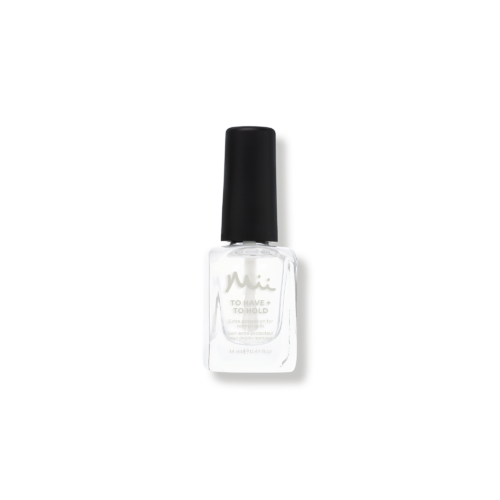
Begin by applying one coat of To Have + To Hold Base Coat to each nail for a smooth, even surface. A well-prepped base ensures that the cloud shapes remain crisp, vibrant, and long-lasting.
STEP 2: DREAMY FRENCH TIPS

On your index and ring fingers, use 3 Times A Lady to carefully paint a French tip for a subtle, yet elegant effect. Once dry, take Only Say Yes and a fine nail art brush to create two soft, cloud-like shapes on each nail. After the white clouds are set, add a touch of shimmer with Full of Grace to give your nails an ethereal glow. To complete the look, use Diamond Chip with the Neat + Tidy Nail Art Dotting Tool to place tiny metallic accents across the nail and finish by drawing a delicate star for a whimsical touch.
STEP 3: AIRY WHITE CLOUD ACCENTS

For the middle, pinky, and thumb nails, apply two coats of Glass Slipper to create a subtle backdrop for the cloud details. Once dry, paint two cloud-like shapes on each nail using Only Say Yes, then enhance the design by lightly brushing on Full of Grace to add glistening, textured dimension. This layering technique adds depth, making the clouds appear soft, dreamy, and almost floating across the nail surface.
STEP 4: SET THE DESIGN

Apply a coat of Shine + Shield Top Coat to all nails for a glossy, long-lasting finish that protects your design from chipping and keeps it vibrant for days.