


SPOOK-TACULARNAILS
SPOOK-TACULAR HALLOWEEN NAILS: YOUR STEP-BY-STEP GUIDE
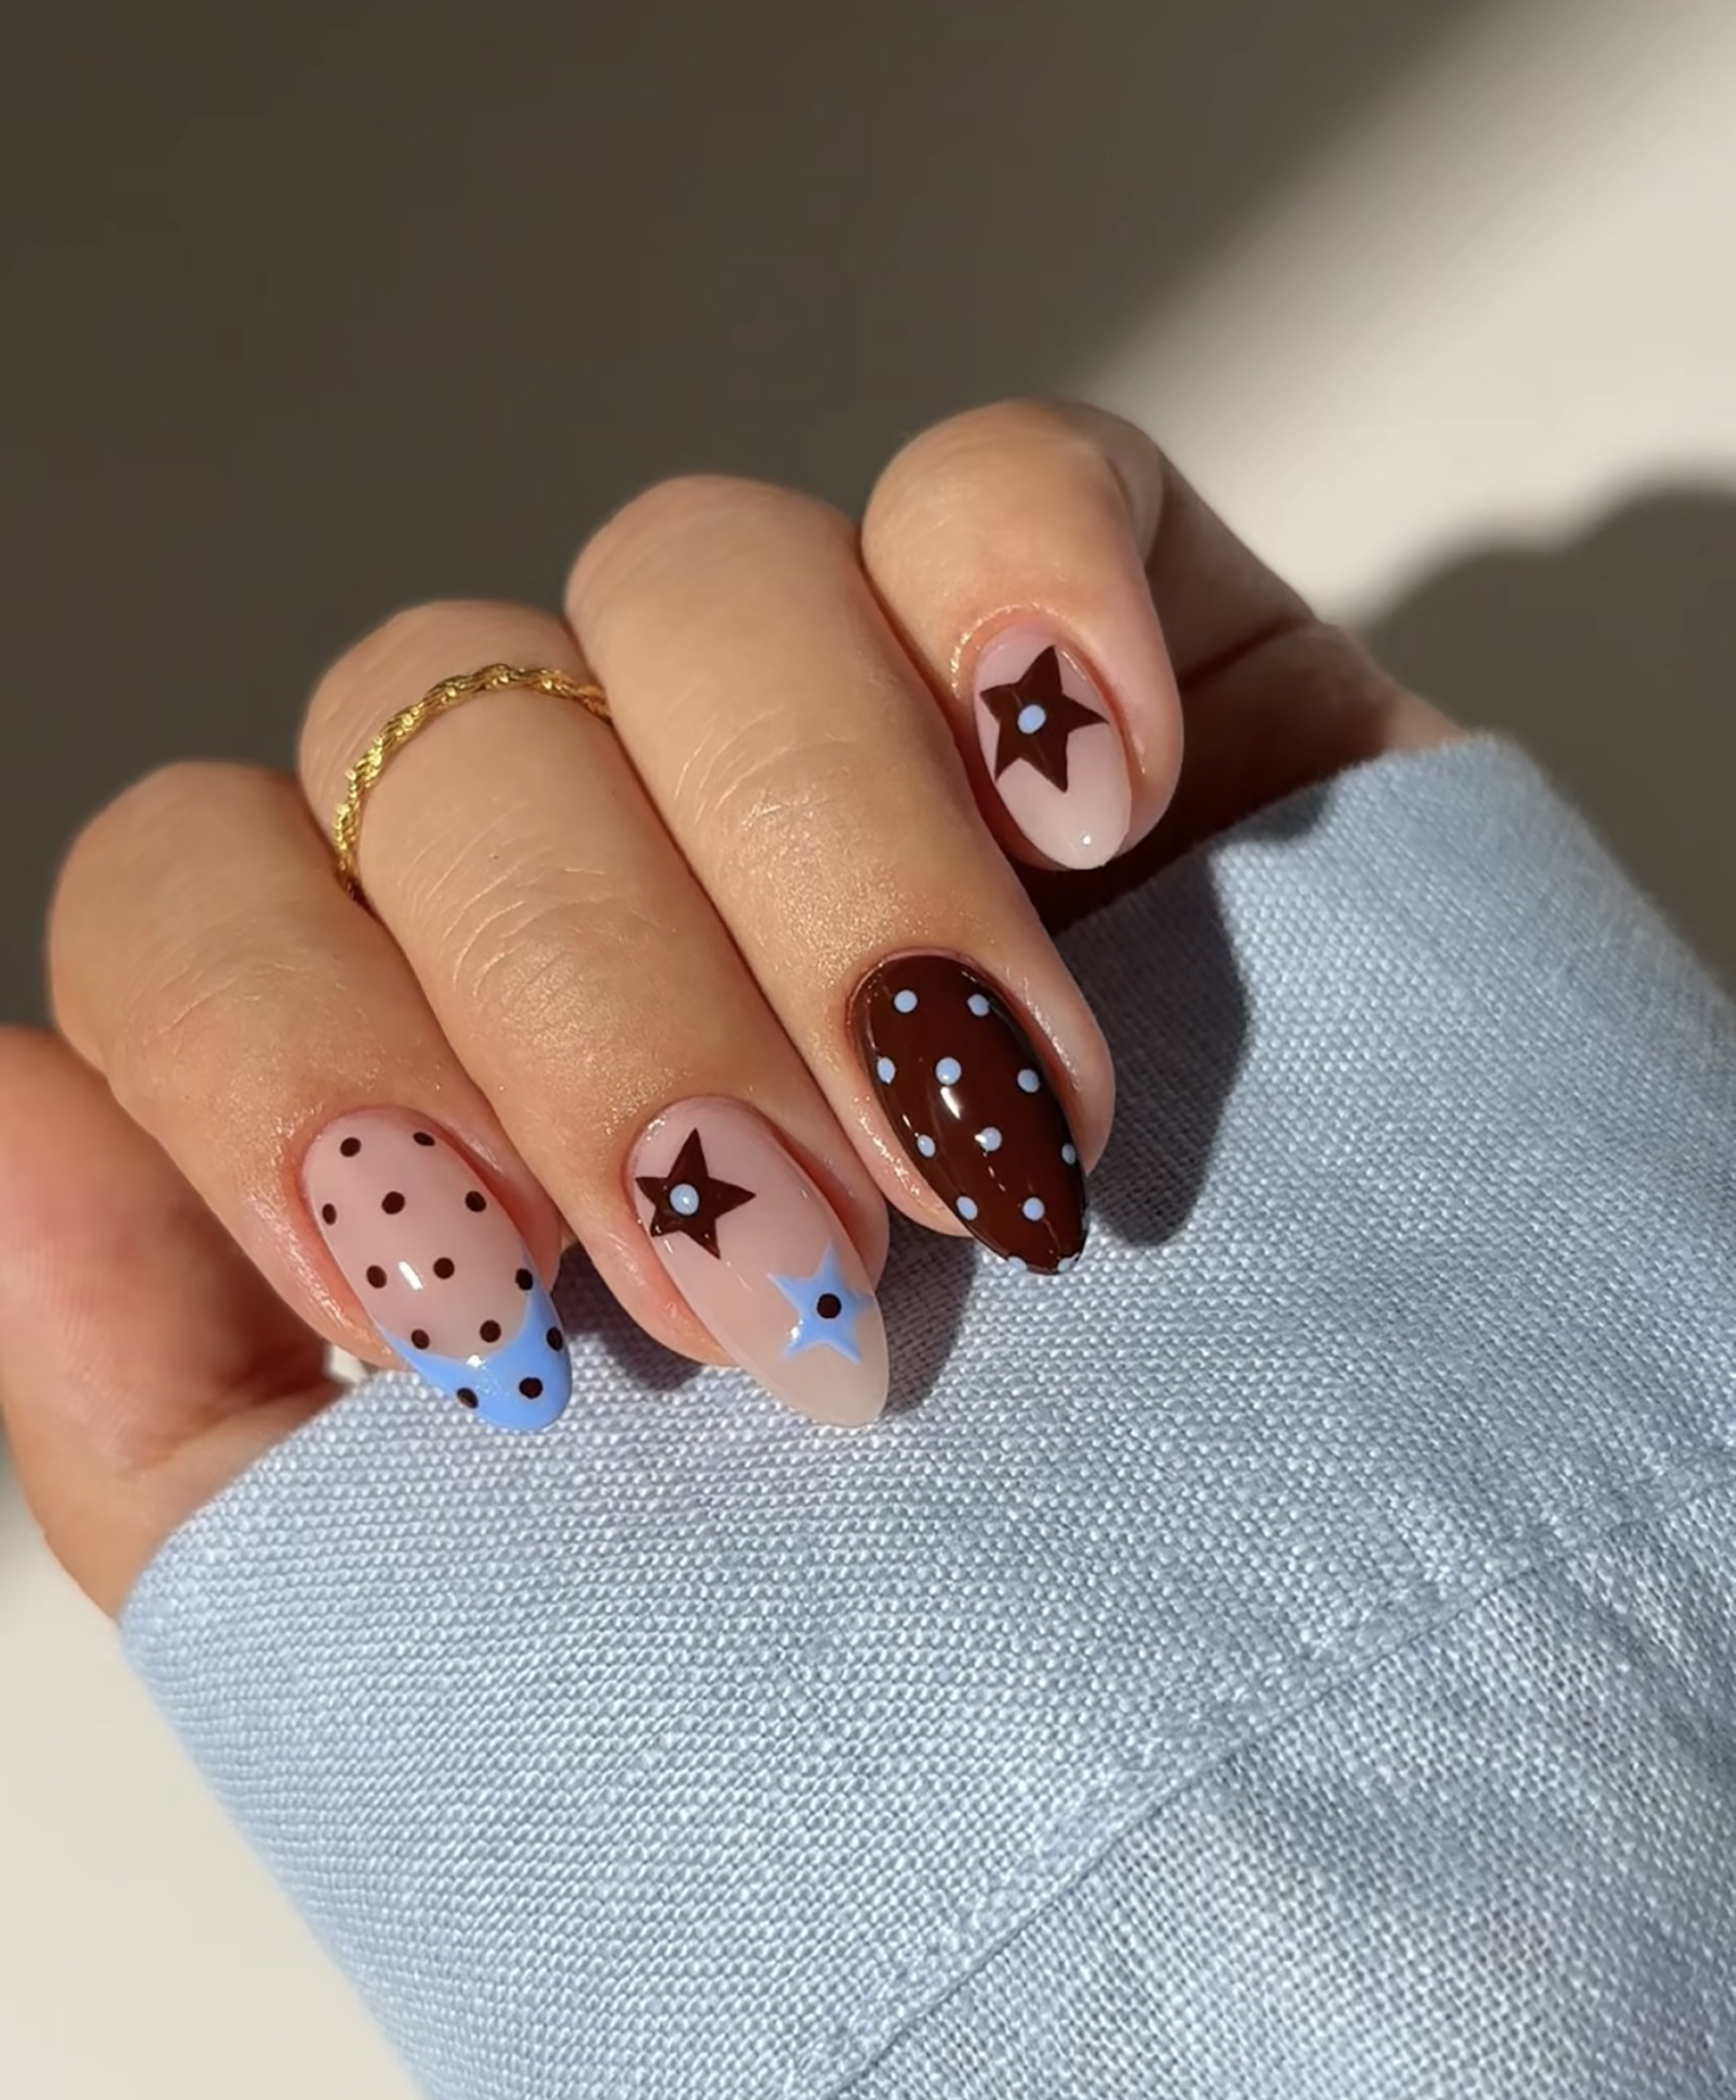
This Halloween, give your nails a playful twist with a spellbinding mix of spooky and stylish. Inspired by the creativity of @simlynail, this manicure combines frightening funhouse vibes with Halloween glam, featuring shades from our new Cosy Up with Mii collection. Follow this step-by-step guide to create a dazzling nail art masterpiece.
WHAT YOU’LL NEED

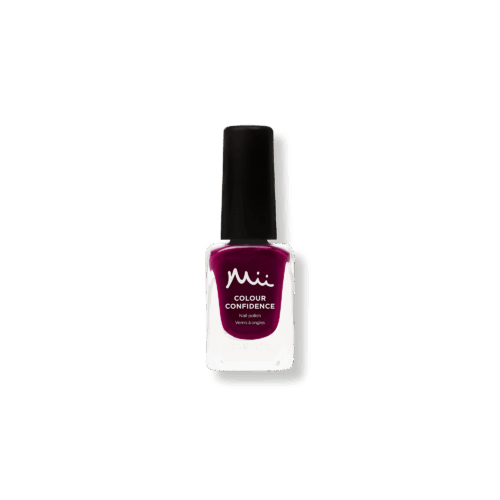
Berry Glaze – a mulberry pink metallic
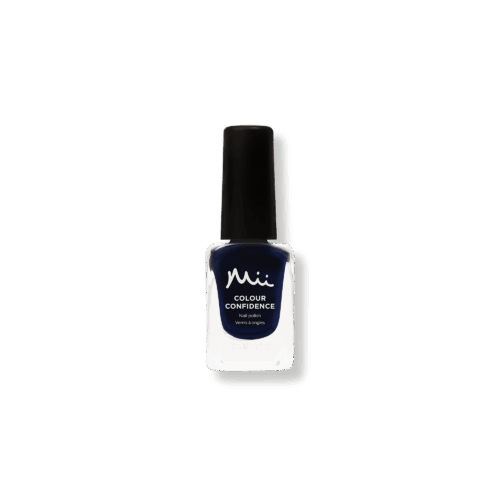
Nightfall – a shimmering dark sapphire blue
Purple Elderberry – a dark purple crème
Evergreen Bright – an emerald jade green crème
STEP 1: THE PERFECT BASE

Start by applying one coat of To Have + To Hold Base Coat. This vitamin-rich base creates a smooth surface, extends the life of your manicure, and promotes healthier-looking nails.
STEP 2: METALLIC CANDY SWIRLS

On your index fingers, use Berry Glaze and a thin nail art brush to draw curved lines from the centre of the nail to the edge. Fill in the shapes to create a candy-inspired design. Once dry, use our Neat + Tidy Nail Art Dotting Tool to place a dot in the centre with Nightfall.
STEP 3: STARBURST FRENCH

On the middle fingers, create a French tip using Nightfall. Once dry, draw a starburst just below the tip with Berry Glaze, then add a smaller starburst in the lower-left corner with Purple Elderberry. Finish with dots in varying sizes using Evergreen Bright, Purple Elderberry, and Nightfall.
STEP 4: HARLEQUIN CHIC

On your ring fingers, use Purple Elderberry and a thin brush to draw two parallel lines along each side of the nail. Fill in the diamond shapes to create a checkerboard effect. Once dry, add dots in the blank diamonds using Berry Glaze.
STEP 5: DRAMATIC BOW

On the pinky fingers, use Nightfall and a thin brush to draw two exaggerated curved triangles meeting in the middle of the nail. Once dry, add a dot where the bow meets with Berry Glaze, and two more dots above and below using Evergreen Bright.
STEP 6: A CAPTIVATING FINISH

Once all your designs are completely dry, seal them with Shine + Shield Top Coat for a dazzling, mirror-like finish and lasting protection.
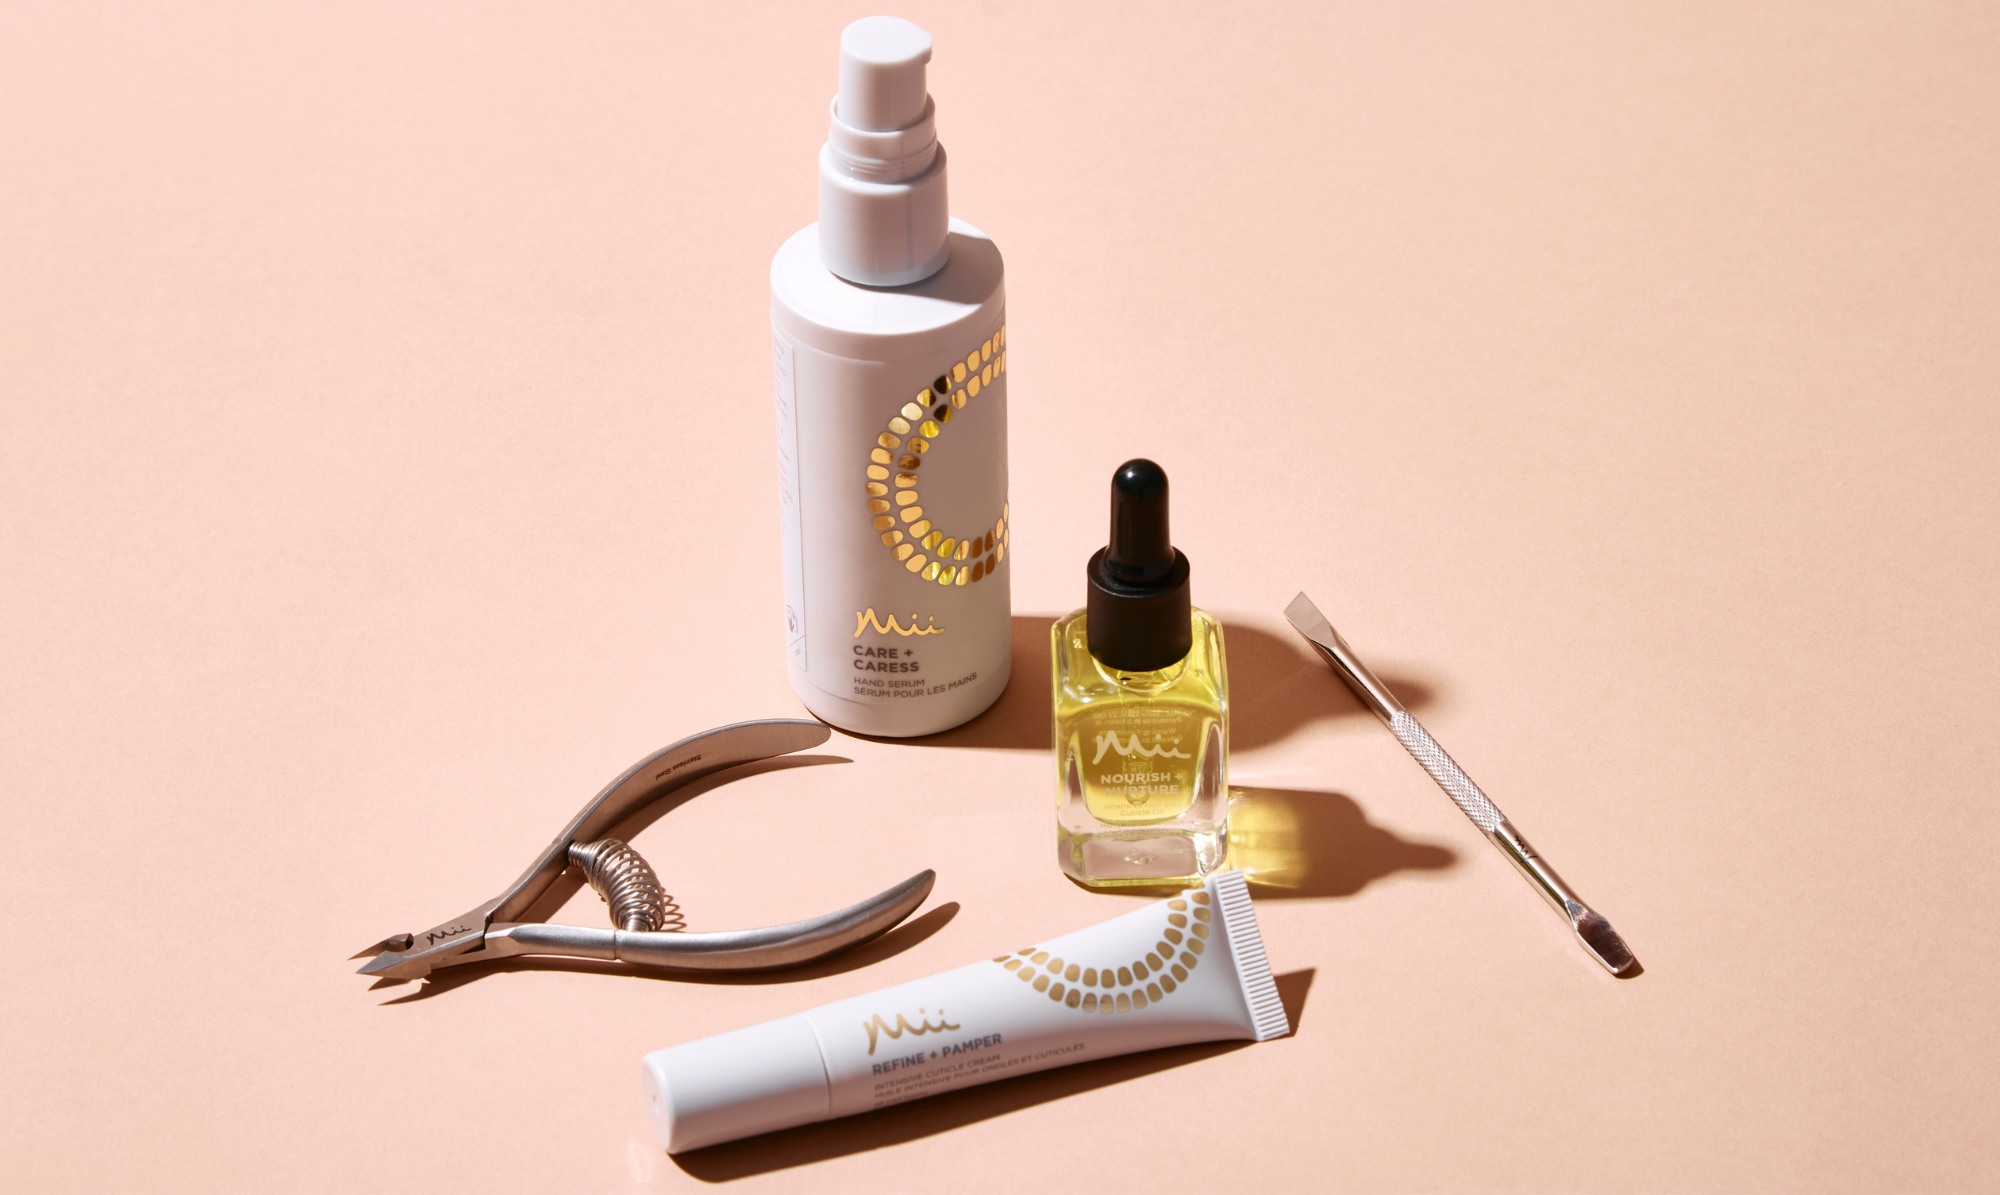
For the final touch, apply a few drops of Nourish + Nurture Nail and Cuticle Oil to hydrate and soften cuticles, leaving your manicure looking polished and healthy.