


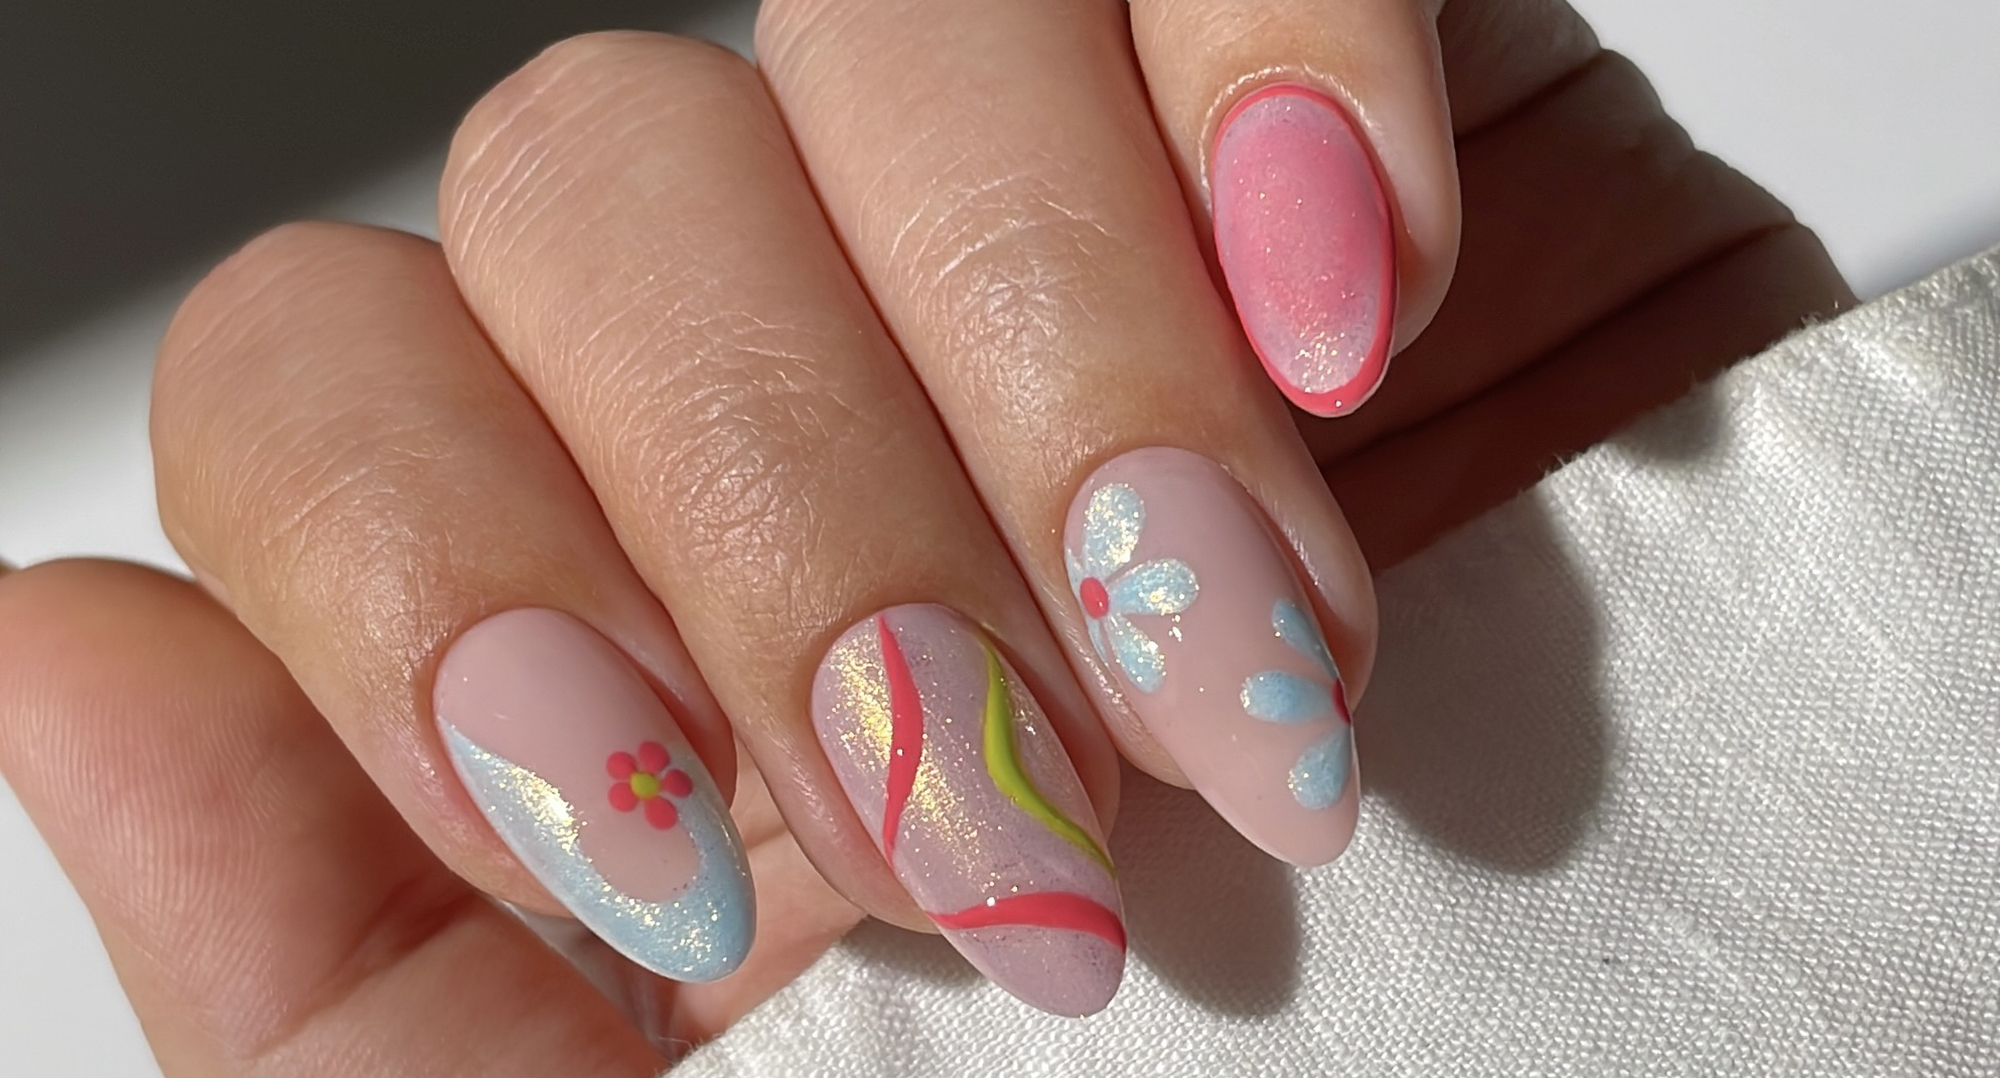
BLOOMING NAILART
HOW TO: FLORAL DAYDREAM NAIL ART
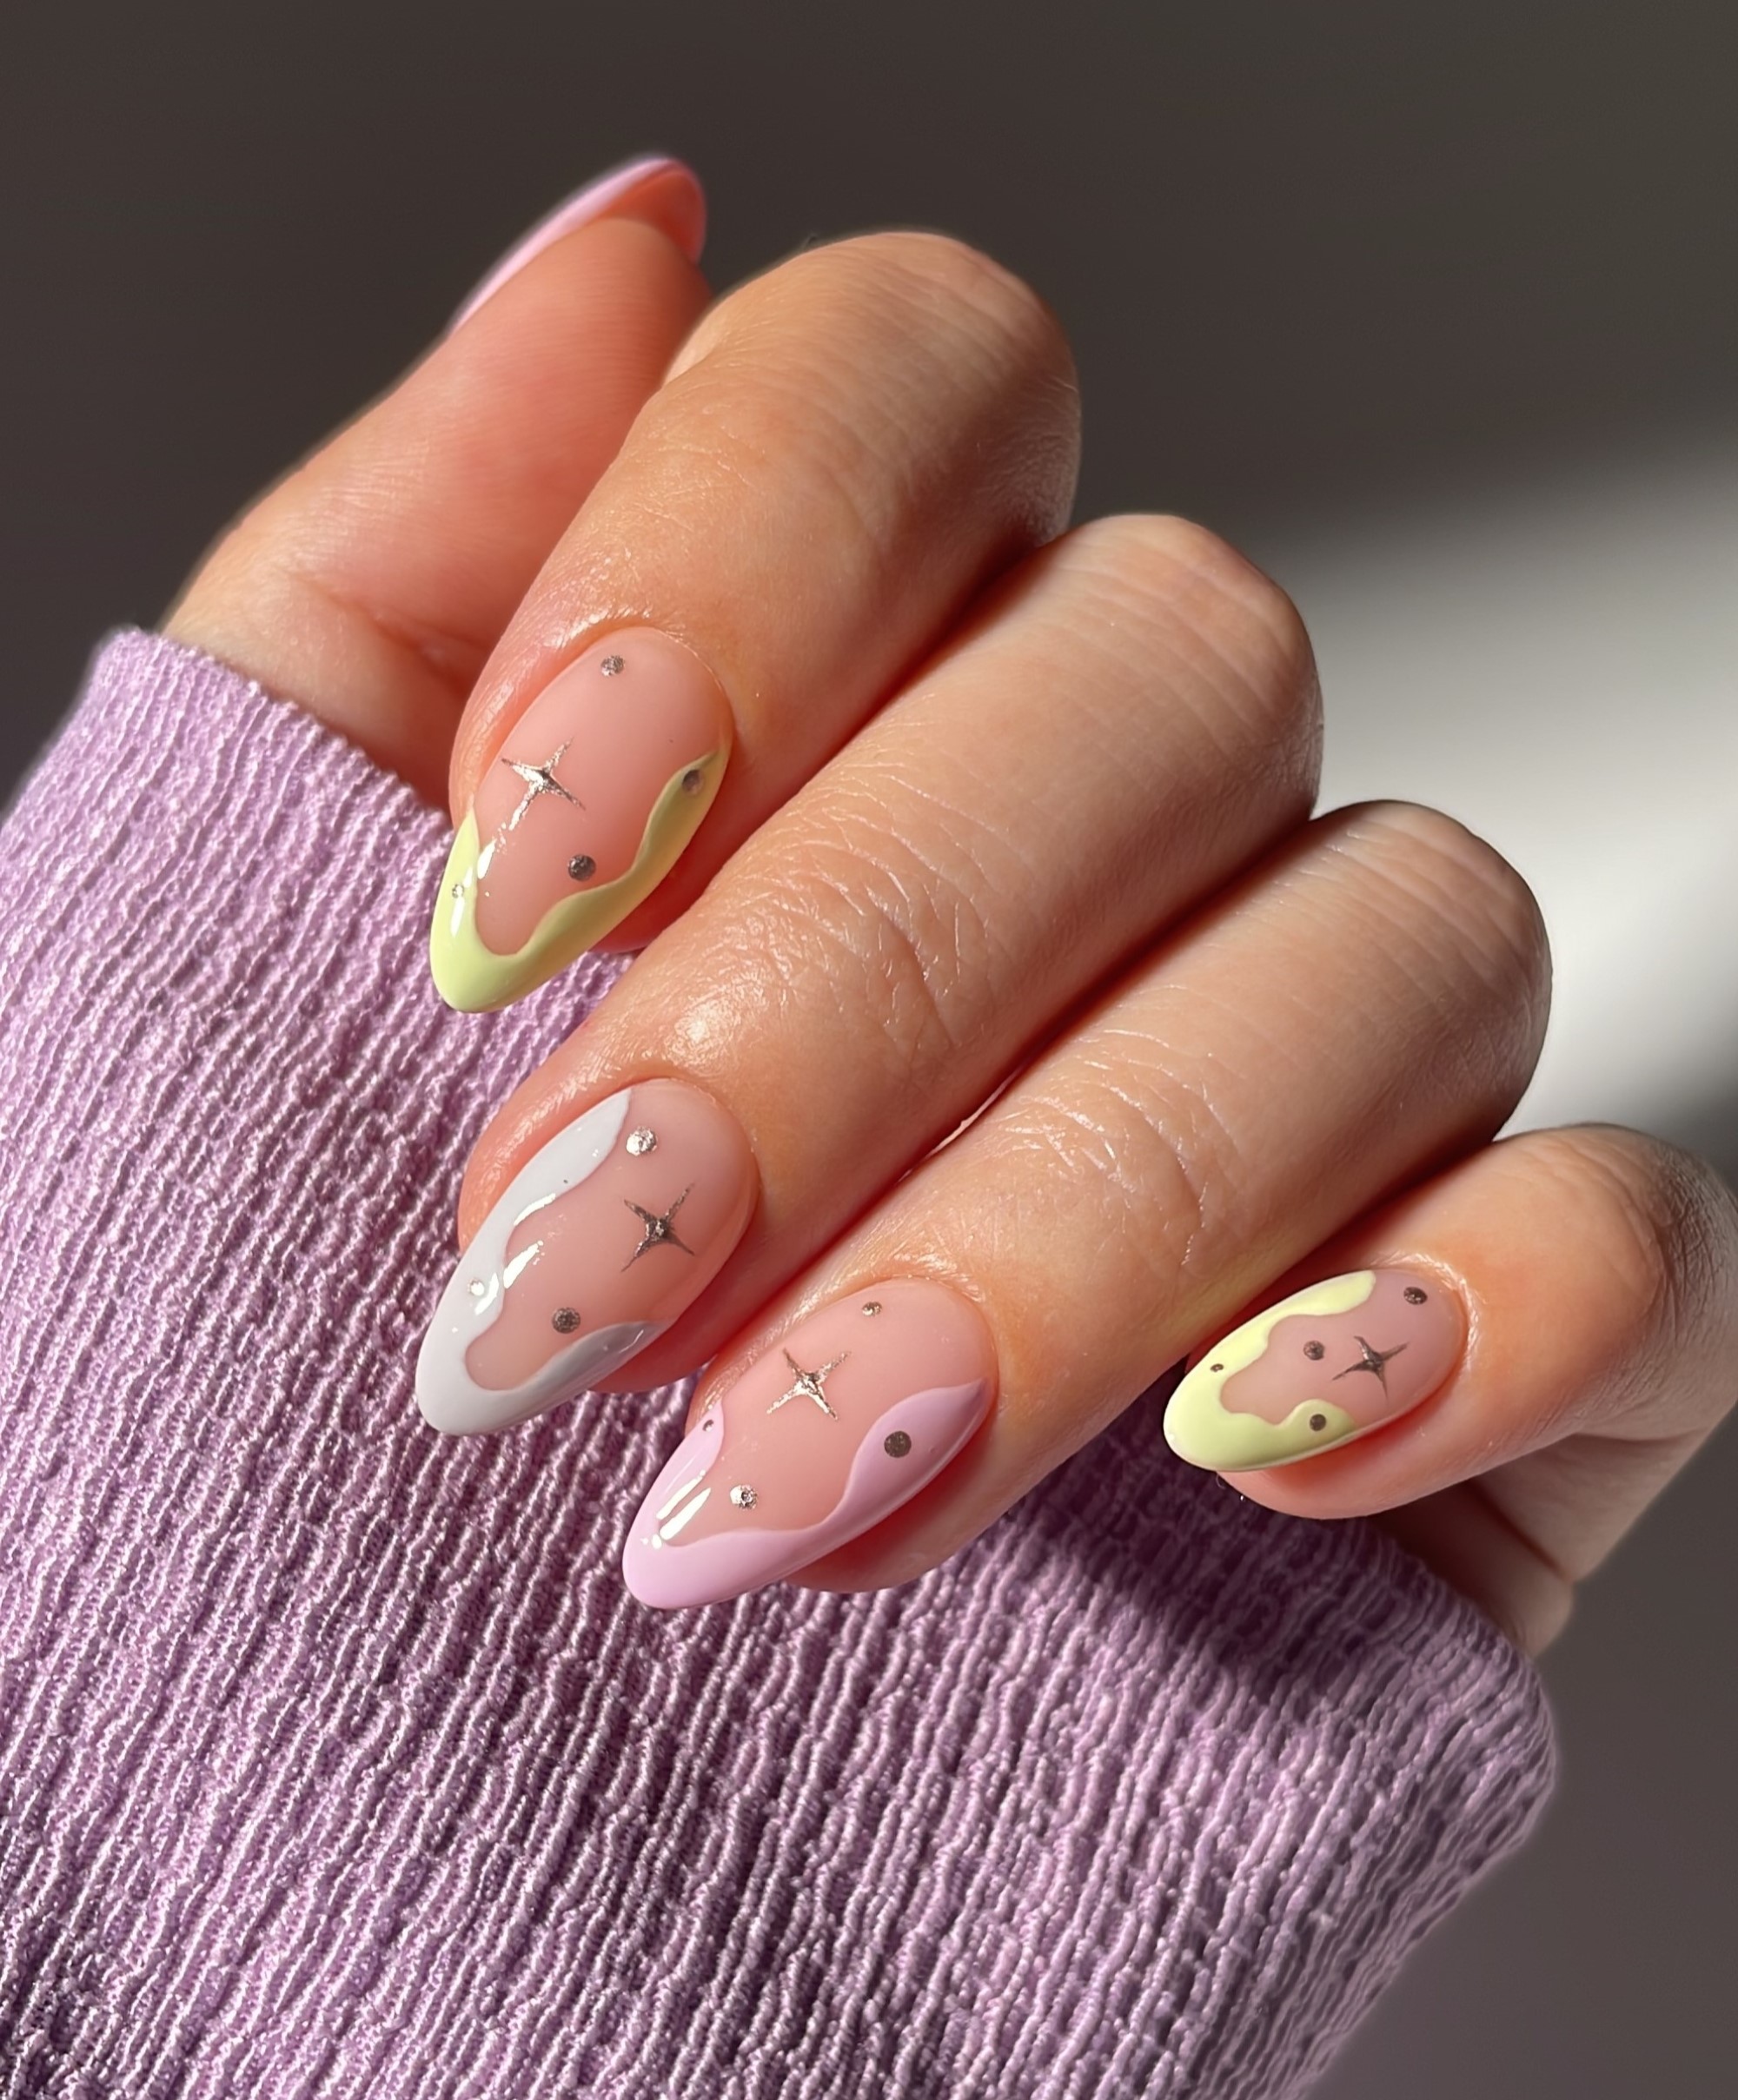
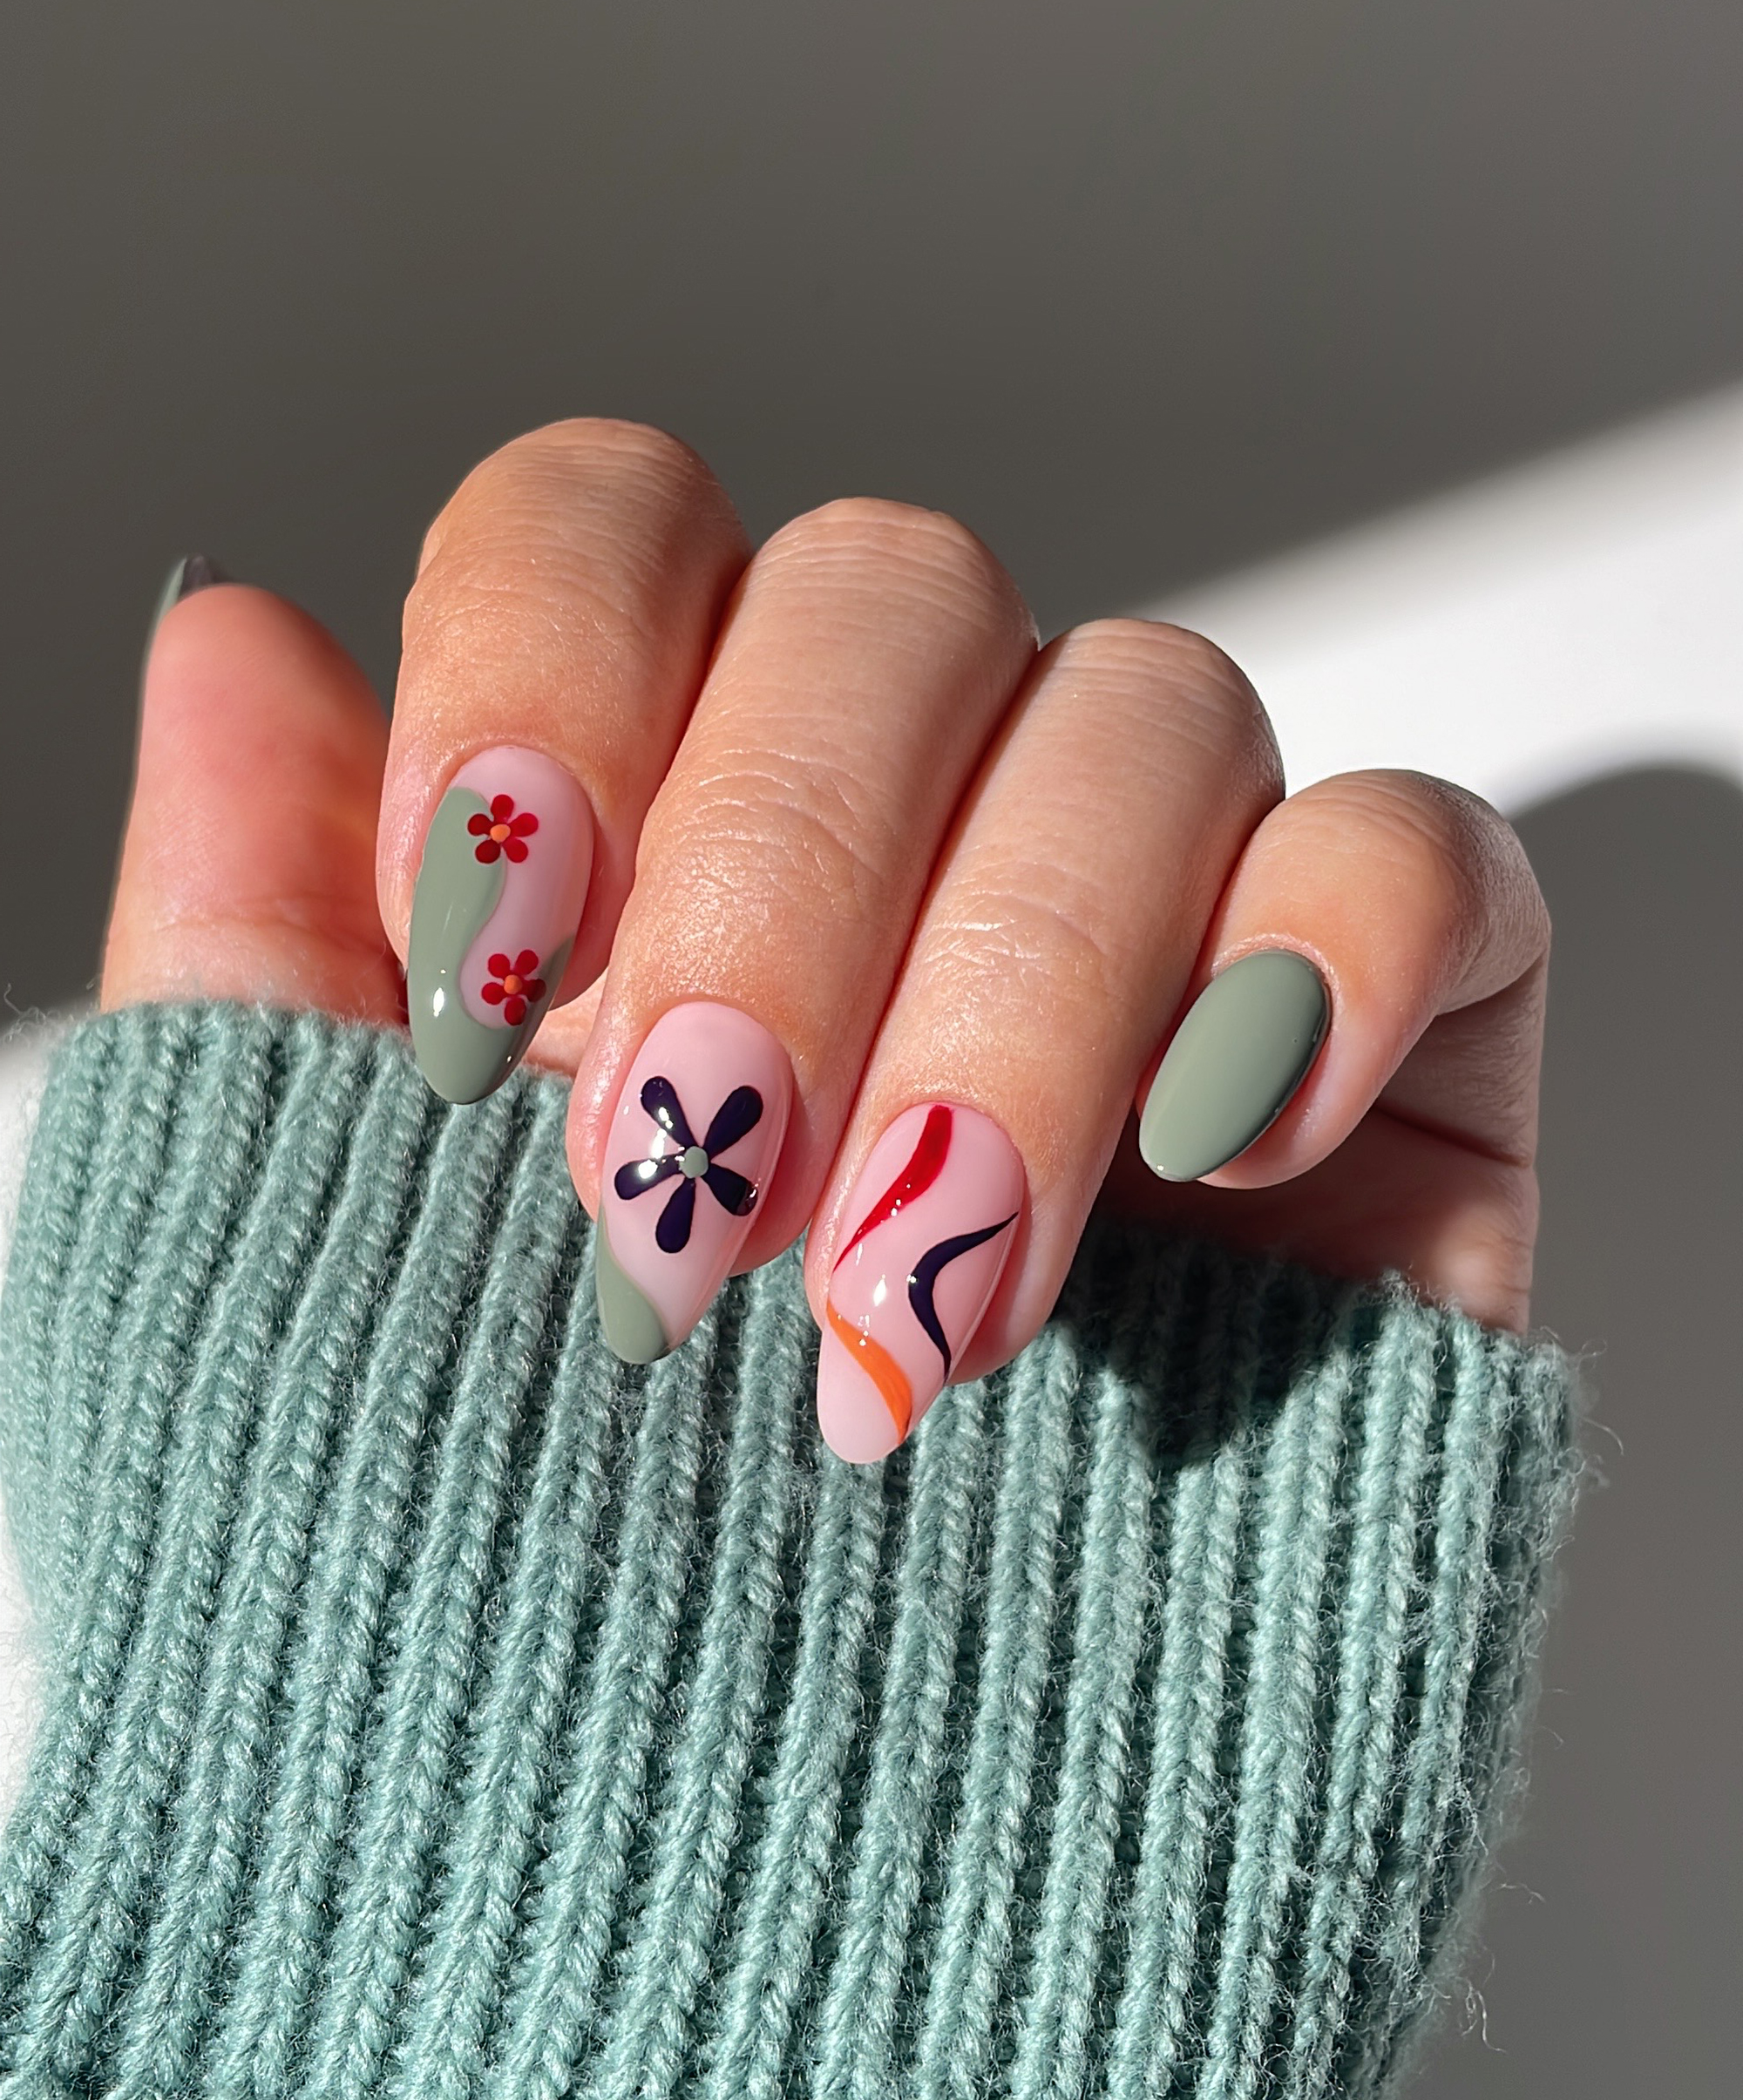
Get ready to elevate your spring manicure with this stunning, pastel-perfect design inspired by the fresh hues of the season. Created by the talented @simlynail, this look combines soft, airy shades with a dazzling twist—featuring our Tropical Paradise collection.

WHAT YOU’LL NEED
Ocean Breeze – A shimmering sky blue
Dragon Fruit – A flamingo pink crème
Kiwi Crush – A refreshing lime crème
Sea Pearl – A shell pink shimmer
STEP 1: BASE

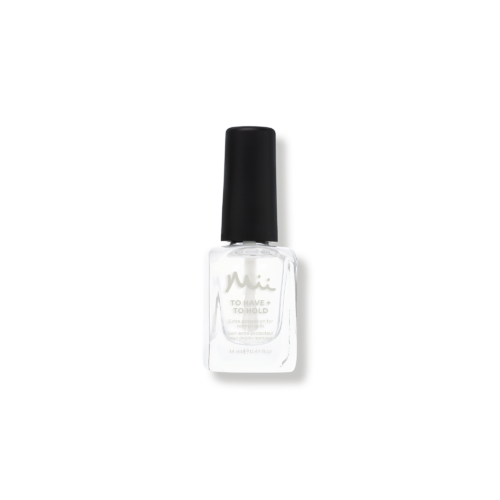
Begin by applying a thin, even layer of To Have + To Hold Base Coat to clean, dry nails. This vitamin-rich formula strengthens nails, smooths ridges and ensures long-lasting wear.
STEP 2: SPRING DAISES

-
On your index finger, use a thin nail brush to paint a modern, wavy French tip with Ocean Breeze and fill it in.
-
Using the Neat + Tidy Dotting Tool, create five small Dragon Fruit dots close together to form flower petals.
-
Connect the petals with a fine brush to form the daisy, then dot the centre with Kiwi Crush for a fresh, vibrant touch.
STEP 3: SHIMMERING FLOWERS

-
On the ring finger, place three dots of Ocean Breeze near the lower corner of the nail using a dotting tool.
-
With a fine brush, gently drag the dots towards the corner to shape a delicate flower.
-
Add a Dragon Fruit dot in the centre for definition.
-
Repeat this process on the opposite corner of the nail to balance the design.
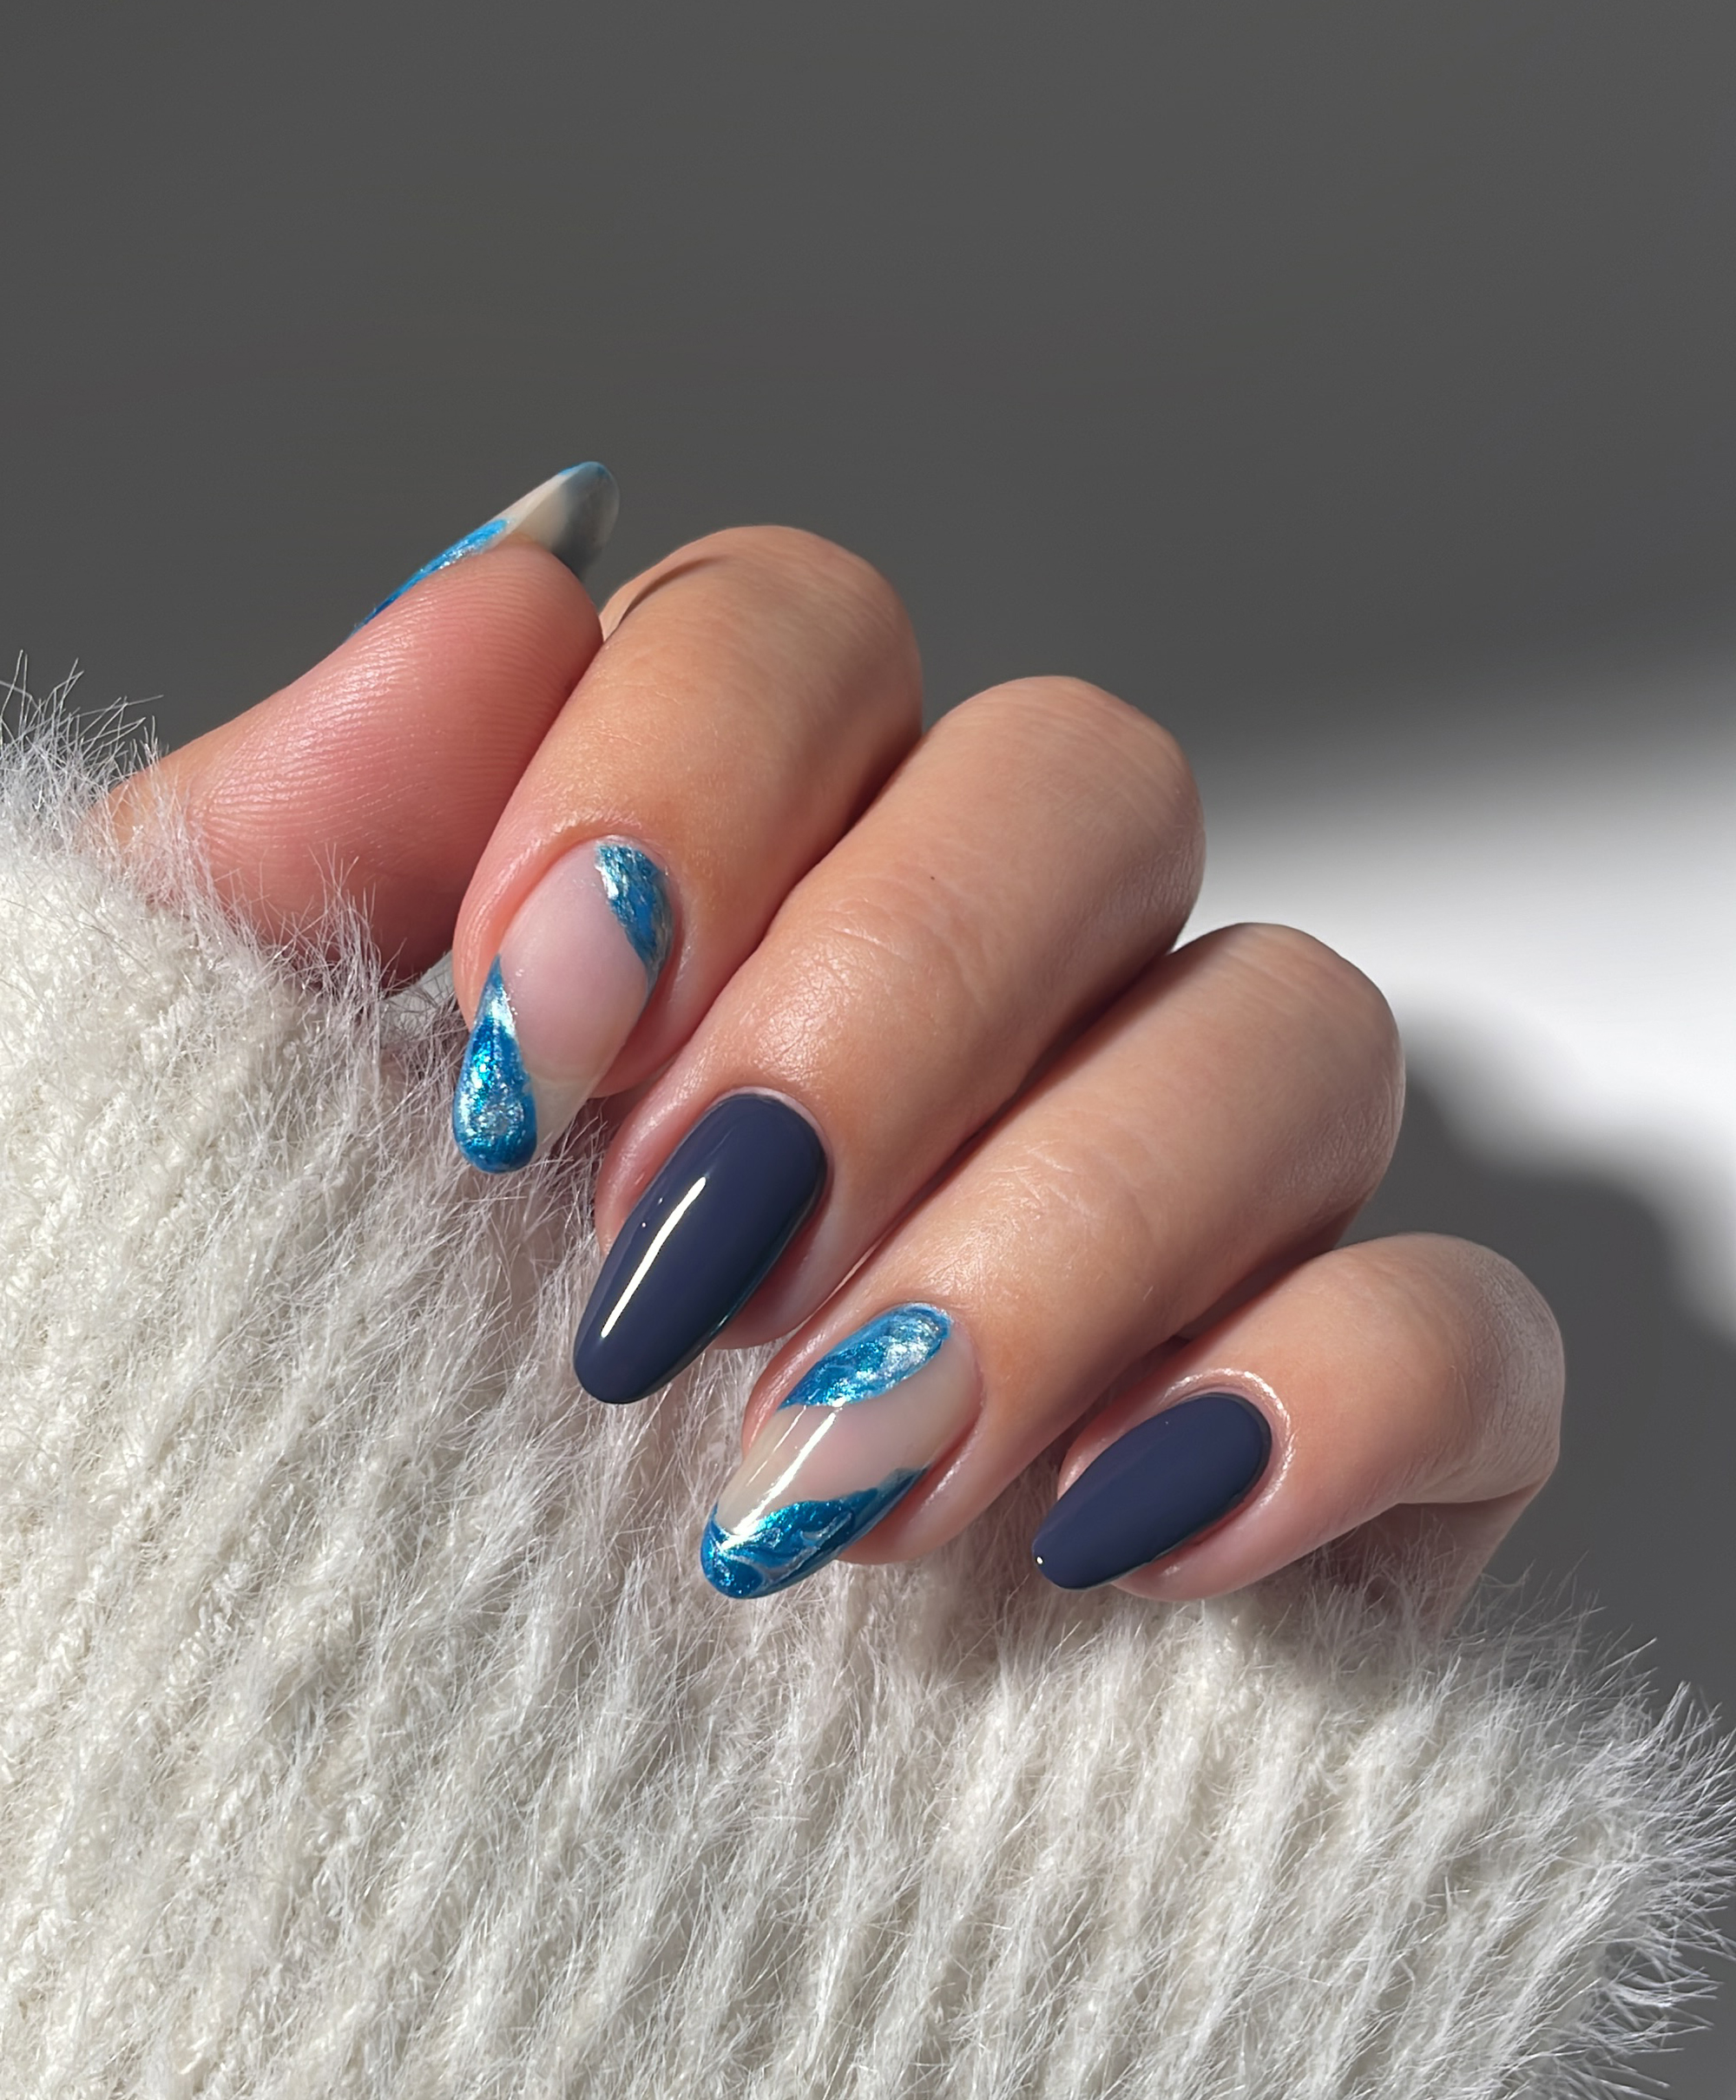
STEP 4: MAGICAL AURA

-
Coat the little finger with two layers of Sea Pearl for an ethereal shimmer.
-
Lightly dab Dragon Fruit onto the nail using a sponge to create a dreamy, soft-blended effect.
-
Outline the nail with a fine Dragon Fruit line using a detail brush for a polished finish.
STEP 5: VIBRANT LINES

-
On the middle finger, apply two coats of Sea Pearl as a luminous base.
-
Use a thin nail brush to paint two wavy lines in Dragon Fruit across the right side of the nail.
-
Add a final wavy line in Kiwi Crush on the left side to complete the playful, flowing design.
STEP 6: SEAL

Use the Shine + Shield Top Coat to seal your gorgeous spring design with a lustrous, mirror-like shine that enhances the vibrancy of the colours whilst keeping your nails looking fresh and flawless for days.