CORAL DREAMSNAIL ART
CORAL DREAMS MANICURE TUTORIAL: ACHIEVE THE PERFECT SUMMER NAILS
The Coral Dreams manicure by @simlynail blends playful starfish accents with a luminous coral gradient, making it the perfect look for summer days, beach getaways, or simply when you want to channel coastal vibes. By layering shades of pink and coral with precise detailing, you can achieve a professional-looking design in the comfort of your home.
WHAT YOU’LL NEED

Hopeful Blush – A light blush sheer pink
Raspberry Ripple – A metallic hot pink
Flamingo Pink – A hot pink crème
Perfect Peony – A radiant strawberry sorbet crème
Hottie – A bright orange crème
STEP 1: PREP YOUR BASE
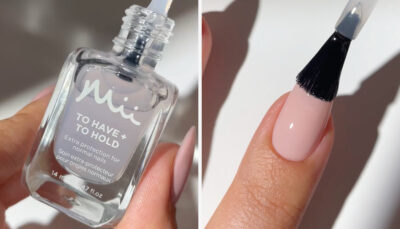
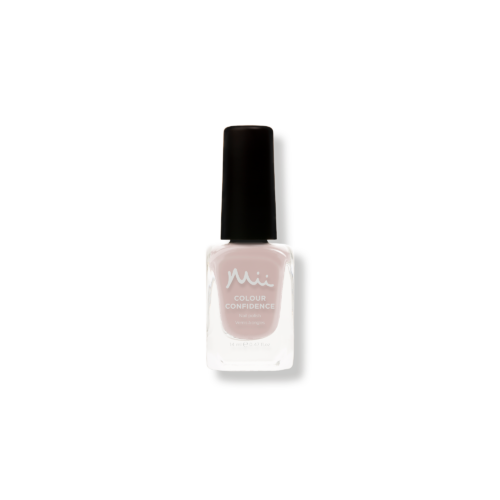
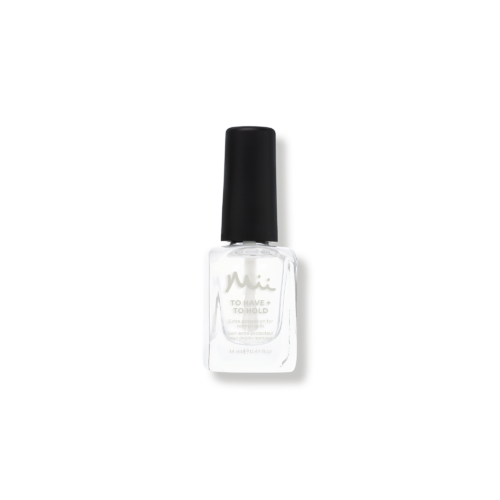
Start with a clean, smooth canvas by cleaning and filing your nails to your desired shape. Once prepped, apply our vitamin rich To Have + To Hold Base Coat to protect the nail and create a seamless base. Once dry, apply two thin coats of Hopeful Blush – a light nude shade that provides the perfect neutral backdrop for your coral-inspired design.
STEP 2: DOUBLE STARFISH

It’s time to create your starfish-inspired accents. Using a thin brush, paint a starfish shape with Raspberry Ripple on the upper right corner of the ring fingernails. Once dry, repeat the process in the lower-left corner with Flamingo Pink to create a playful contrast.
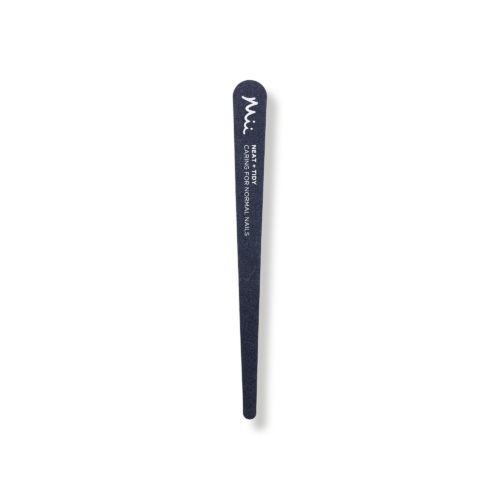
Allow the shapes to dry before using our Neat + Tidy Nail Art Dotting Tool to create dots across the upper starfish using Flamingo Pink, and the lower starfish using Perfect Peony. The result is a layered, dimensional effect that mimics real starfish textures.
STEP 3: DAZZLING FRENCH TIP

For your index fingers, create a modern twist on the classic French manicure, using Raspberry Ripple, keeping the curve neat and consistent across both nails. Once the tips are dry, use a thin nail brush to create a starfish shape just below the French tip with Perfect Peony.
When the starfish have dried, use our Neat + Tidy Nail Art Dotting Tool to add dots for texture across them with Flamingo Pink. This detail adds a pop of personality while still keeping the look balanced and elegant.
STEP 4: SUNSET AURA

The star of the Coral Dreams manicure is the gradient effect. Start by applying two coats of Perfect Peony on the middle fingers. Next, take a square nail sponge and outline the outer shape of the square with Perfect Peony, then apply Hottie to its centre.
Dab the sponge lightly onto the nail, building the gradient slowly until you achieve a smooth transition from coral to pink. Repeat the design on the pinkies and thumbs. The result is a glowing sunset aura that ties the look together.
STEP 5: SEAL THE LOOK

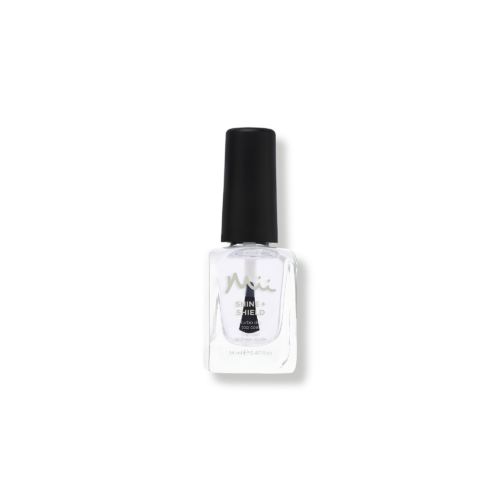
Once your nails are fully dry, finish your manicure with a coat of Shine + Shield Top Coat to seal in the look. This glossy formula locks in your design, amplifies the colours, and delivers a salon-worthy shine.
CLICK TO WATCH how @simlynail created this look.


