


MODERN FRENCHMANICURE
HOW TO CREATE A MINIMALIST DOT FRENCH MANICURE
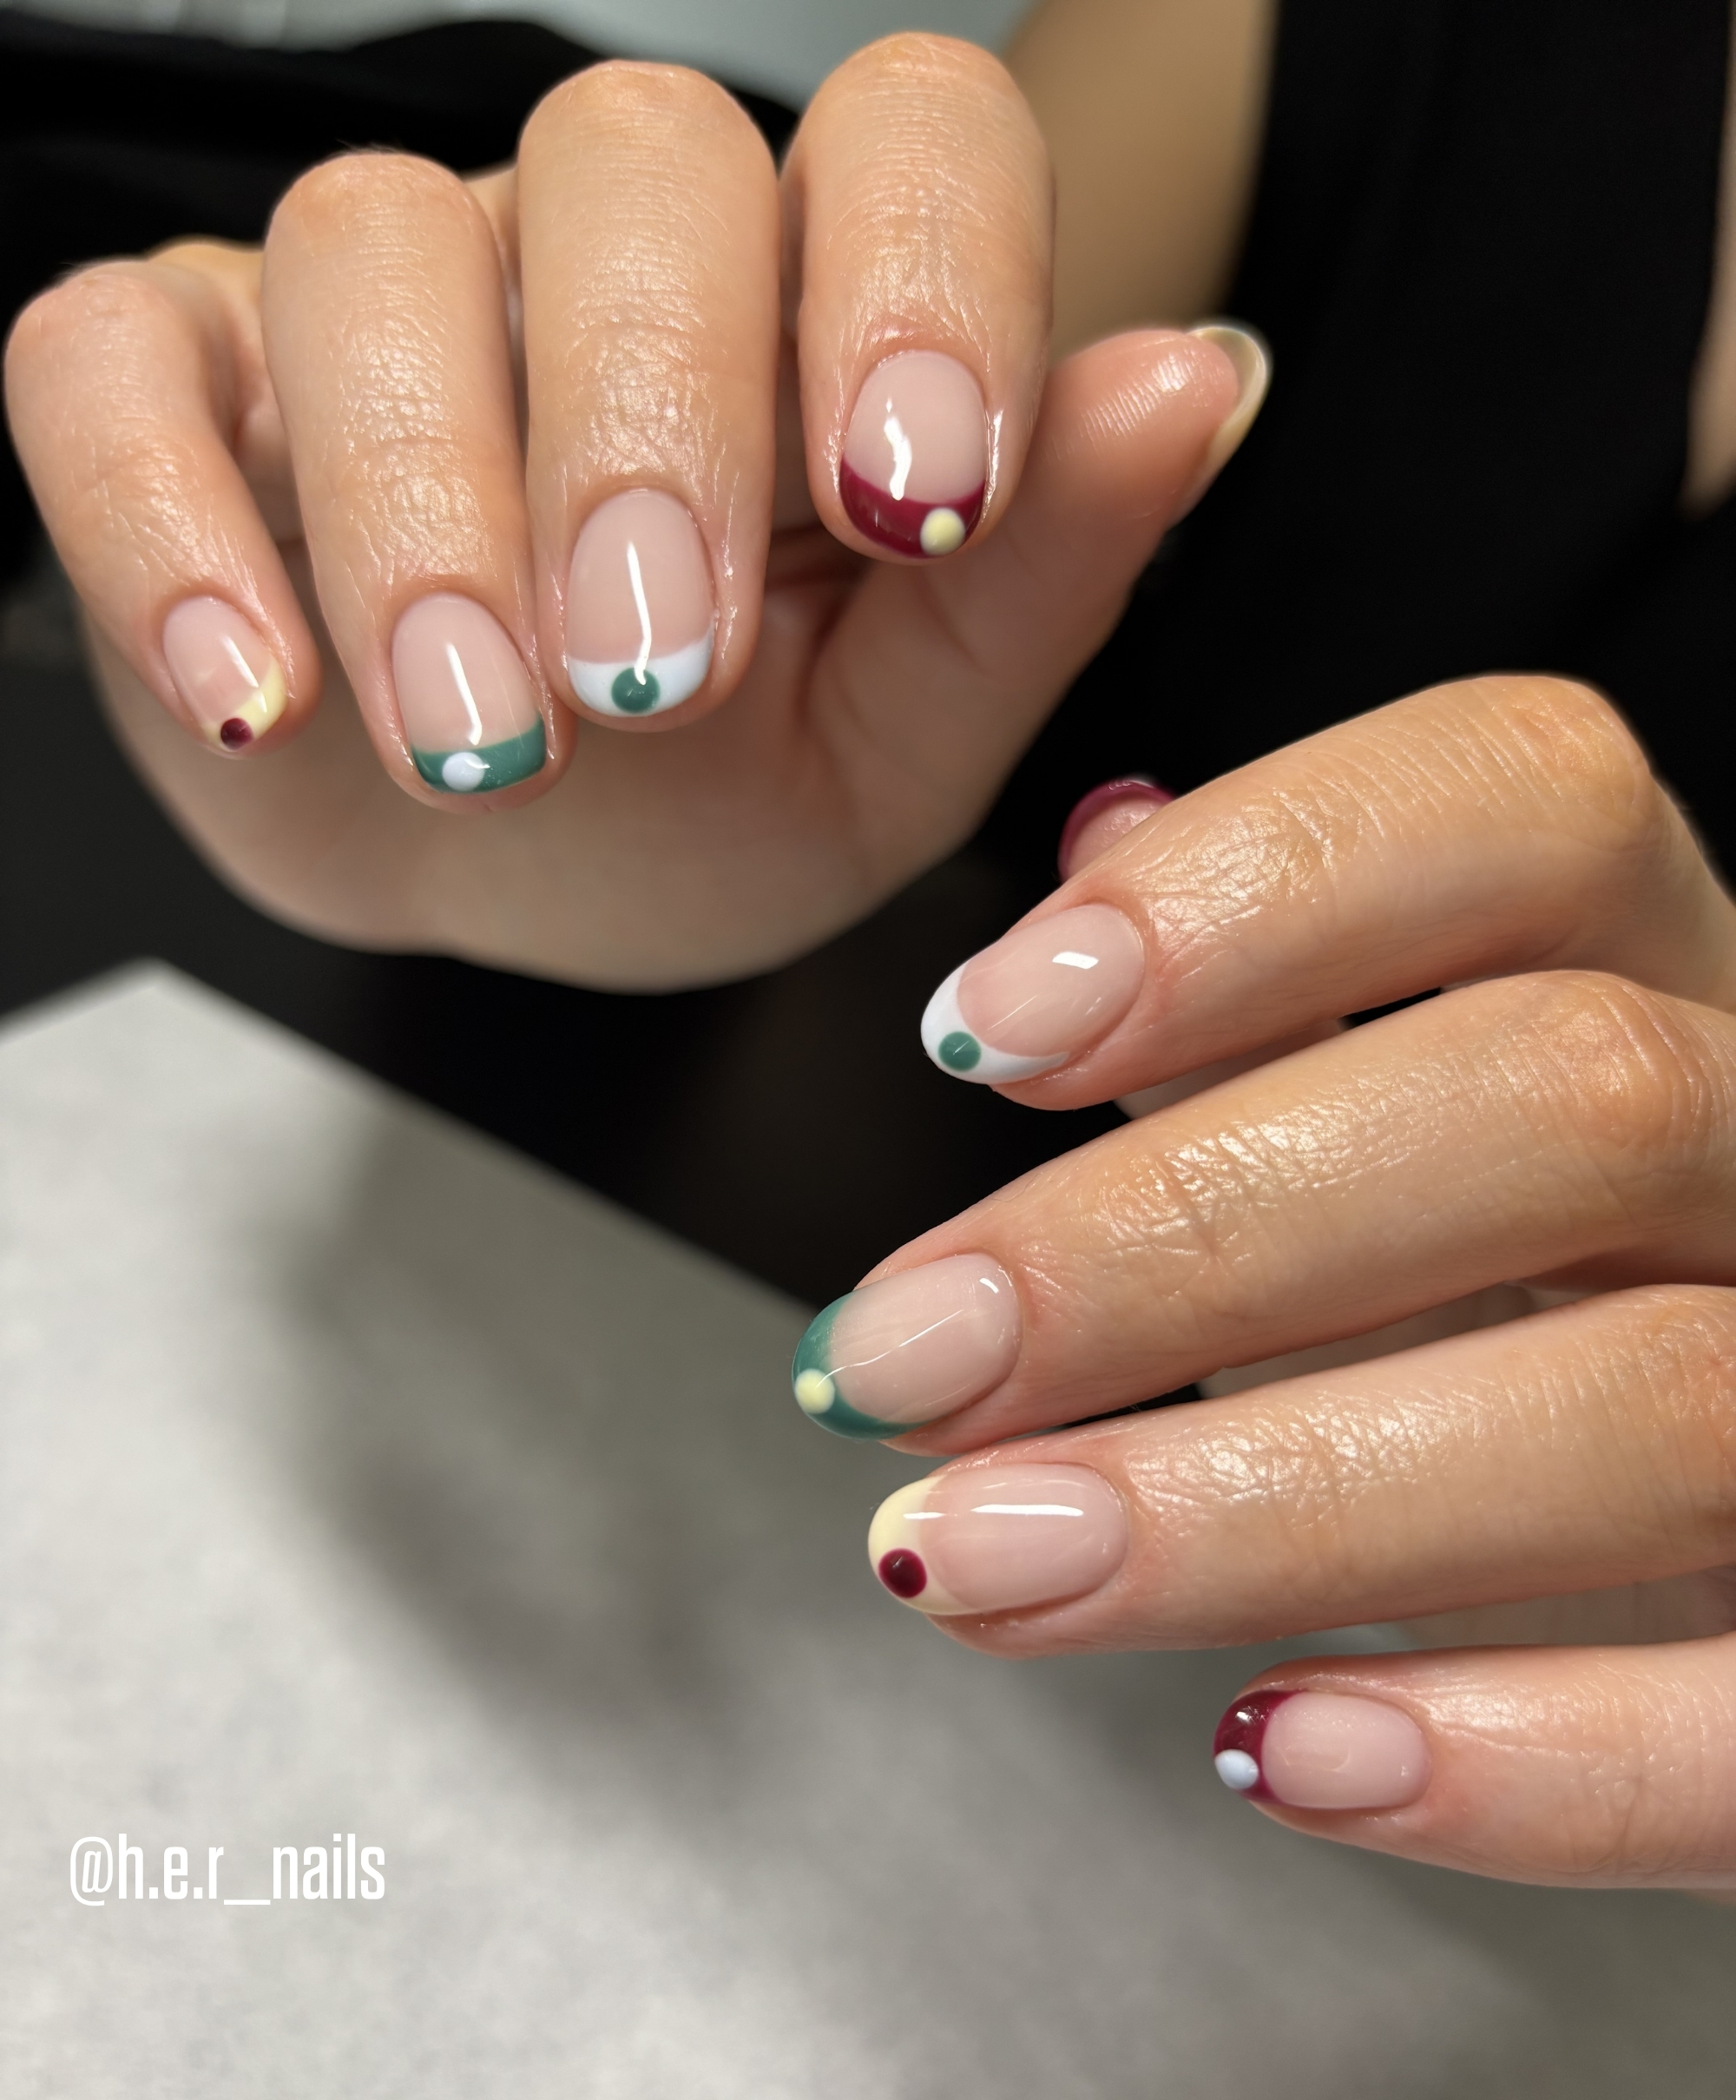
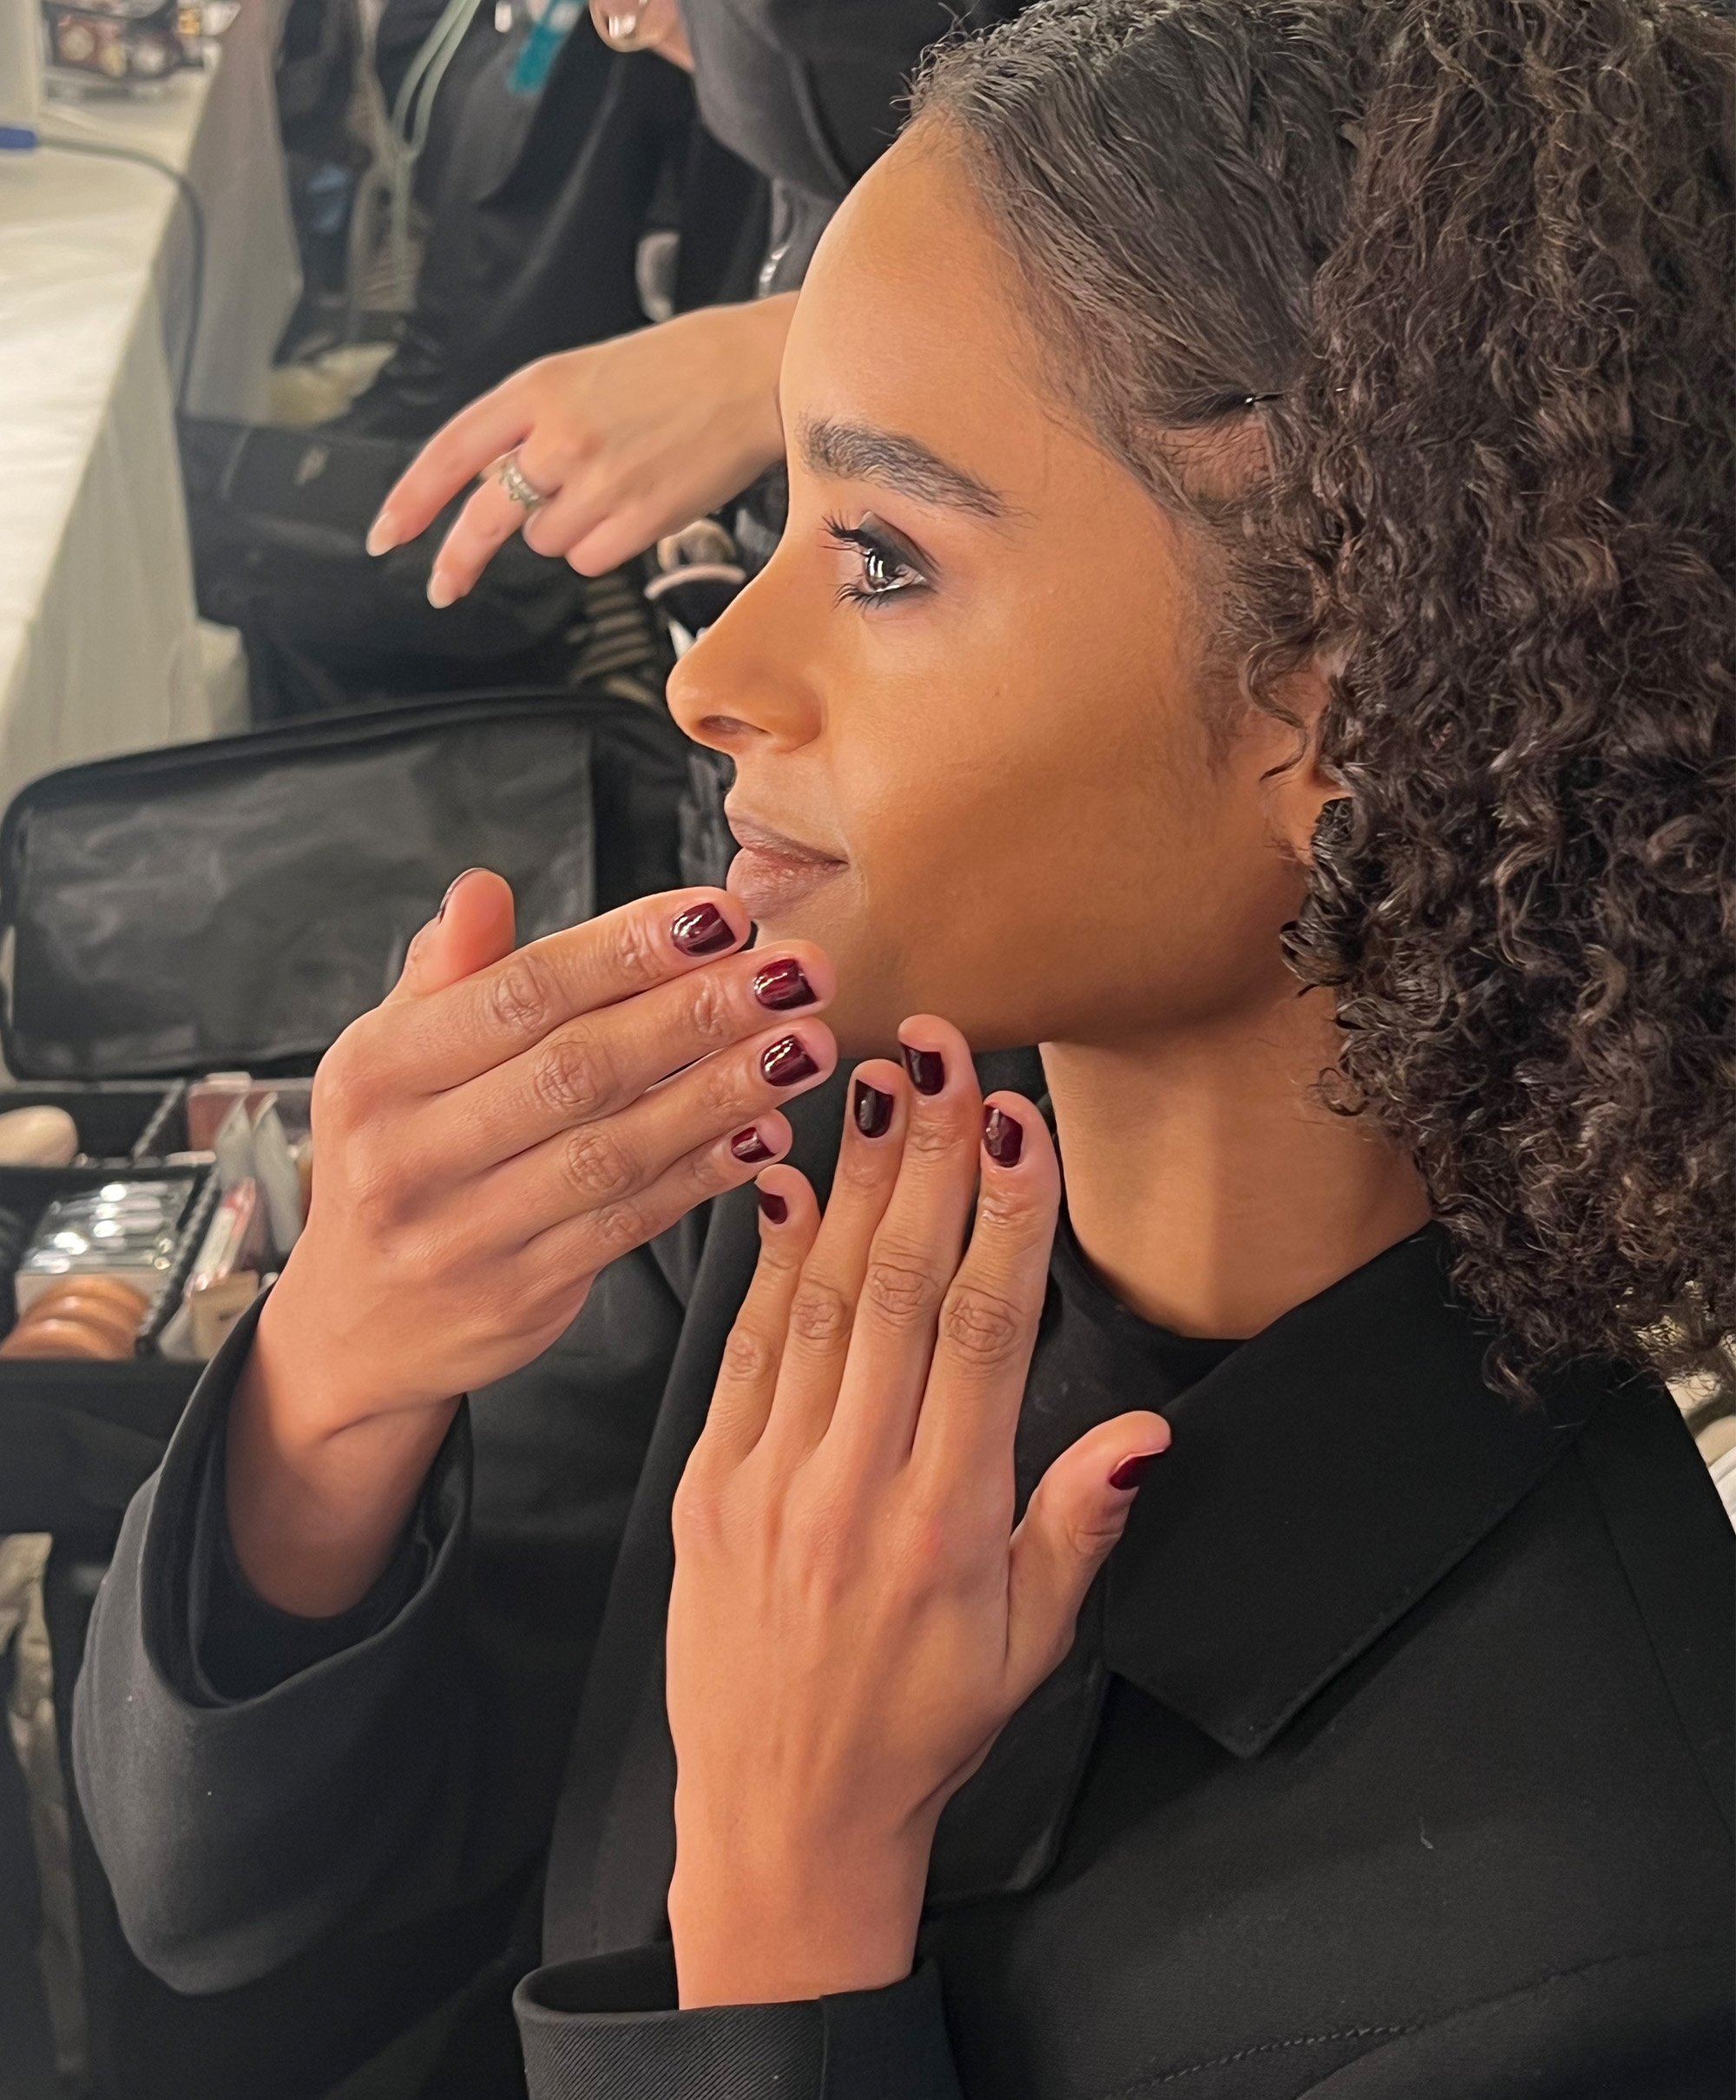
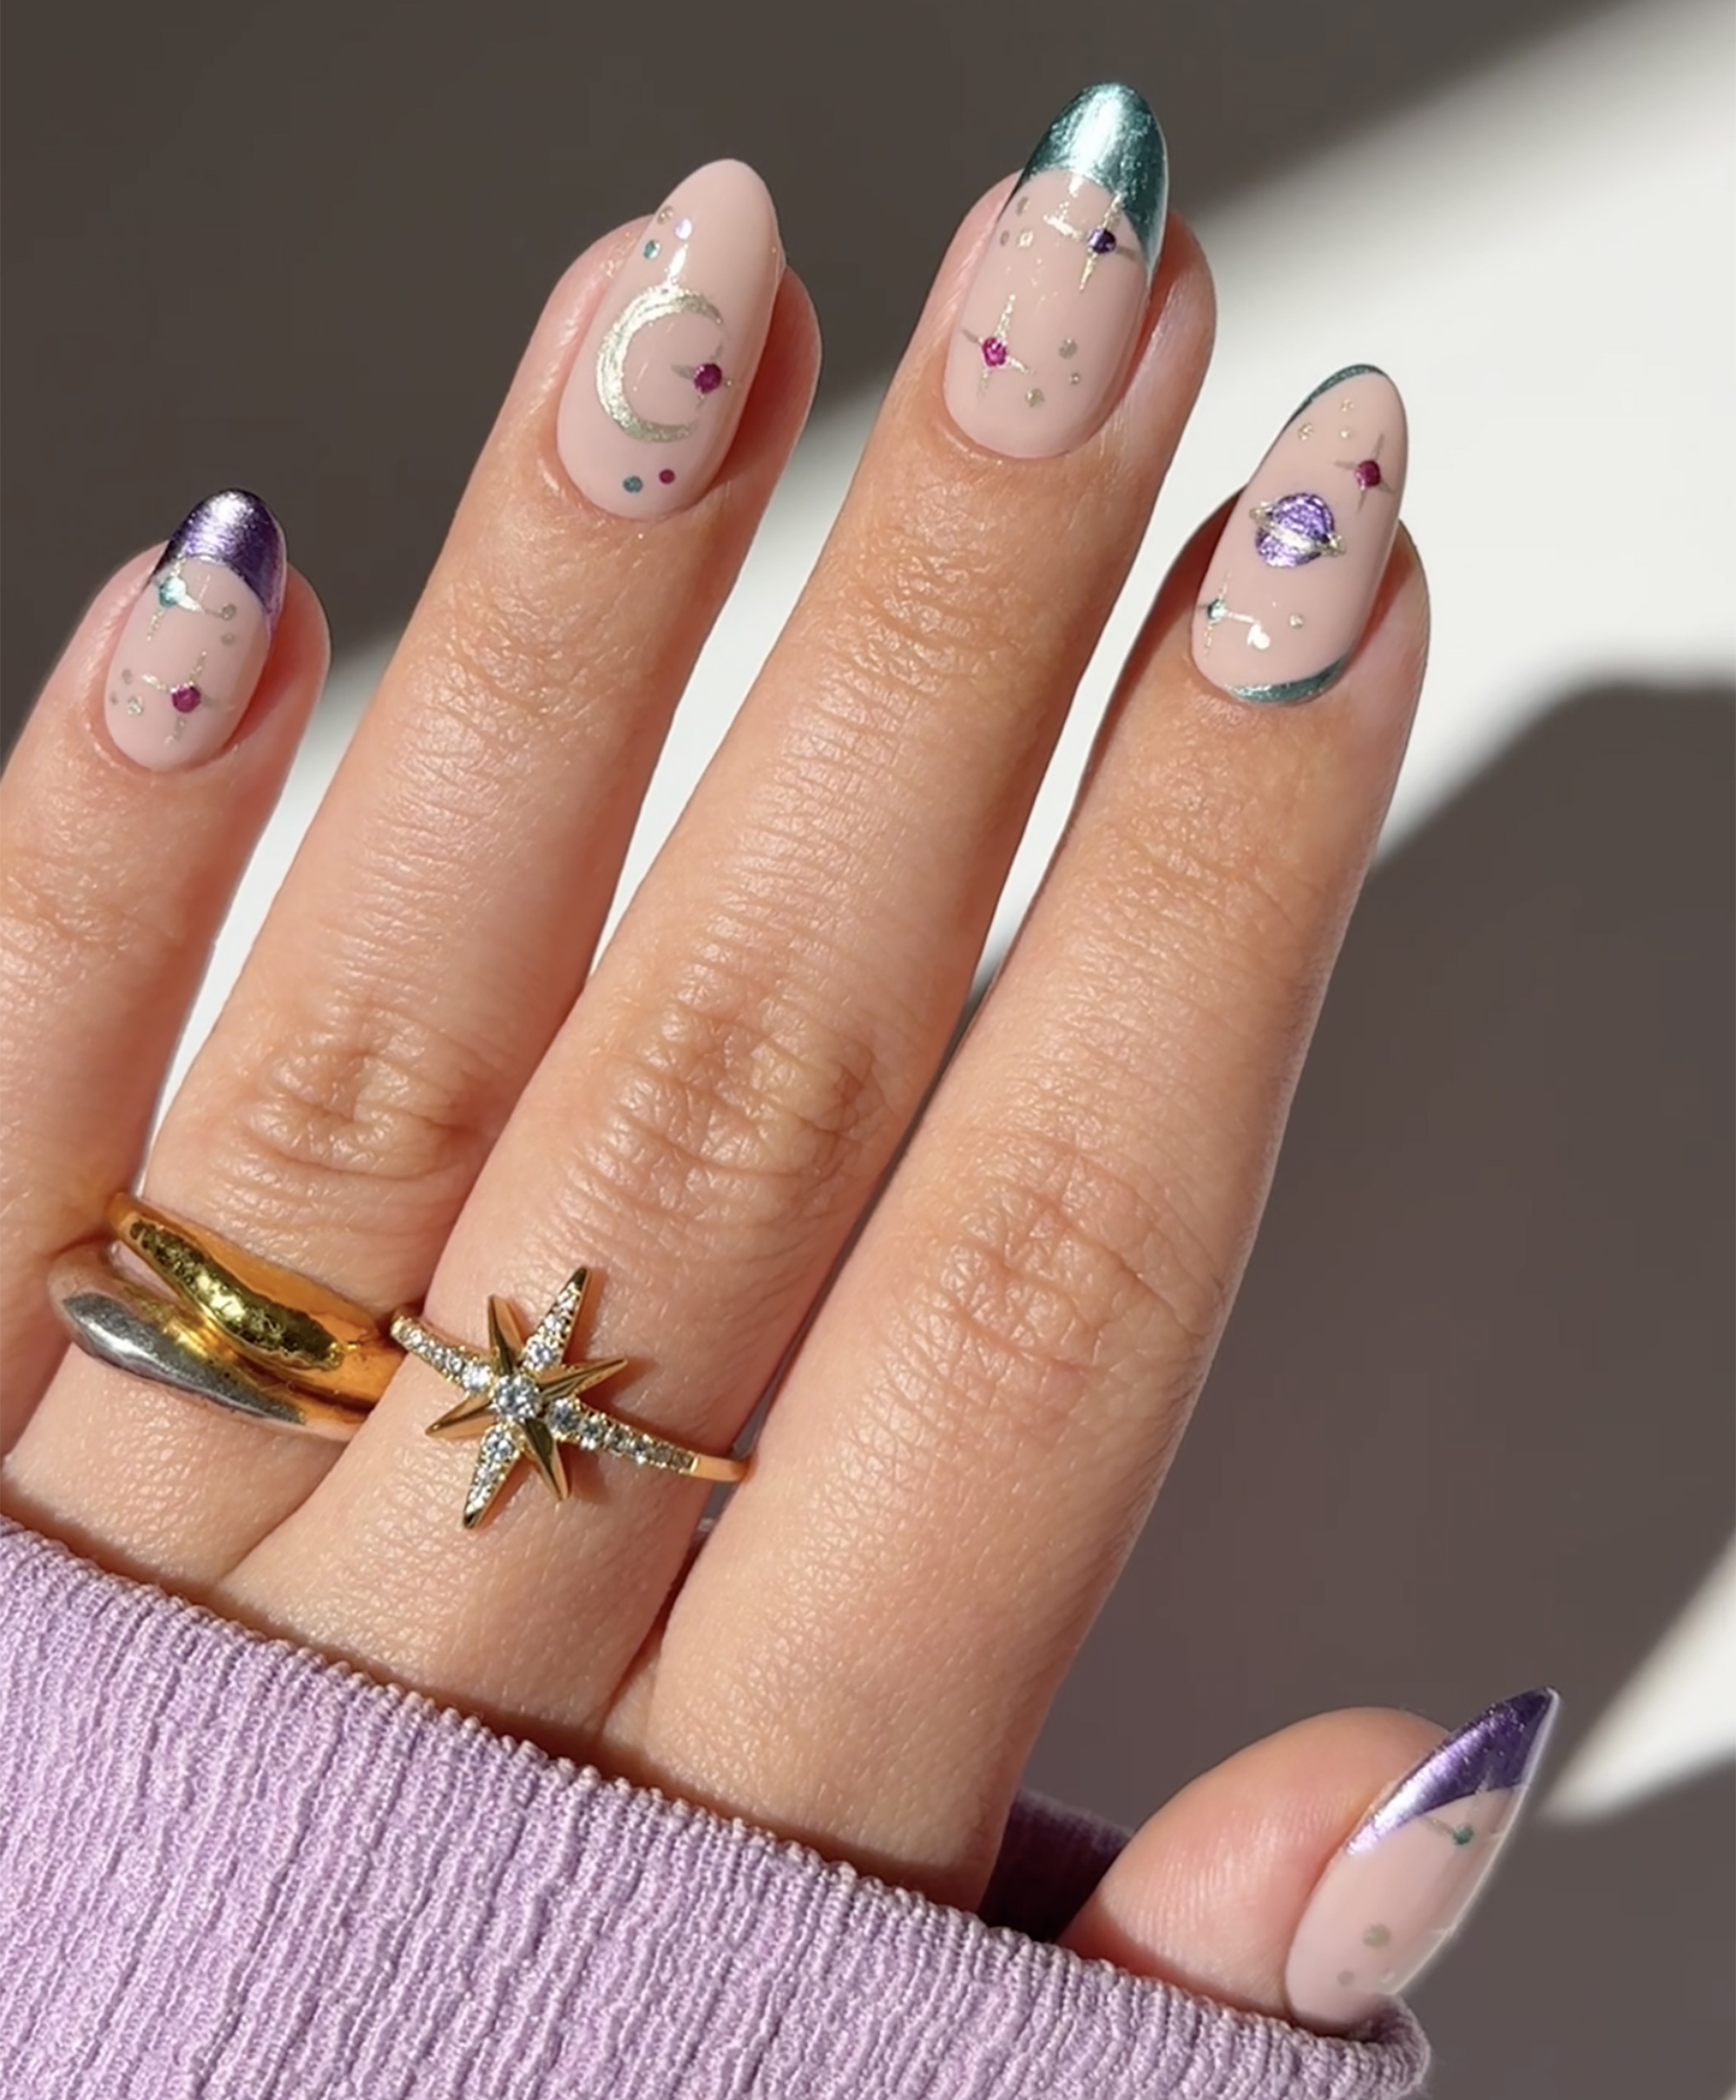
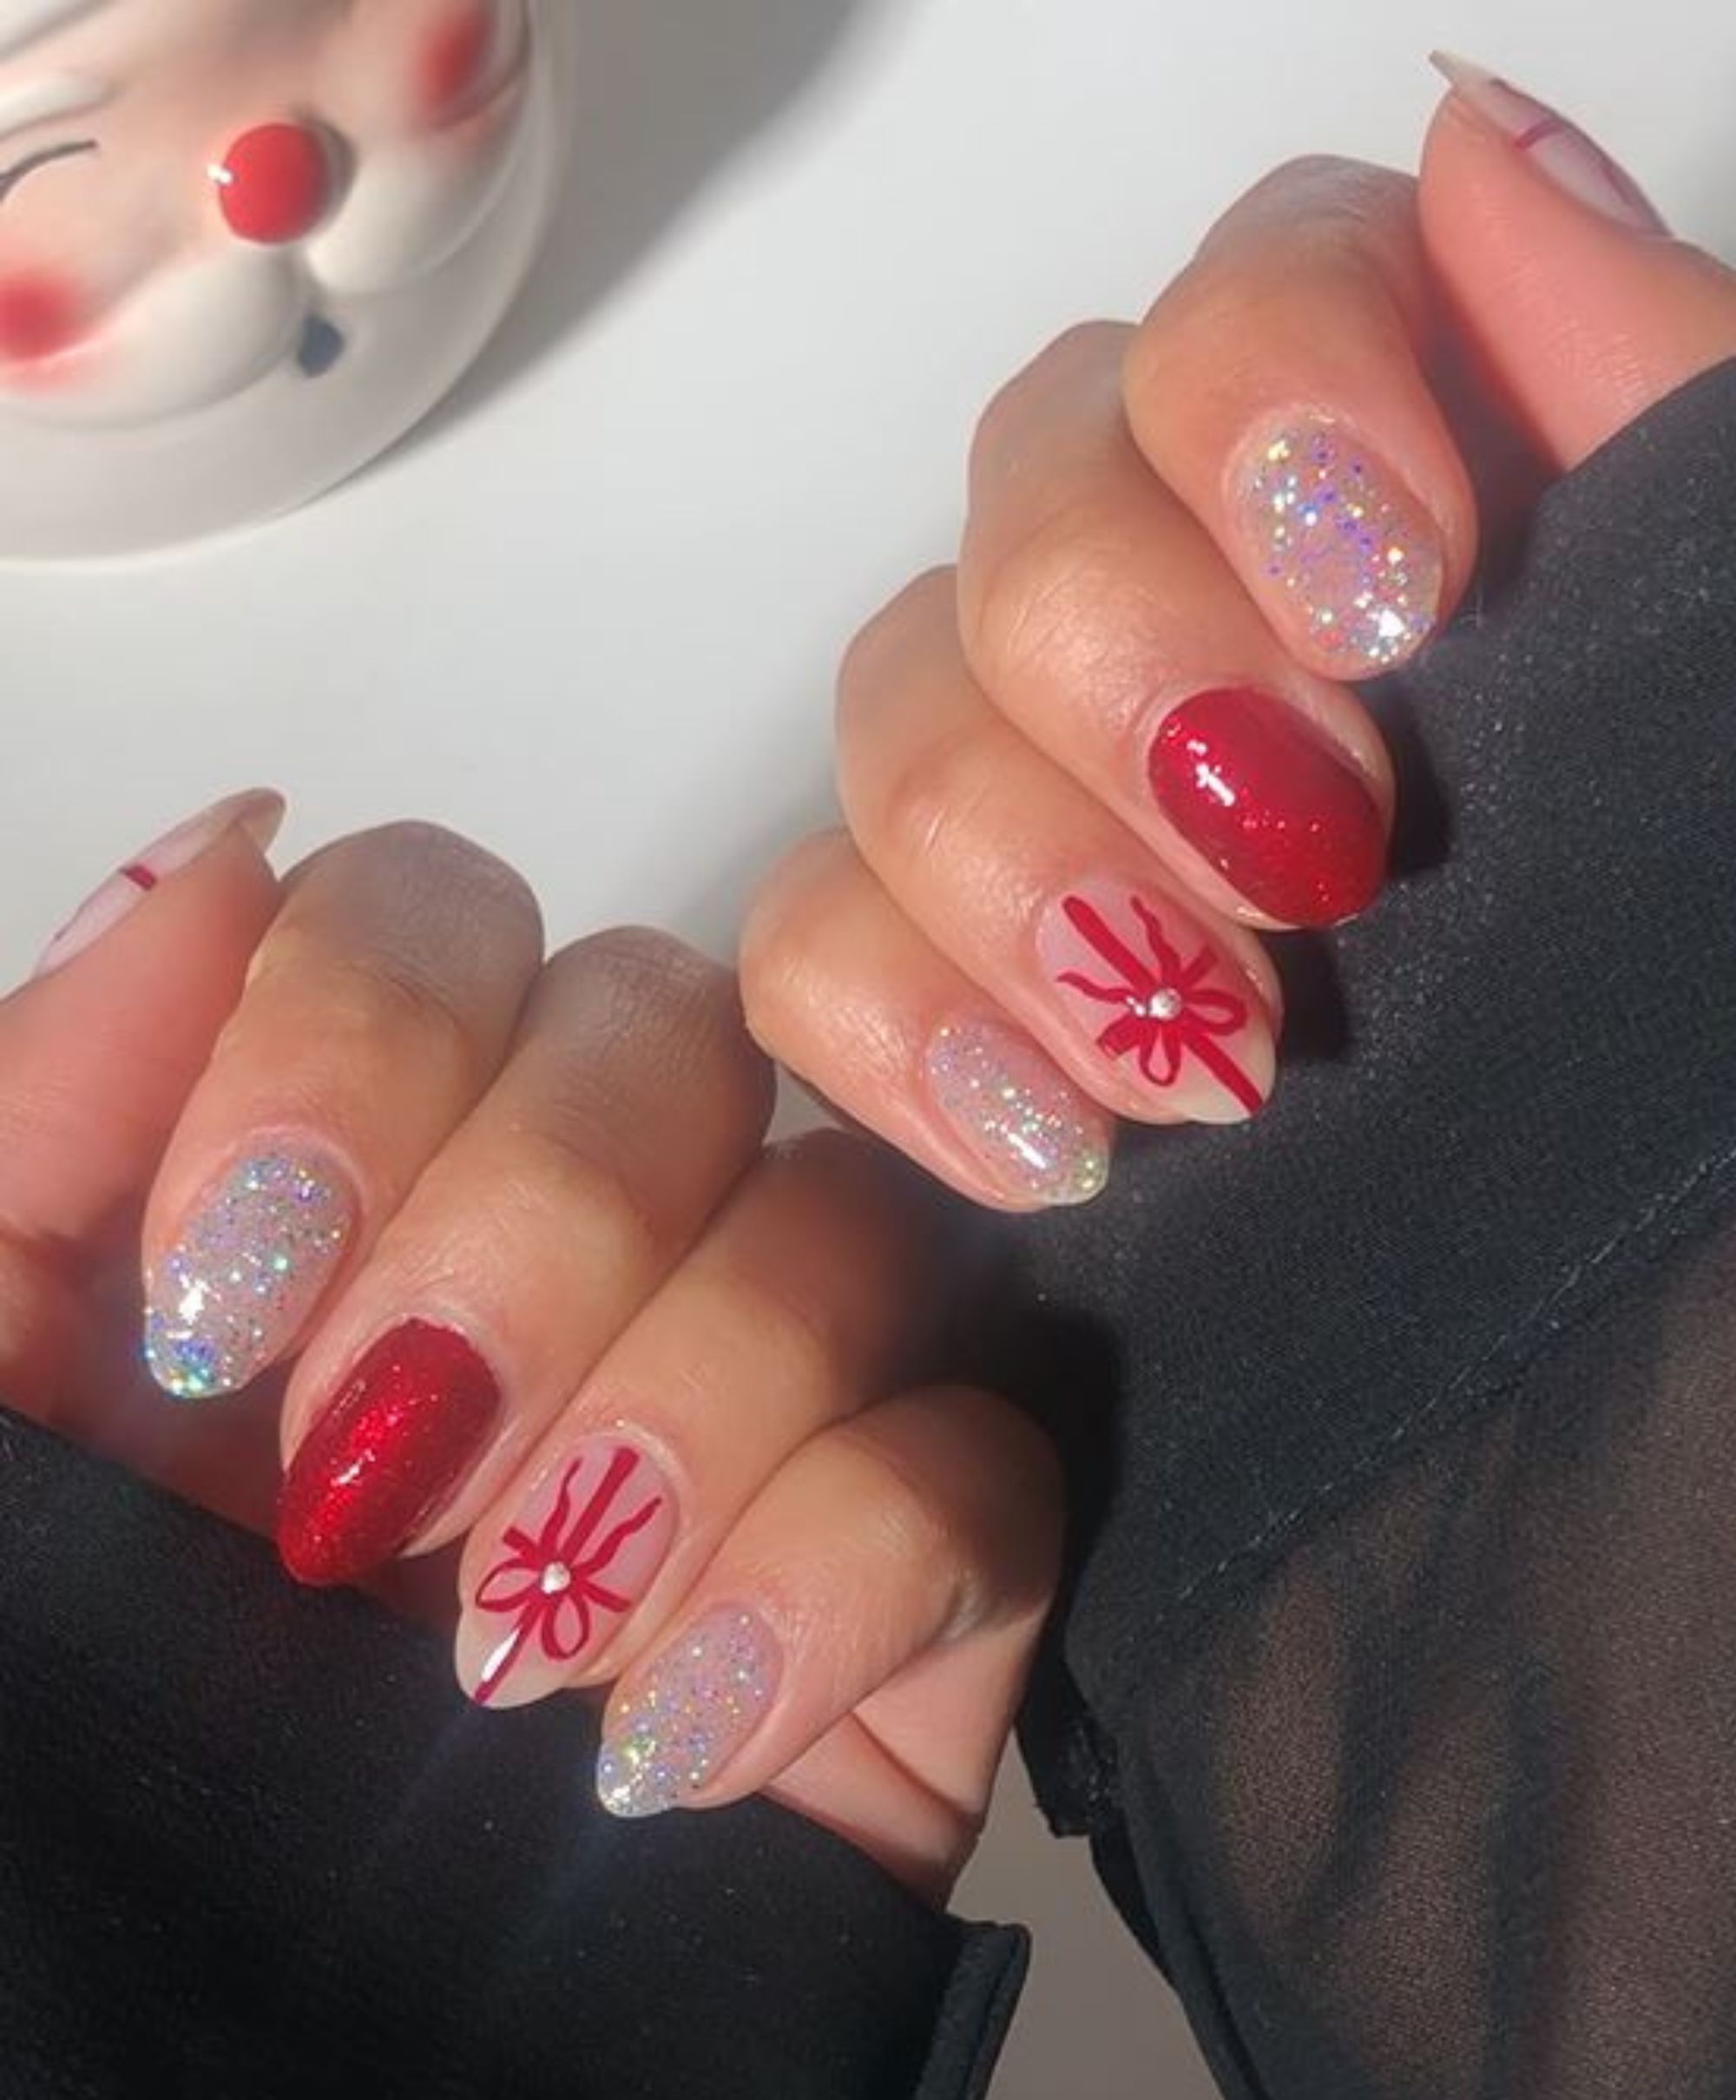
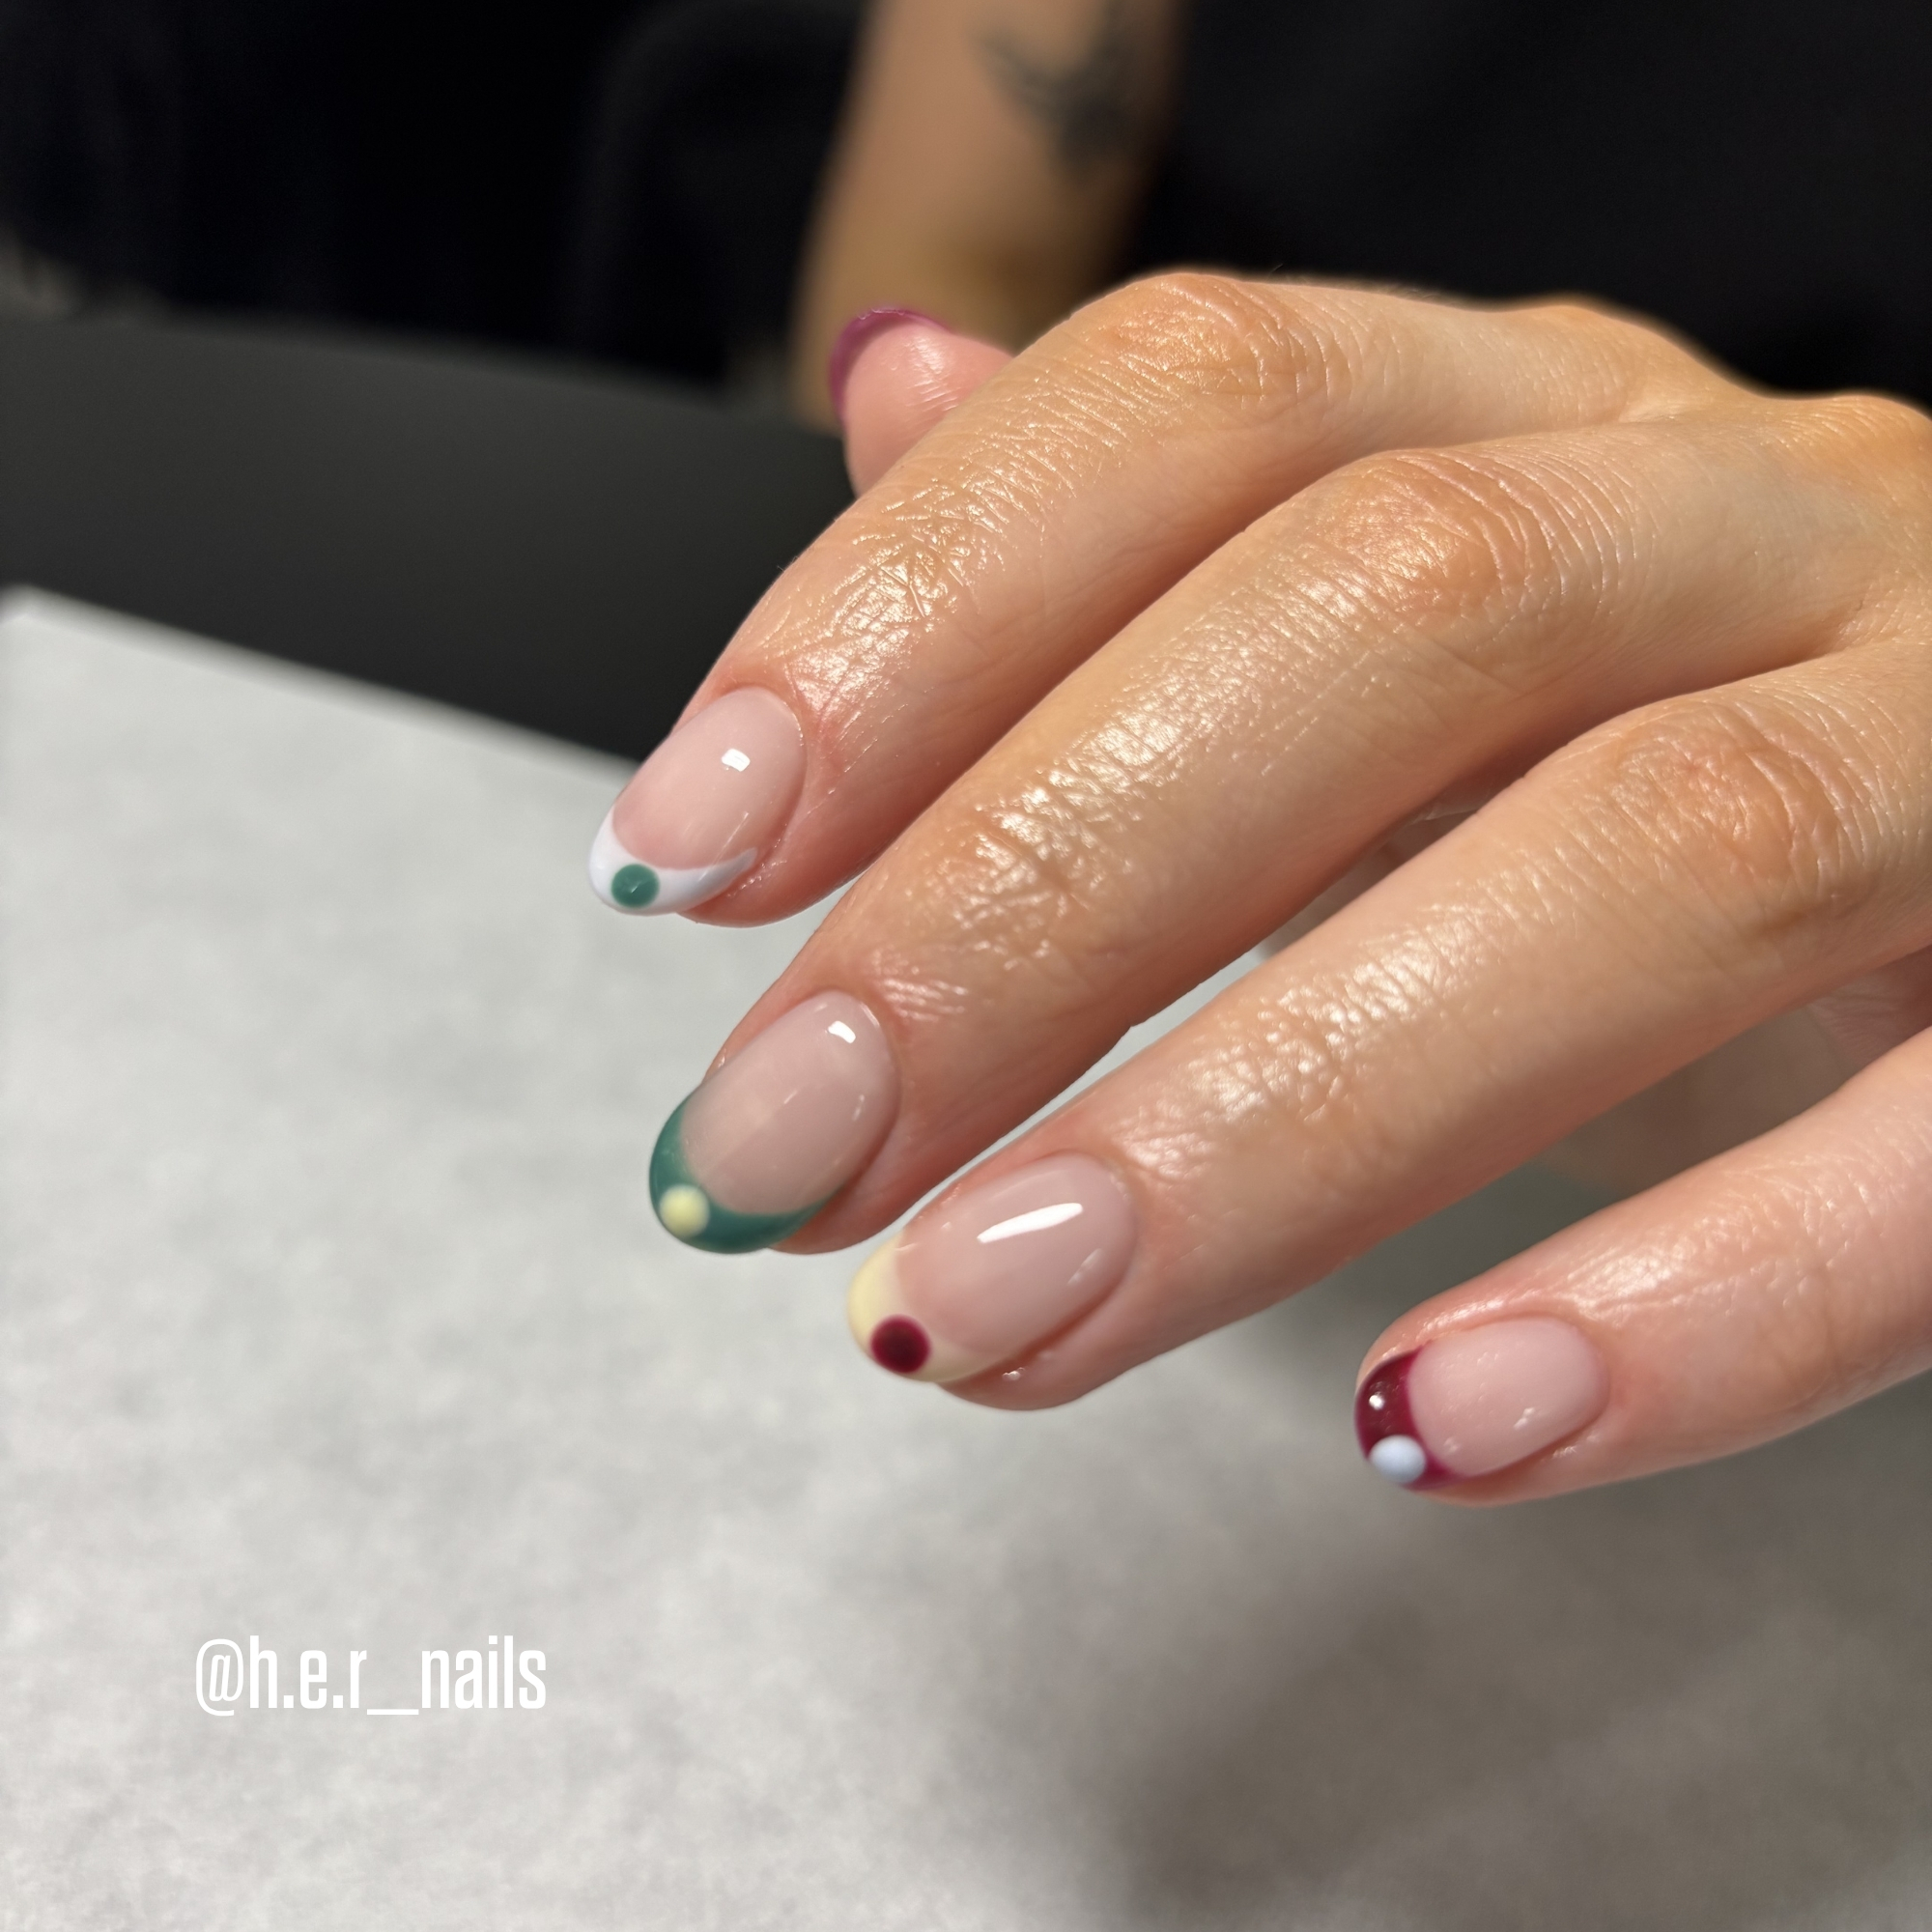
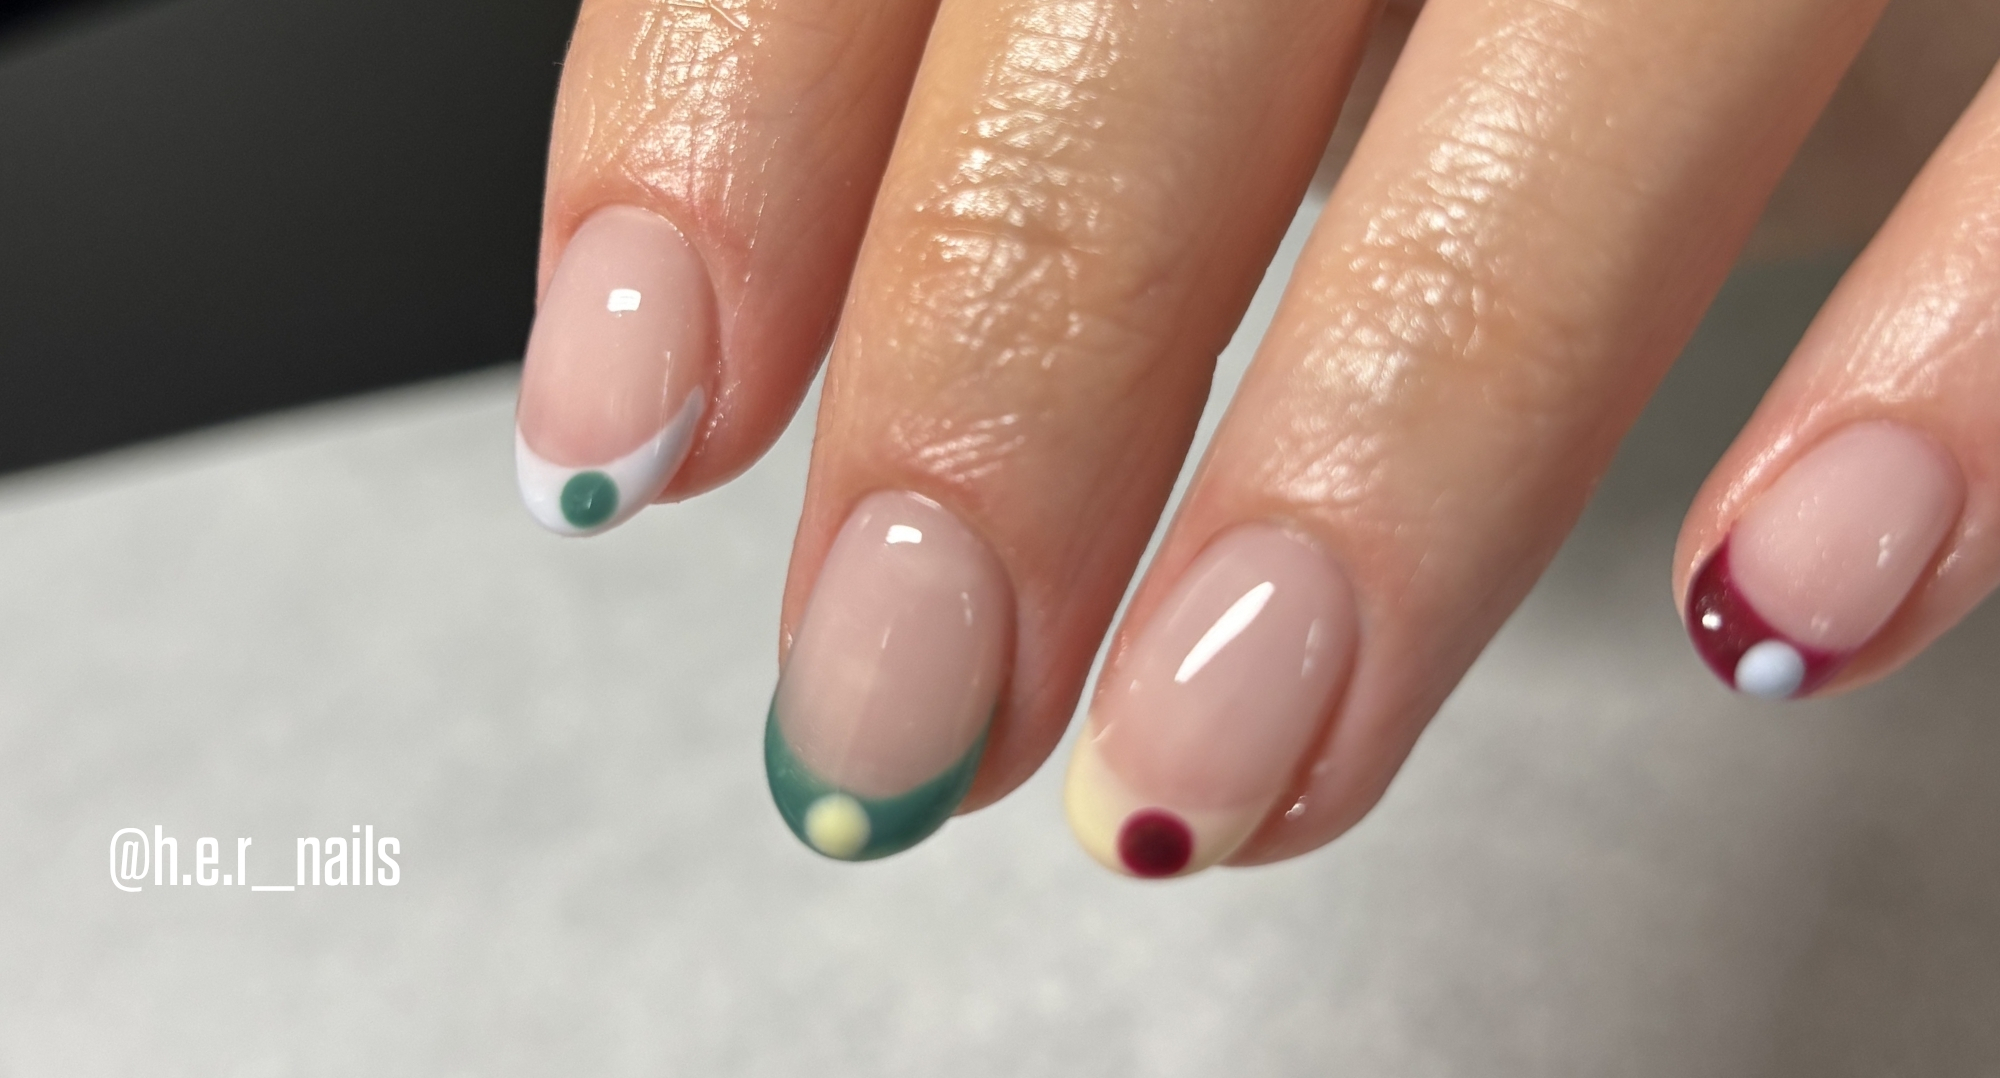
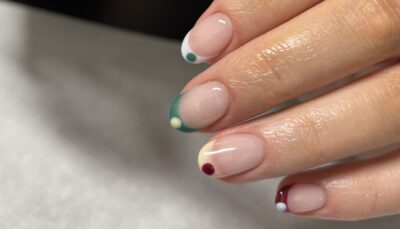
The French manicure is a timeless nail look that never goes out of style. It has been reinvented many times throughout the years, but the current trend we are loving is the colourful dot French. Imagine soft nude nails with curved, colorful tips and a small contrast dot. It sounds complicated, but it’s actually easier to achieve at home than it seems. If you’ve wanted to move beyond a basic single-colour polish, this is a great place to start. This version includes four shades: a butter yellow, a dark mulberry, an emerald jade green, and a pale baby blue. While the combination may sound bold, the result is surprisingly wearable. The alternating colours for the tips give each finger its own flair without making the whole look feel messy and the contrasting dot at the tip of each nail ties the design together. This manicure will catch eyes, whether you’re on the school run, in a work meeting, or enjoying wine with friends.
WHAT YOU’LL NEED:
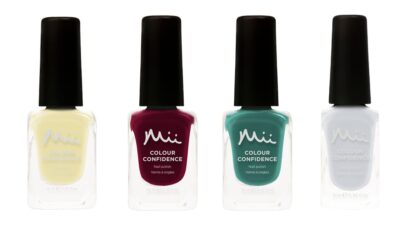
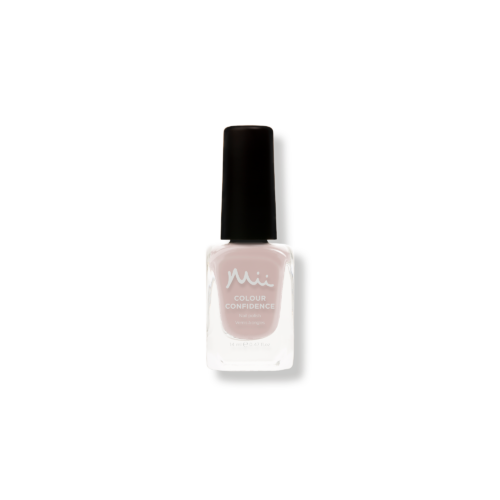
- Lemon Sherbet – a butter yellow crème
- Darkest Deepest – a dark mulberry crème
- Evergreen Bright – an emerald jade green crème
- Bubblegum – a pale baby blue crème
STEP 1: PREP YOUR NAILS
Good nail prep really makes the difference between a manicure that chips instantly and one that can last a week or more. It’s a step many rush, but it deserves your full attention.
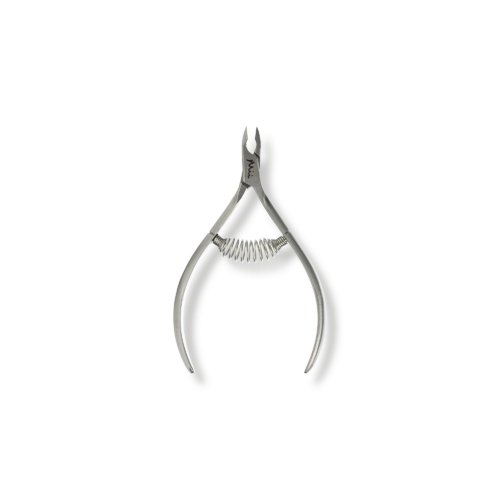
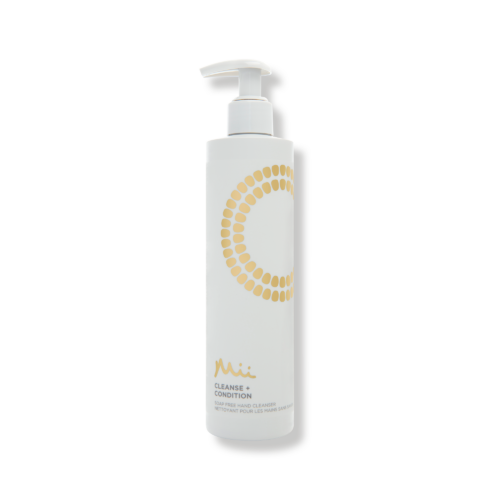
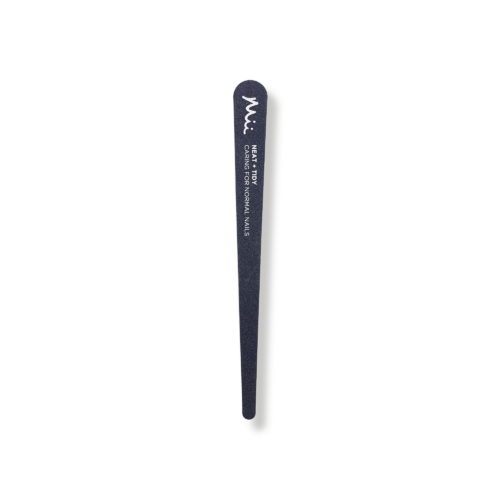
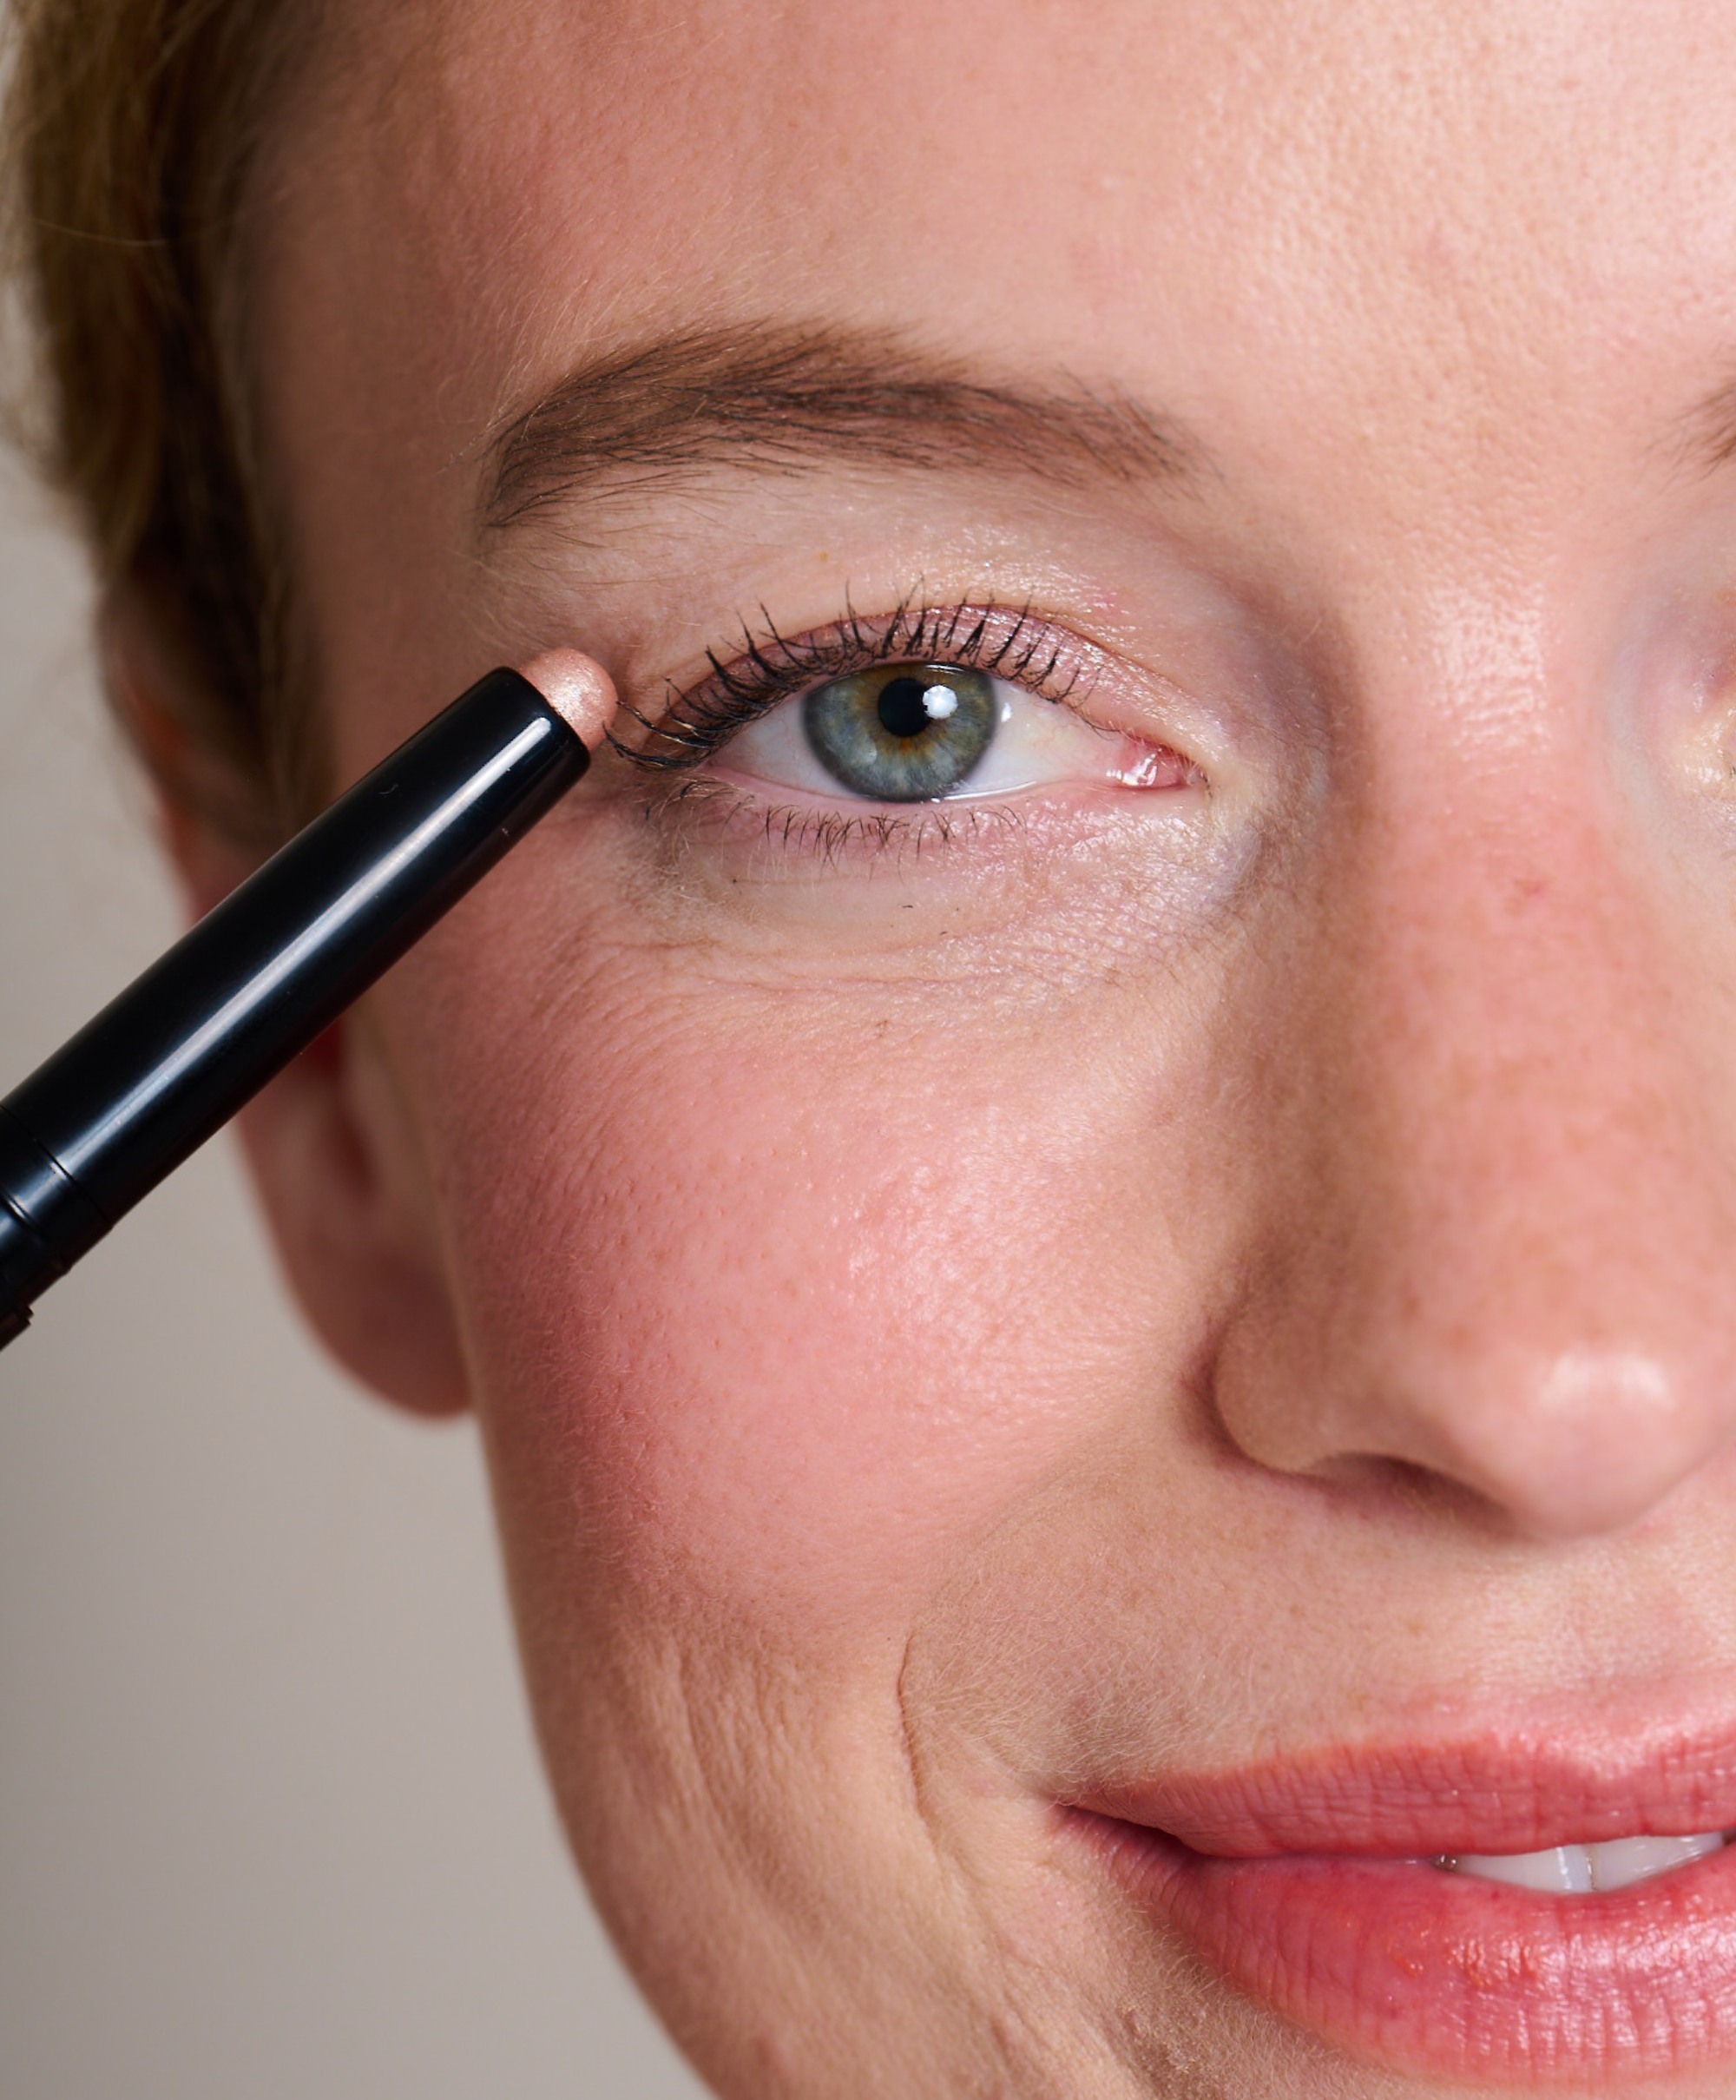
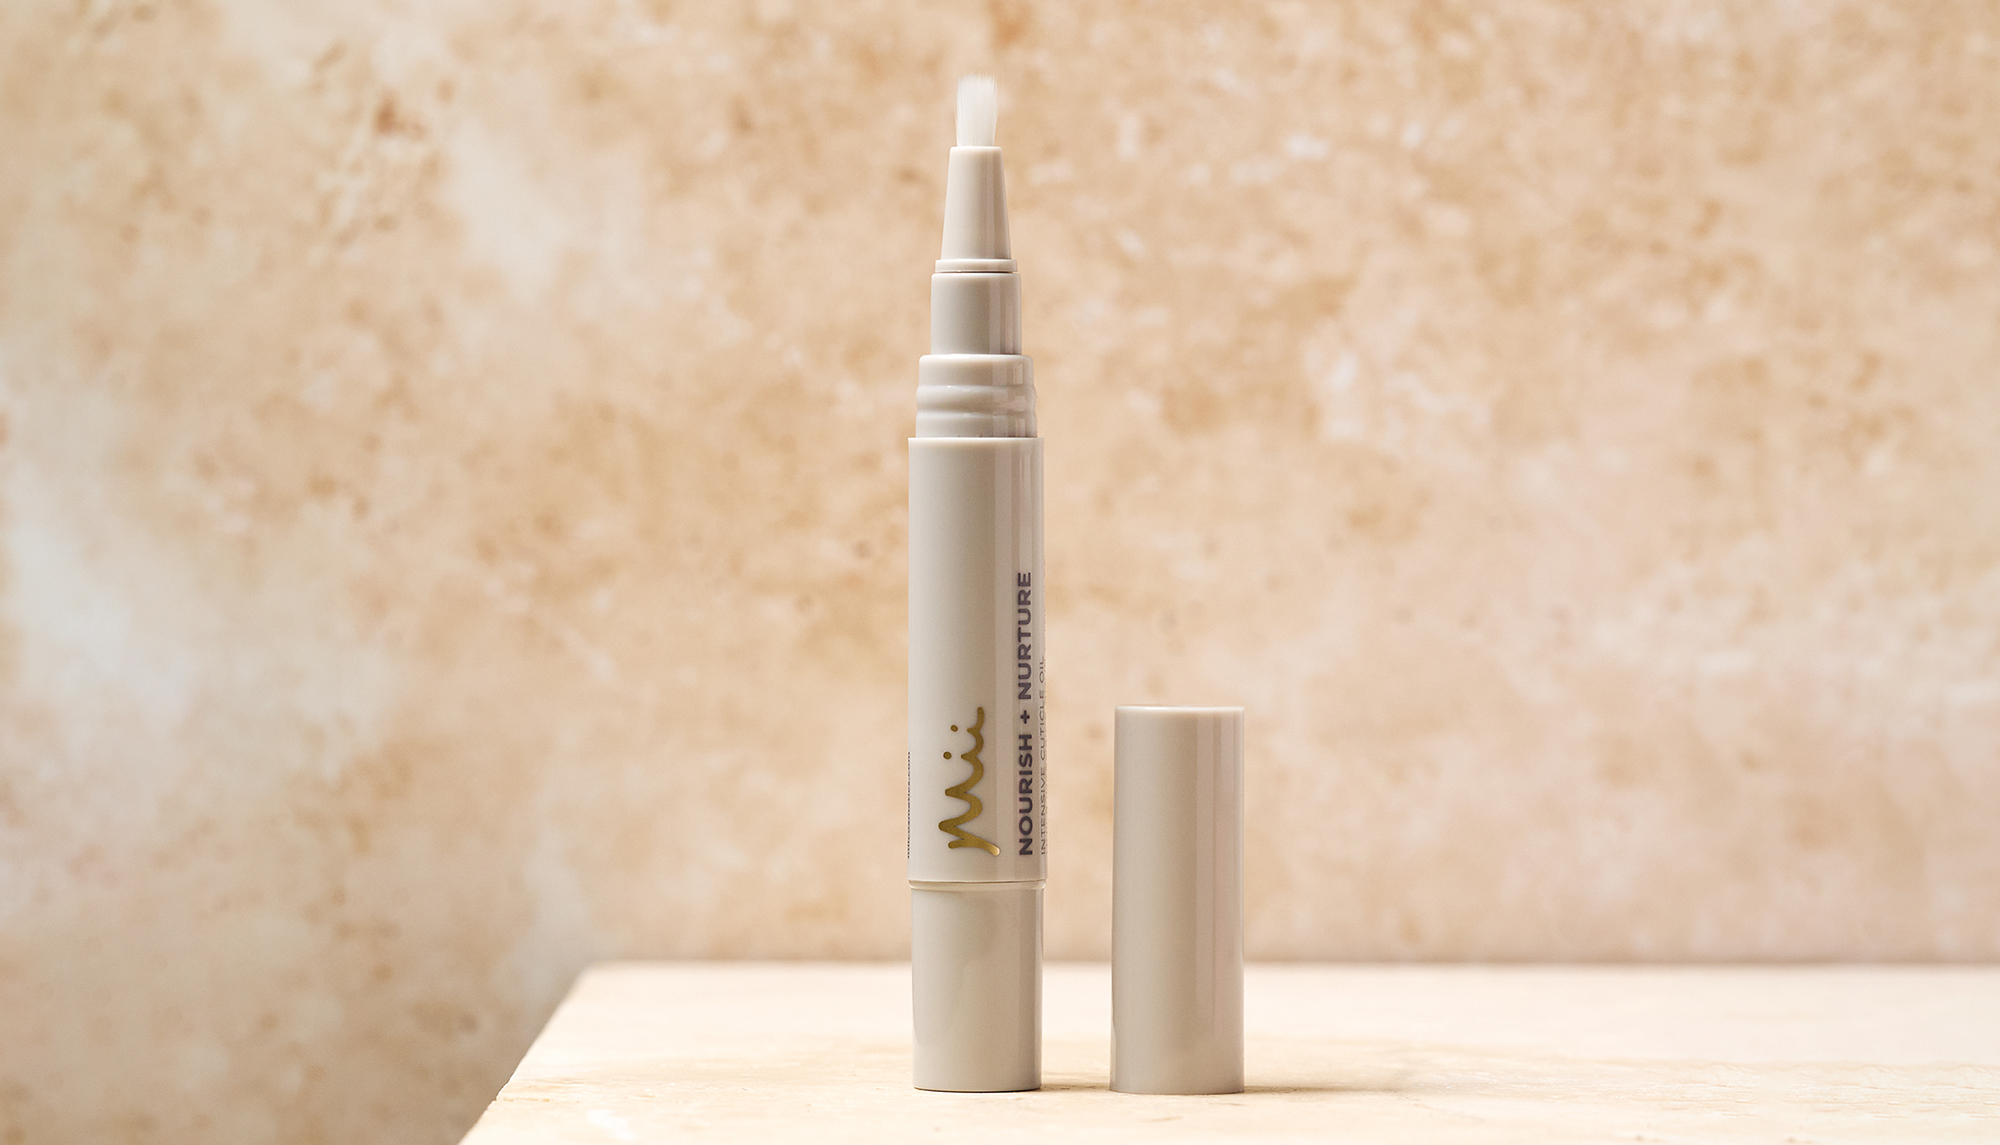
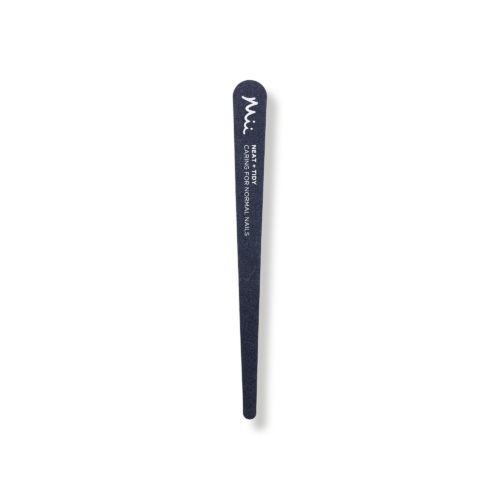
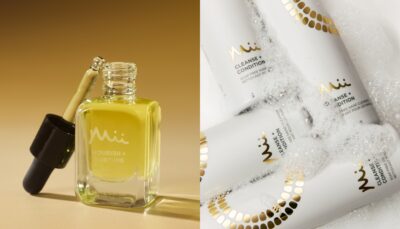
Start by filing your nails into your preferred shape using a Neat + Tidy Cushioned Emery Board. Soak your hands in warm water for a few minutes to soften your cuticles and pat dry. Apply a drop of Nourish + Nurture Nail and Cuticle Oil onto each cuticle and massage it gently in. With the curved edge of the Neat + Tidy Cuticle Pusher, push back the cuticles with three gentle downward strokes along the sides of each nail. Then, use a soft circular motion at the base to loosen any excess cuticle. The pointed end is useful for lifting loose or dead skin and cleaning around and underneath the nail. If you have any hangnails or excess cuticle to remove, the Neat + Tidy Cuticle Nippers will do the job. Resist the urge to nip healthy cuticles as they act as a protective seal around the nail matrix, which is the living tissue responsible for new nail growth. Cutting into the healthy cuticle breaks that seal and leaves the nail vulnerable to bacteria and infection. Wash your hands with the Cleanse + Condition Hand Cleanser to remove any oil from the nails before you start painting. Oil and polish do not mix well and skipping this step can make your manicure lift prematurely. Remember to clean your tools after use too.
STEP 2: APPLY A BASE COAT
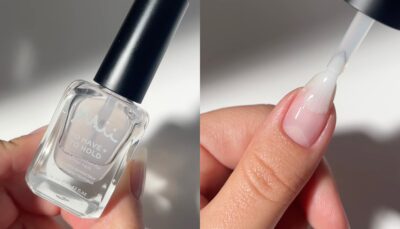
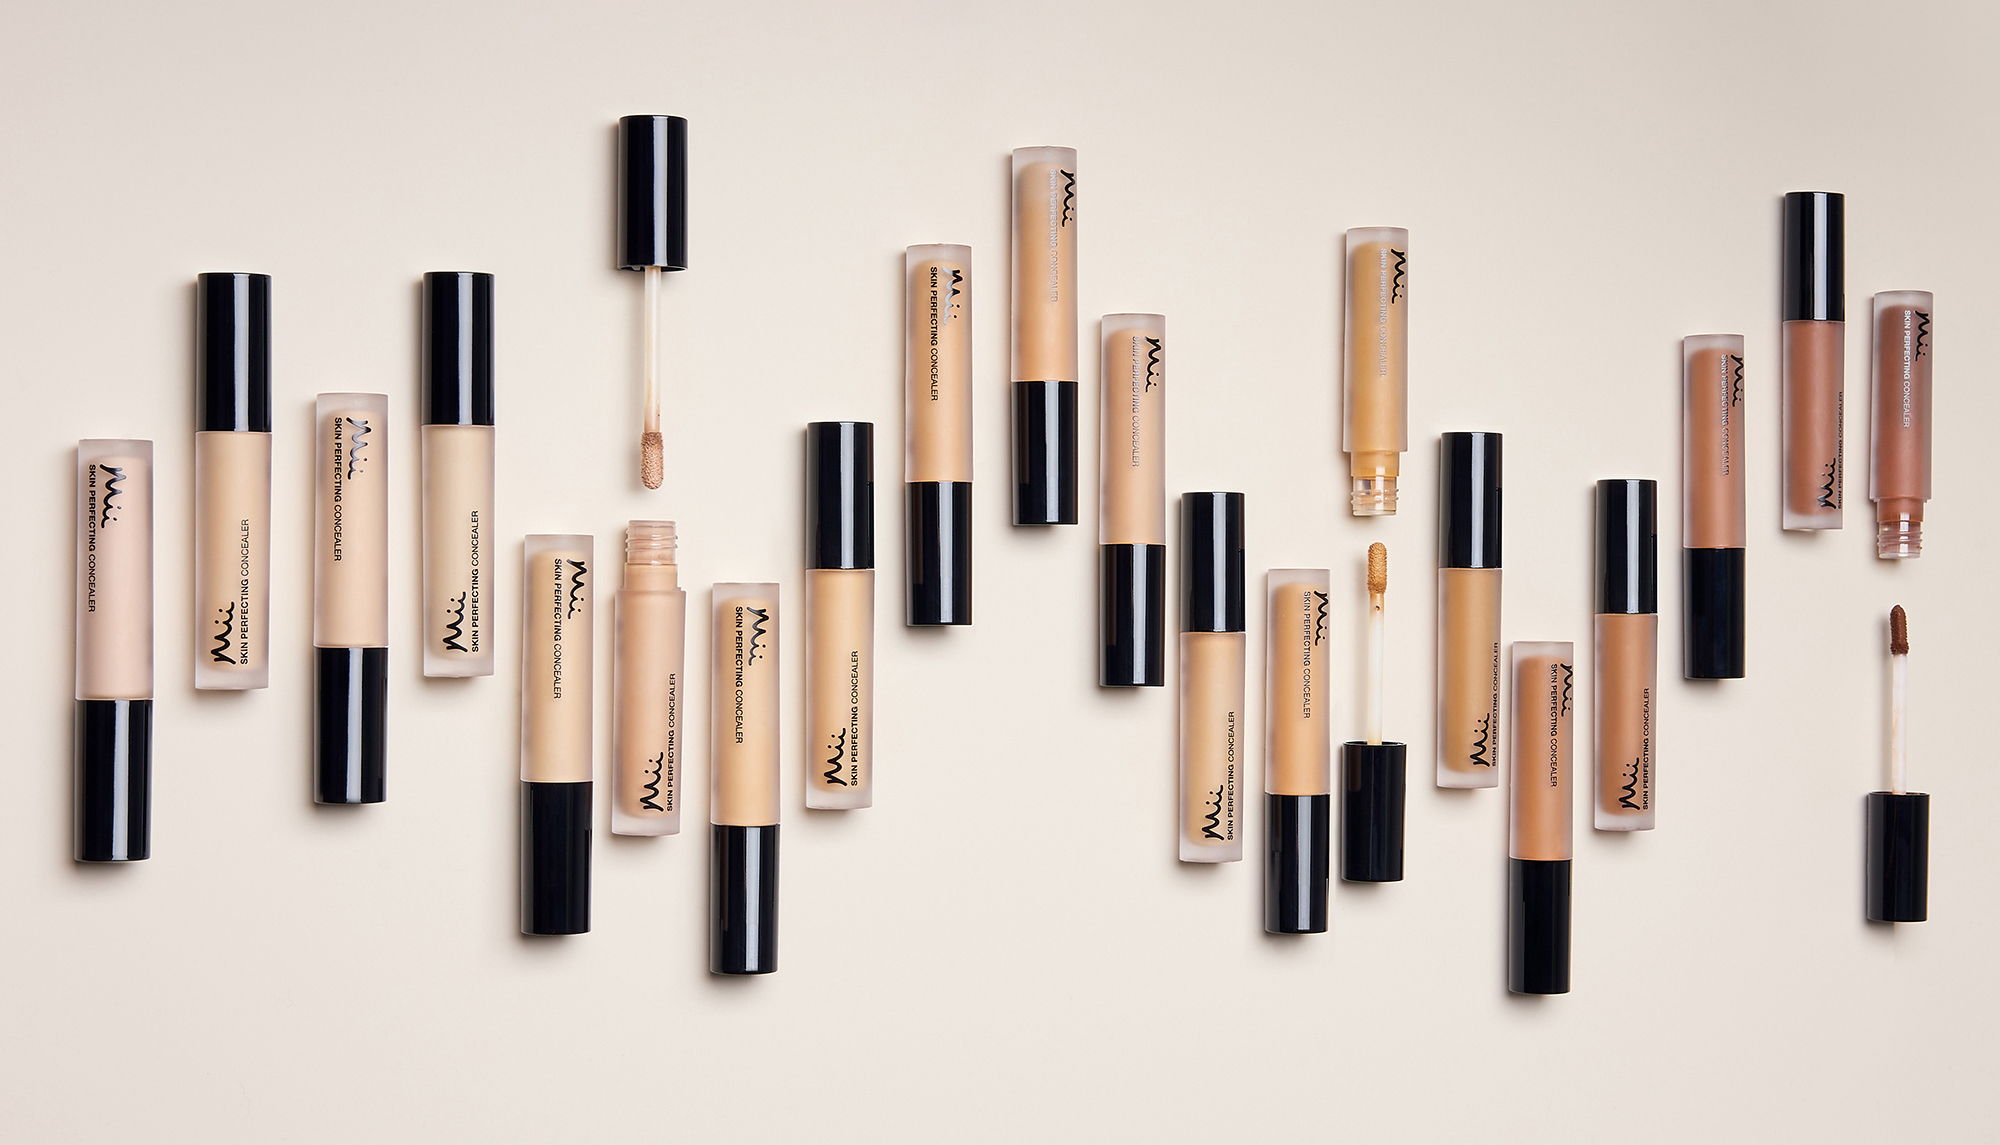
Apply a thin layer of a prescriptive base coat for your nail type onto each nail. This step protects the nail plate from staining and helps create a smooth surface for the polish to adhere to better. Allow it to dry fully before moving on, as rushing into the next step with a tacky base coat will affect how the colour applies.
STEP 3: PAINT YOUR FRENCH TIPS
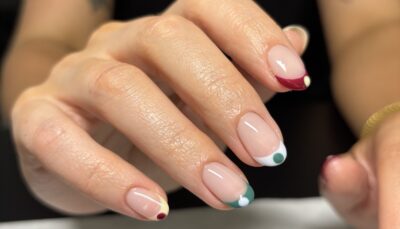
This is where the fun begins. Using a fine nail art brush, paint a soft, curved French tip on each nail. Work in thin lines, gradually building the shape instead of attempting to do it in one bold stroke. Arched tips look more modern and flattering than the straight tips from the nineties; keep that curve gentle and natural. Alternate colours for a playful finish:
• Index fingers – Darkest Deepest tips
• Middle fingers – Bubblegum tips
• Ring fingers – Evergreen Bright tips
• Little fingers & thumbs – Lemon Sherbet tips
STEP 4: ADD THE DOT DETAIL
Once your tips are dry, it’s time to add the detail that completes the look. Load the larger end of the Neat + Tidy Nail Art Dotting Tool,with the contrasting polish and gently press it near the edge of each tip to create a small, precise dot. The key is to place it slightly off-centre rather than directly in the middle of the tip. That tiny shift gives the look a modern and artistic feel rather than something overly symmetrical.
• Index fingers – Darkest Deepest tips + Lemon Sherbet dots
• Middle fingers – Bubblegum tips + Evergreen Bright dots
• Ring fingers – Evergreen Bright tips + Lemon Sherbet dots
• Little fingers & thumbs – Lemon Sherbet tips + Darkest Deepest dots
STEP 5: TIDY & PERFECT
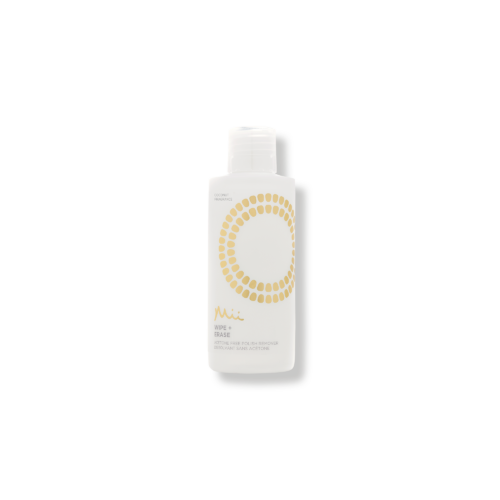
Use a small nail art brush or a cotton bud dipped in Wipe + Erase Nail Polish Remover to clean up any edges that need sharpening. Even experienced nail artists do a cleanup, so don’t feel discouraged if yours need a little tidying. This step is what elevates a good home manicure to a great one.
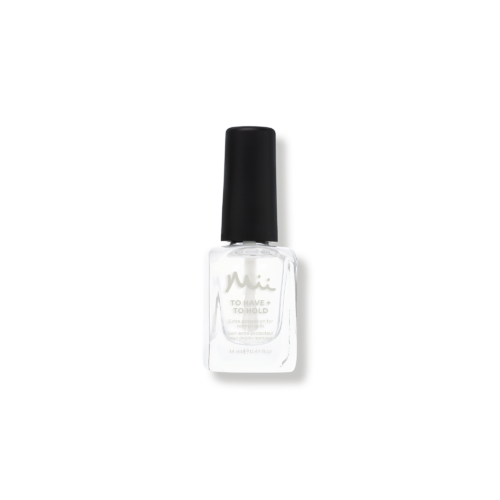
STEP 6: SEAL WITH A TOP COAT
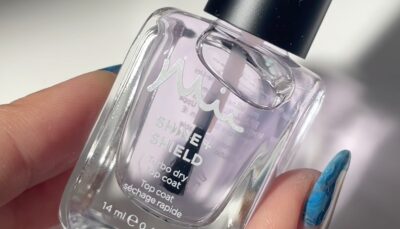
Finish with a generous coat of Shine + Shield Top Coat over the entire nail. Be sure to cap the free edge (the very tip of the nail) to seal your design. This helps prevent chipping and gives a glossy, salon-like finish. Allow to dry completely.
This colour combination looks lovely year round, but you can easily swap in different shades from the Colour Confidence range to suit your mood. Once you’ve got the technique down, the colour combinatios are endless.