


ALL INTHE BLUSH
WHERE TO APPLY BLUSHER BASED ON YOUR FACE SHAPE
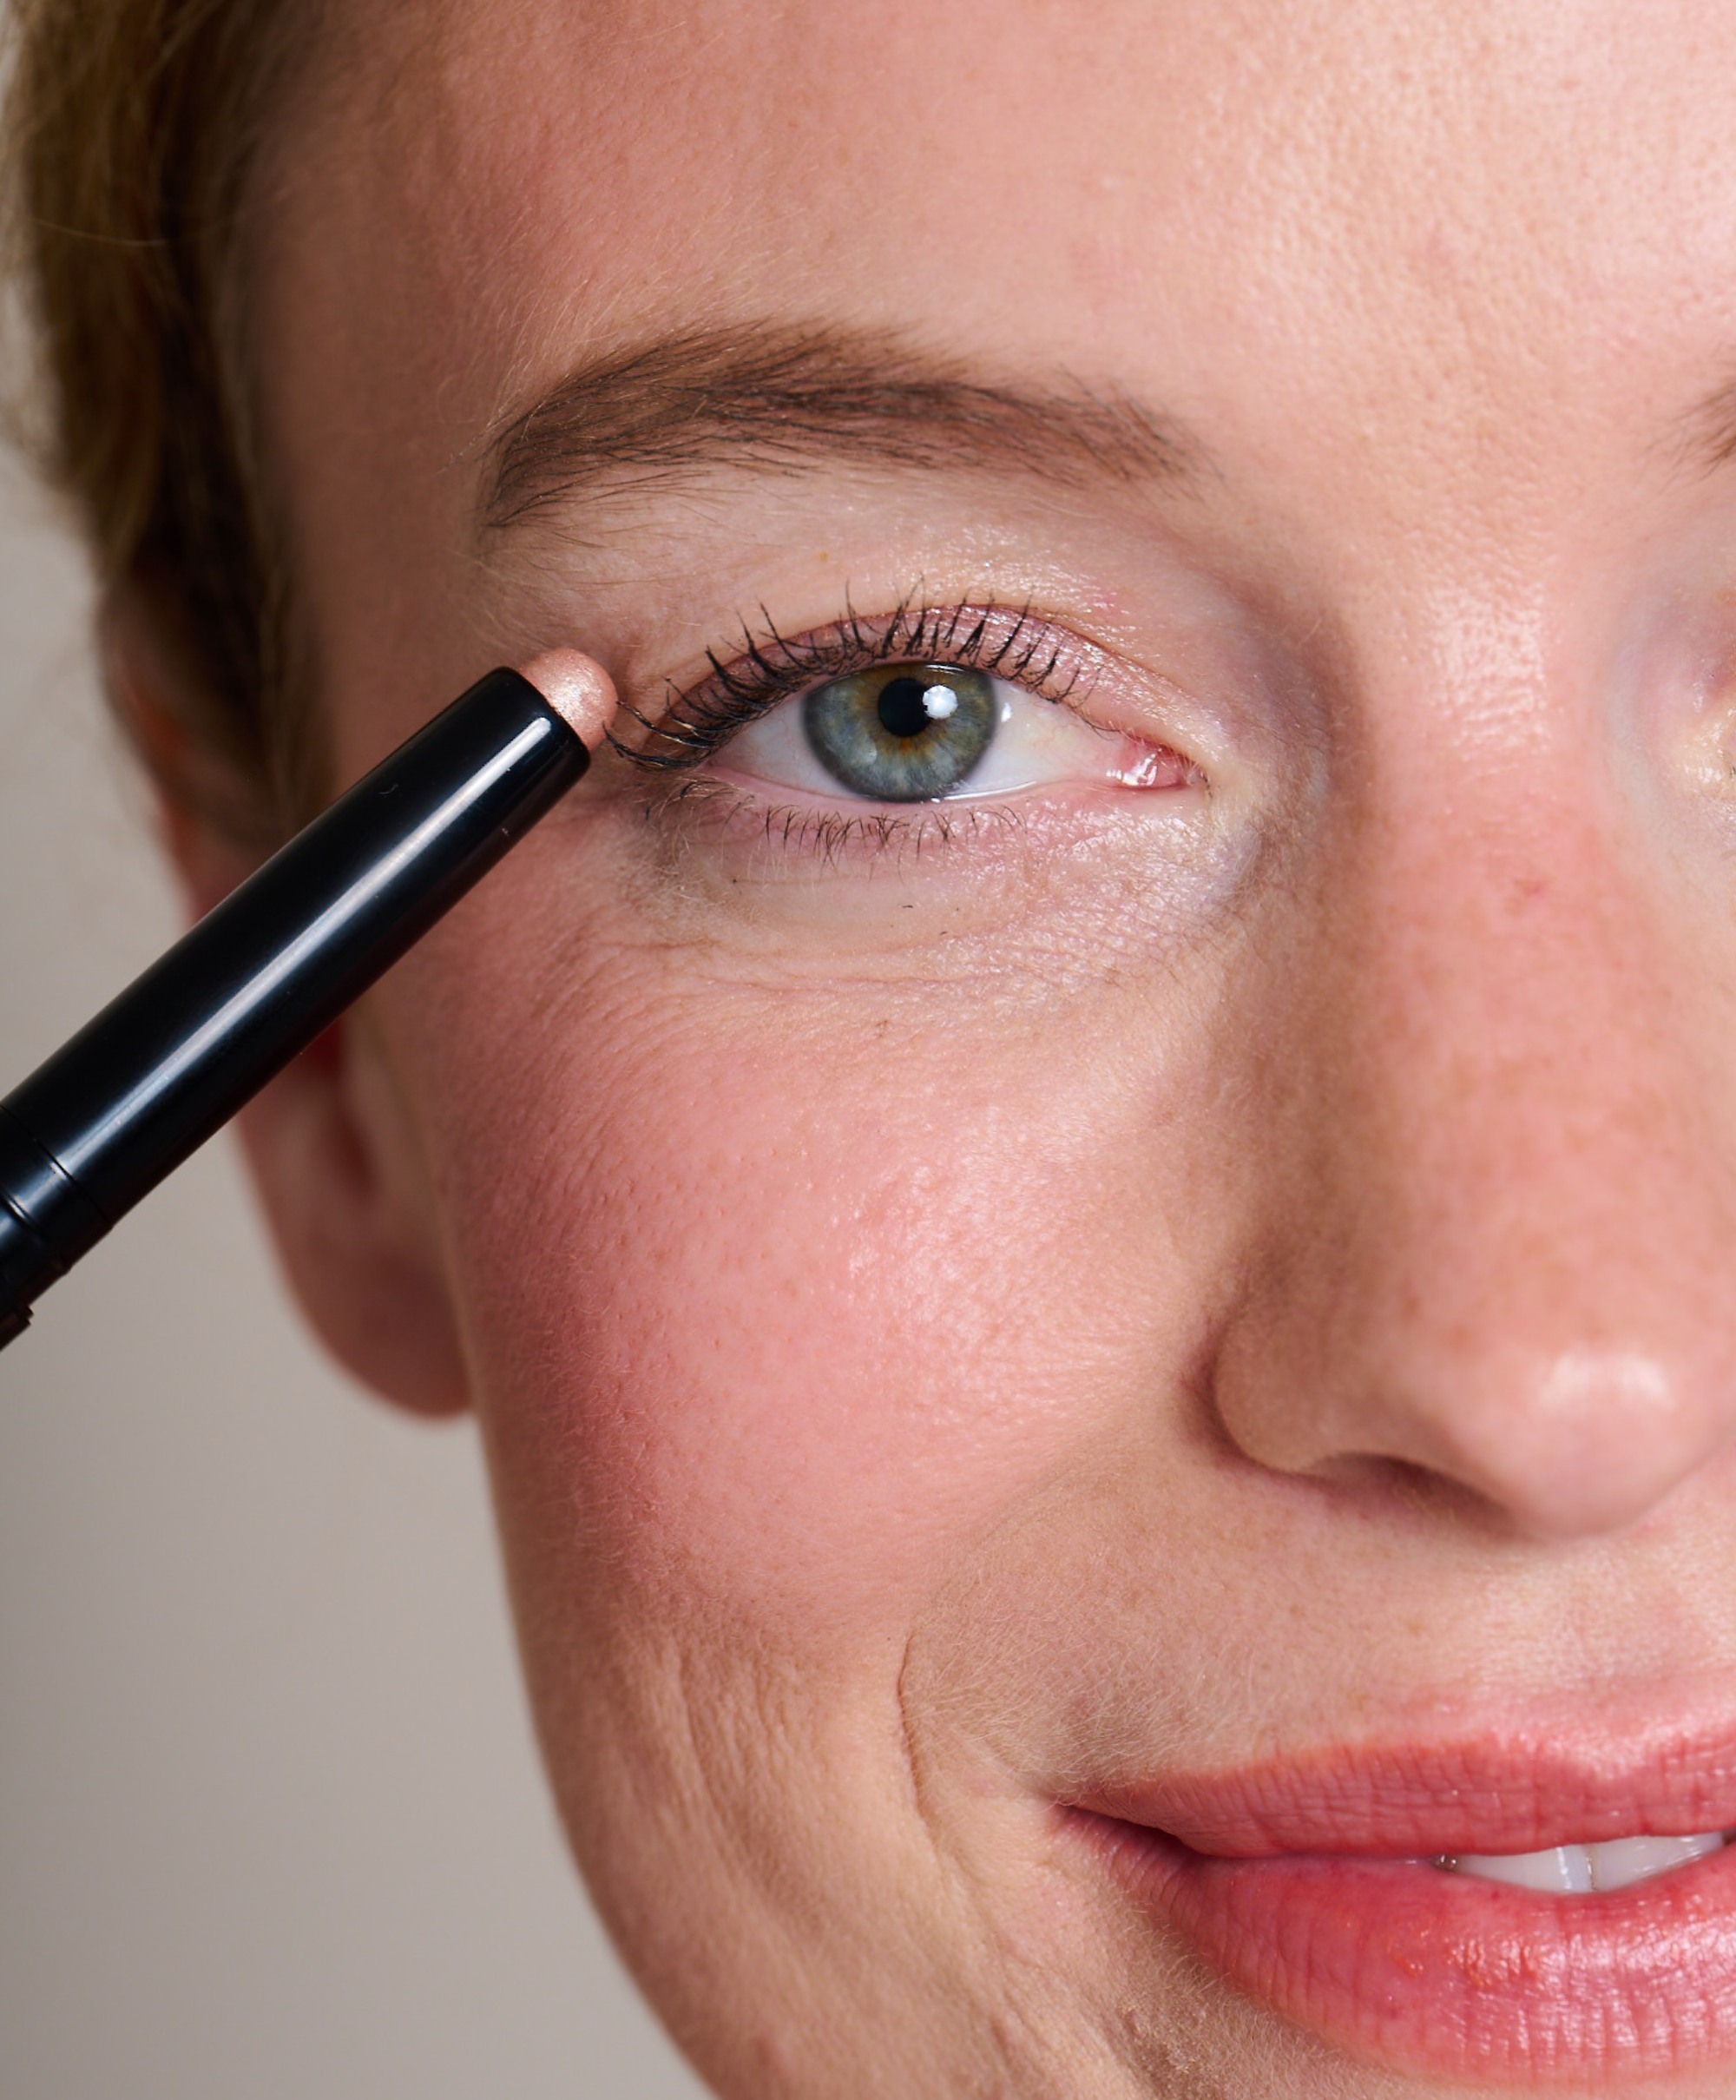
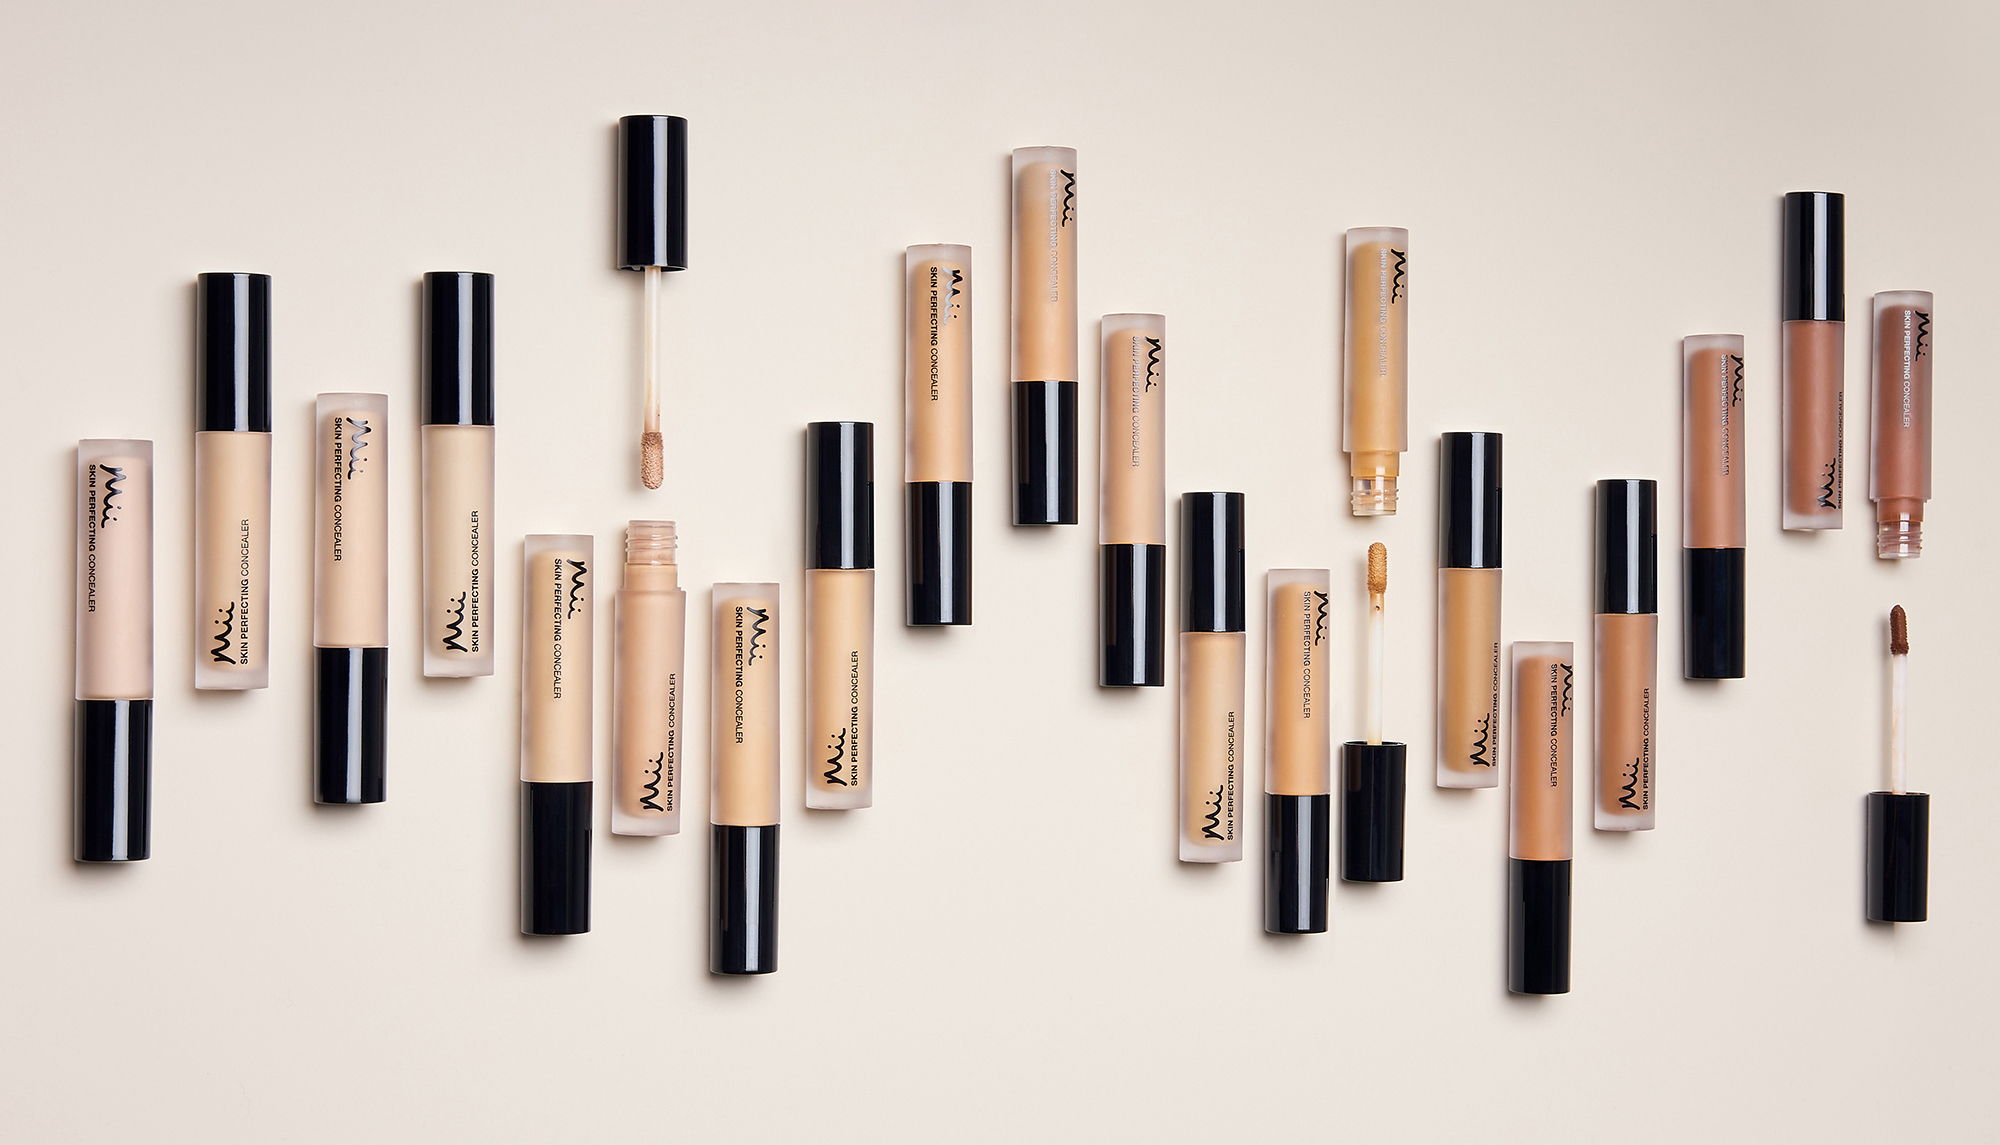
Blusher is often the unsung hero of anyone’s makeup routine. A sweep of colour in the right place instantly adds warmth back into the complexion that your concealer or foundation might have flattened out. The trick is knowing where to put it. Too low and it can drag the face down. Too heavy on the apples and it starts to look a little costume-y or doll-like. For women over 40, blusher can also become even more powerful. As the skin naturally loses a little density and luminosity over time, the right product and placement can introduce a visible lift and a youthful brightness without feeling heavy. By working with your face shape, you can use blusher to sculpt, soften, or visually uplift your features.
01. WHICH BLUSH?
Different products = Different results. The type of formula you use will impact how your blusher wears, moves and blends.
Cream and Liquid Blush
Opt for cream and liquid textures if you prefer a fresh-faced, luminous look.
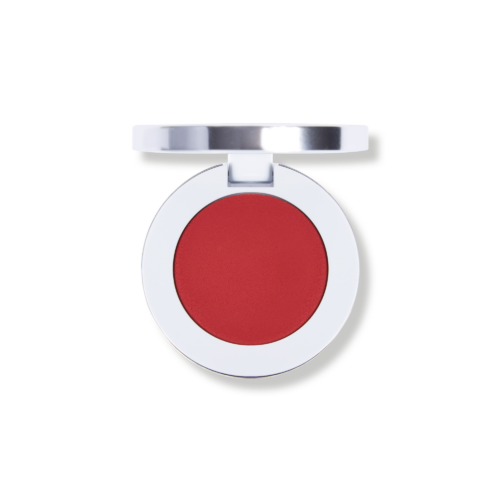
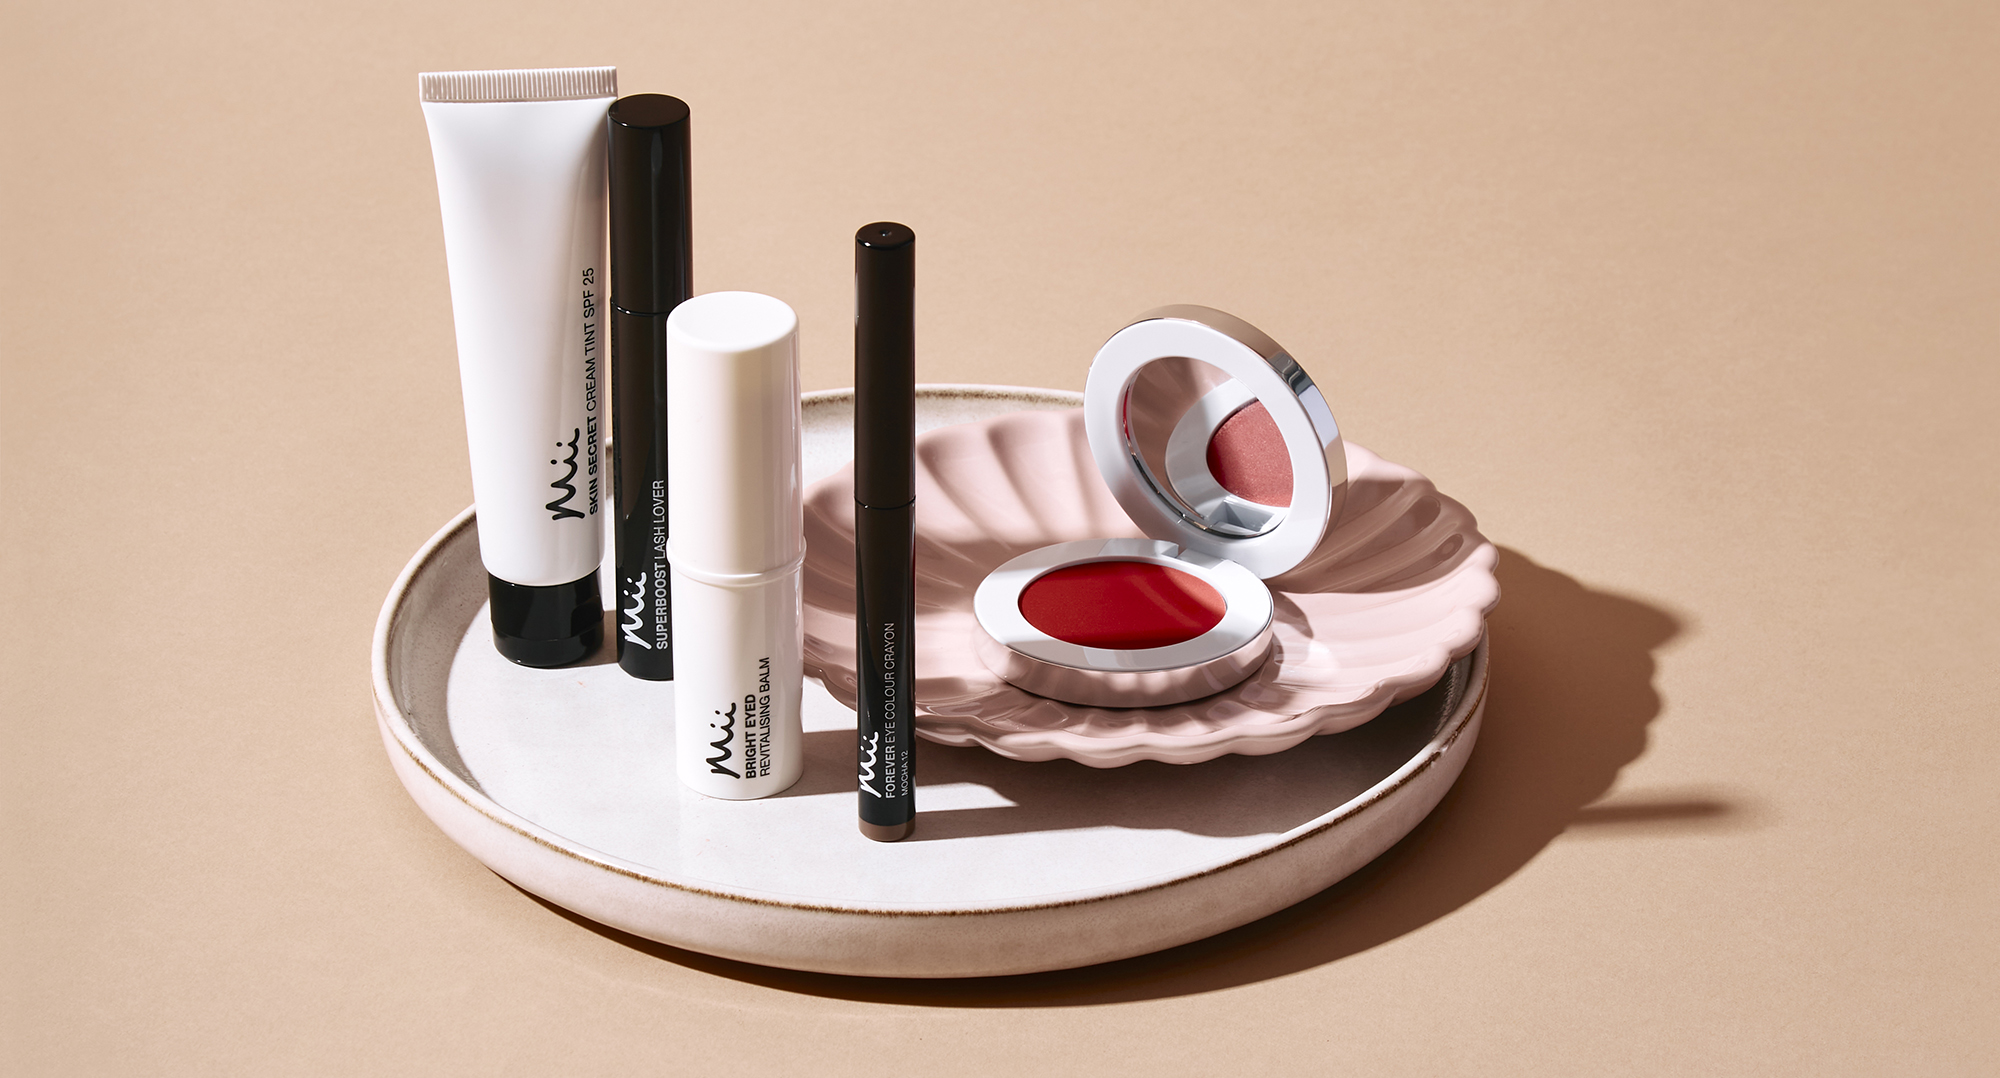
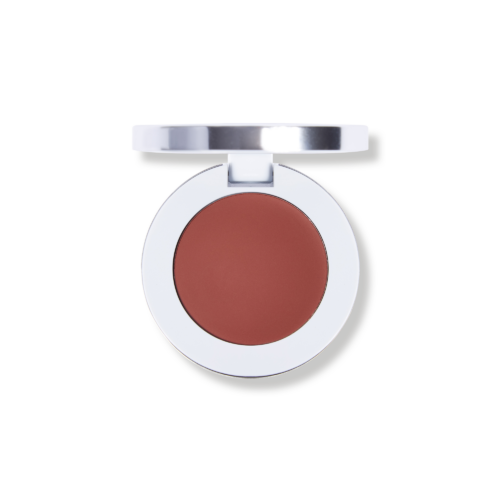
- Colour Wonder Lip and Cheek Balm: A multitasking balm with a soft and cushiony texture — it melts into skin rather than sitting on top of it, and blends with nothing more than your fingertips. Buildable pigment means you can keep it sheer or layer it up, and if your skin is on the drier side, you’ll notice the difference immediately.
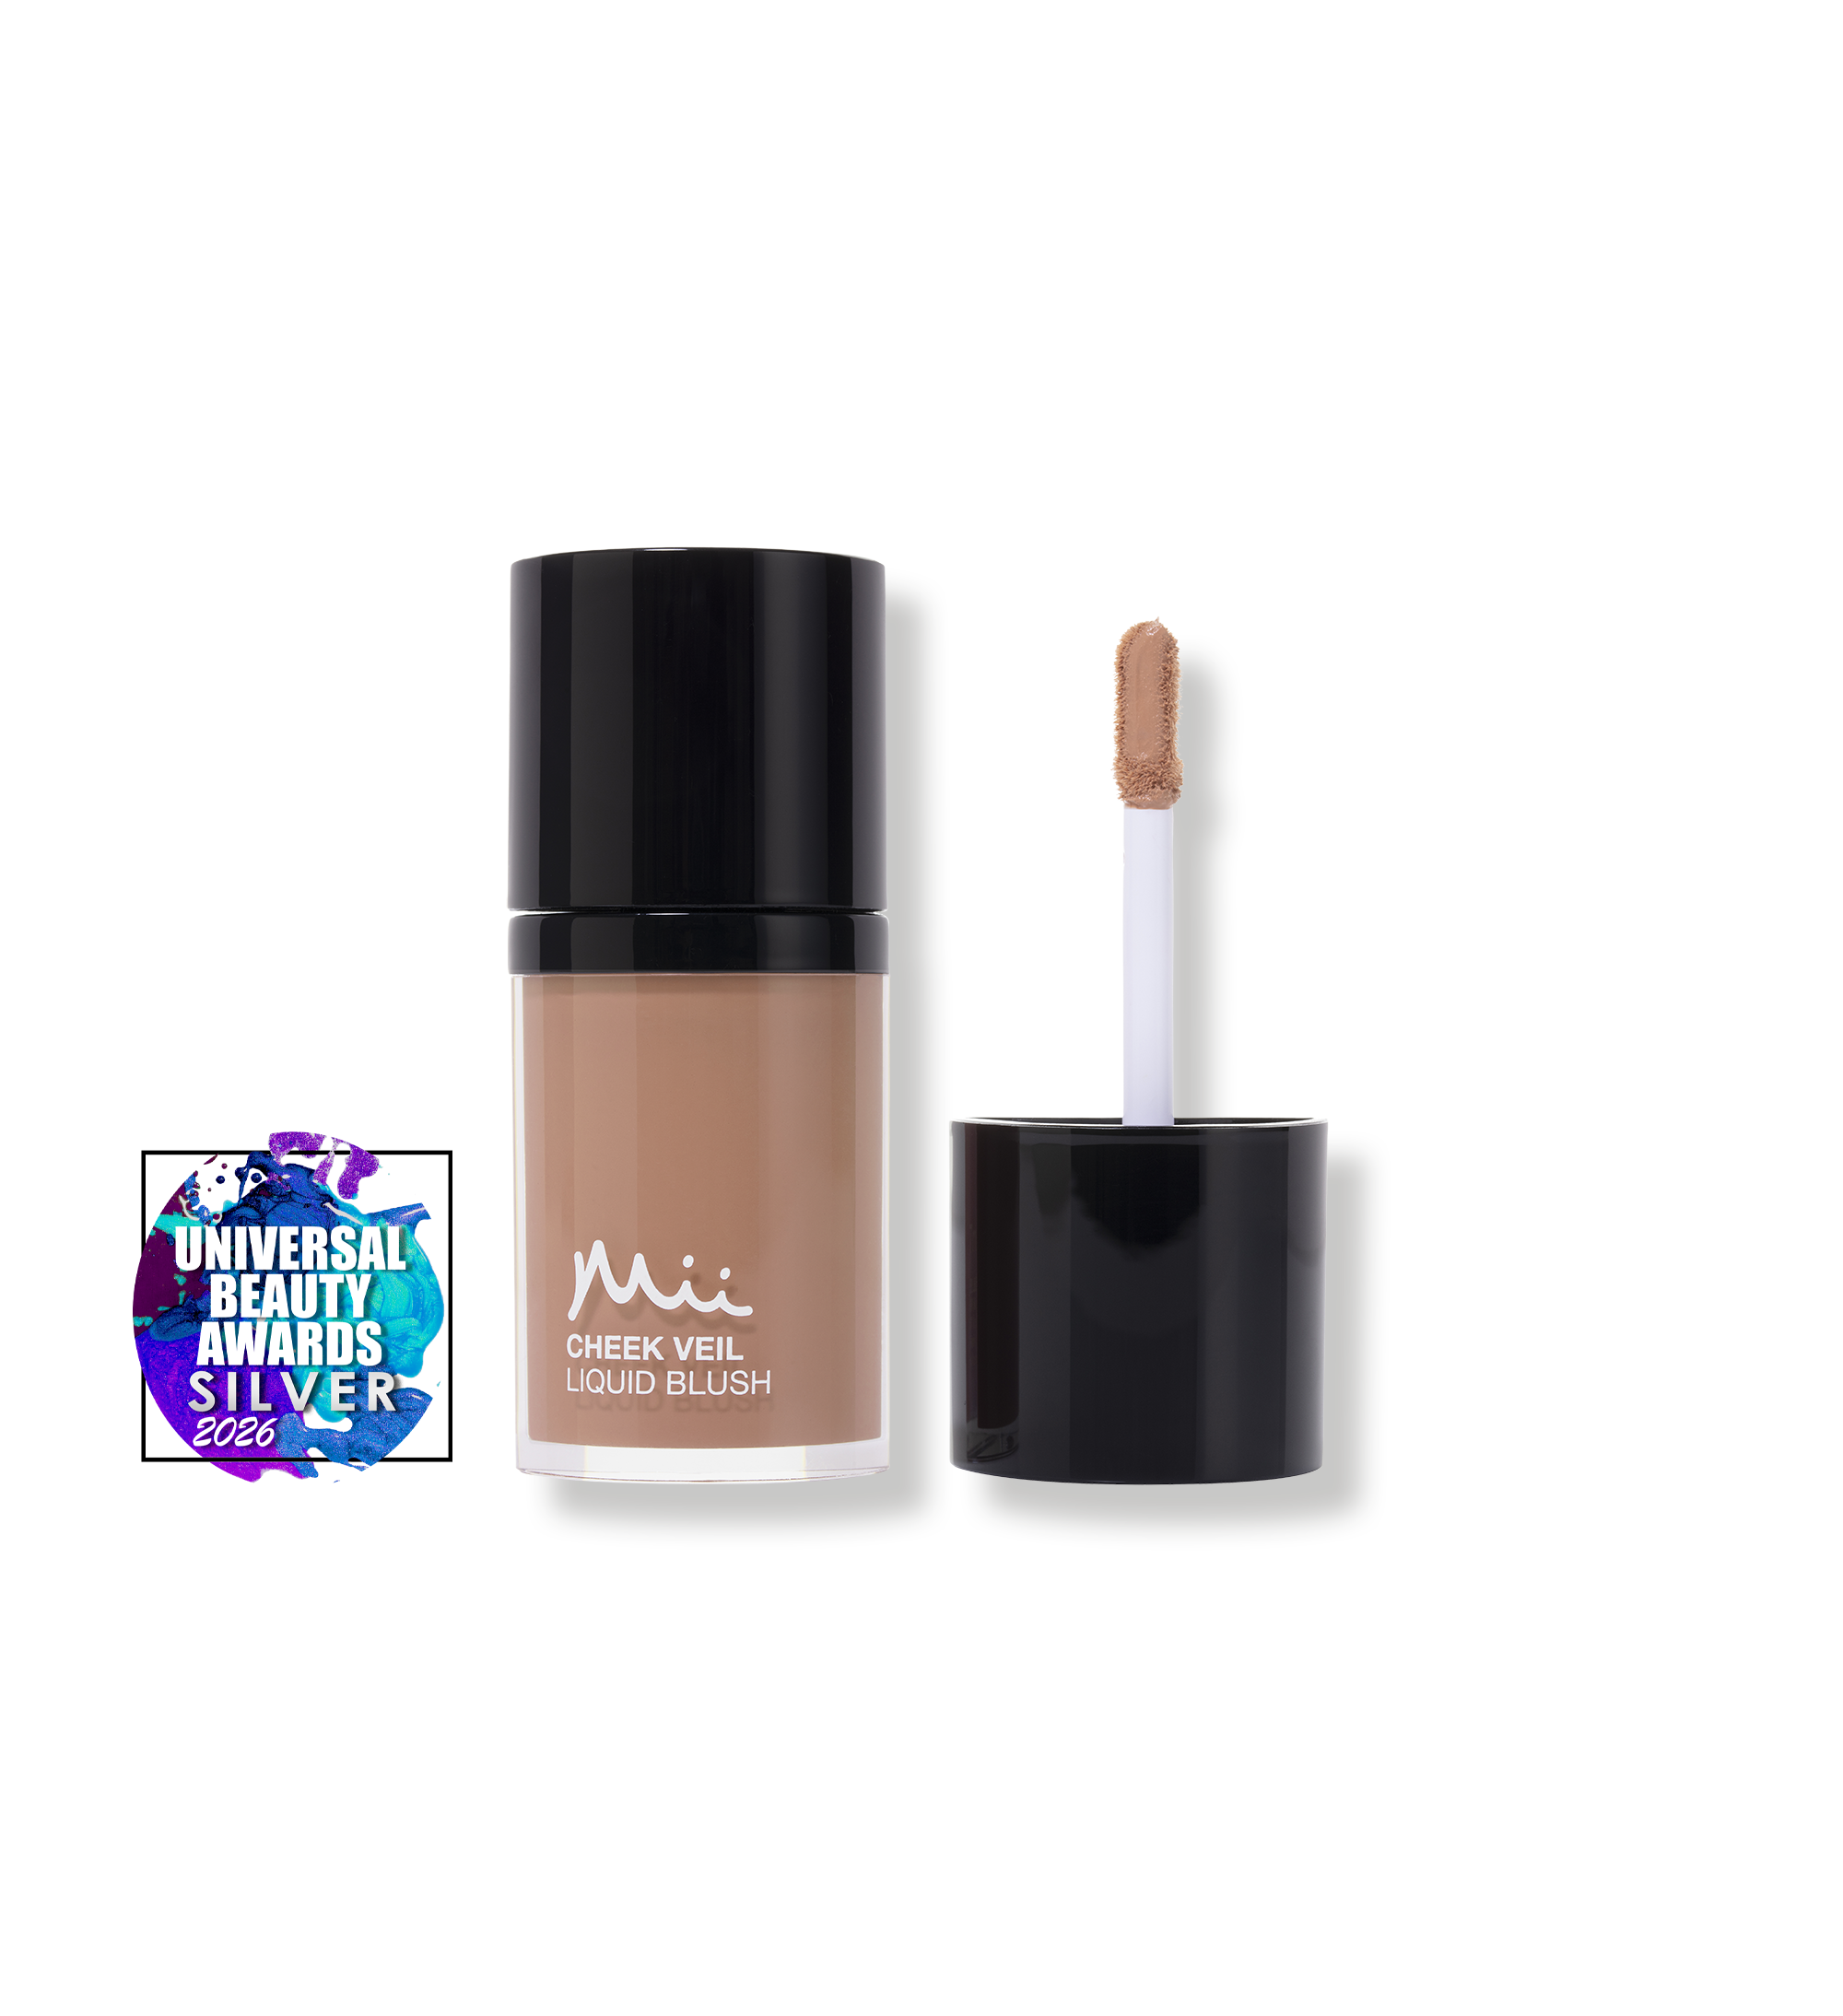
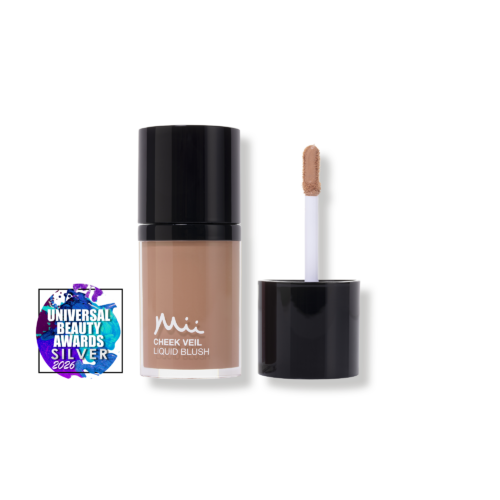
- Cheek Veil Liquid Blush: Great for colour that looks like it came from within. The silky liquid blush melts seamlessly into skin for a natural, healthy-looking flush — brightening, sculpting and defining. Buildable pigment lets you keep it soft and sheer or layer it up for more radiance, while nourishing berry oils and light-reflecting powders leave skin looking fresh, smooth and luminous.
Powder Blush
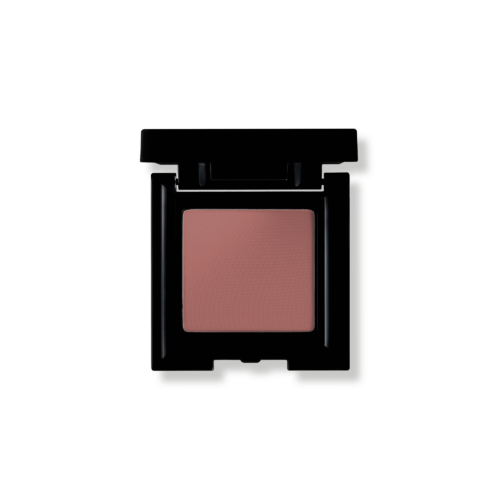
- Uplifting Cheek Colour: Delivers a natural pop of colour with a classic buildable powder formula. It’s easy to control, easy to blend and works beautifully with a brush.
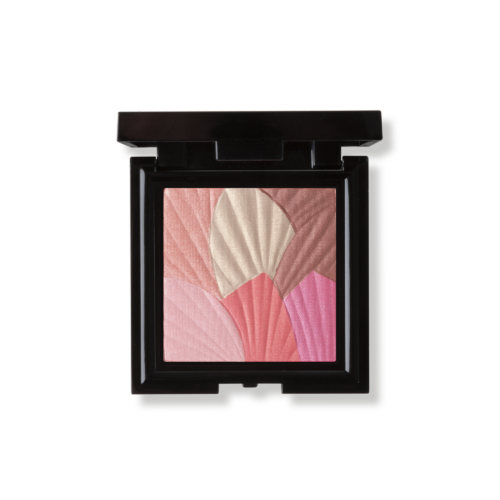
- Celestial Skin Shimmer: Perfect if radiance is what you are after. The six pearlised shades can be used individually or swirled together for a seamless, multi-dimensional glow.
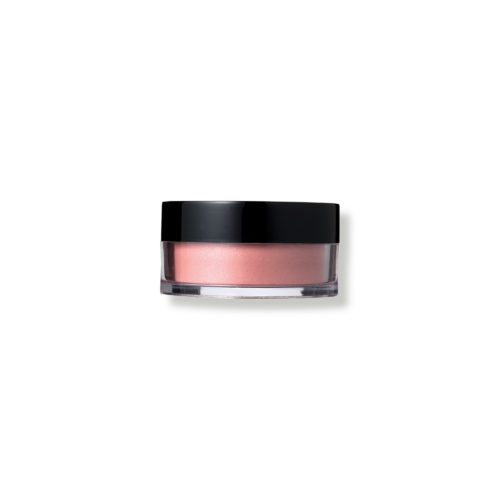
- Mineral Radiant Natural Blush: Pure mineral, soft focus and buildable colour in one. It delivers a silky wash of colour while smoothing the appearance of pores and imperfections.
02. IDENTIFYING YOUR FACE SHAPE
Understanding your bone structure is the first step to mastering your blusher placement. Most faces fall into one of six categories: oval, round, square, diamond, heart or triangular. Not sure which one is yours? Pull your hair back, look straight into the mirror and take note of where your face is widest — whether that’s at the forehead, cheekbones or jaw — and how your chin is shaped.
Once you have a sense of your face shape, here’s where to take your blush.
OVAL
- An oval face is longer than it is wide, with cheekbones that are the broadest point and a gently curved chin. It’s a naturally balanced shape, so the goal with blush is simply to add warmth and a healthy flush without disrupting that balance.
WHERE TO APPLY
- Focus on the apples of the cheeks — the soft, rounded area that lifts when you smile. Sweep your blush upwards and outwards from there, moving towards your ears and following the natural line of your cheekbone. This adds width and a radiant, healthy glow without the need for heavy contouring.
ROUND
- With a round face, the length and width are close to equal, with full cheeks and a softly curved jawline. Blush here is all about creating a little lift and definition to give the face more dimension.
WHERE TO APPLY
- Aim slightly higher on the cheeks than you might think — just above the apples, towards the top of the cheekbone. Sweeping your blush upward creates a subtle lifted effect that adds structure without losing the natural softness of a round face. You can also dust a little colour onto the chin to gently elongate the appearance of the face.
SQUARE
- A square face has a strong, wide jawline and a broad forehead, with cheekbones, jaw and forehead all sitting at a similar width. The angles here should be viewed as a feature rather than a problem — and blush can help balance them beautifully.
WHERE TO APPLY
- Concentrate colour on the apples of the cheeks to help them appear rounder and fuller. Blend the blush using gentle, circular motions for a seamless finish and sweep outwards towards the ears to keep the look natural without any harsh edges. A light dusting along the hairline can also help round out the face shape — it’s a small detail that makes a real difference.
DIAMOND
- A diamond face shape is defined by high, prominent cheekbones with a narrower forehead and chin. It’s a striking structure, and the cheekbones are absolutely worth highlighting.
WHERE TO APPLY
- Start at the top of the cheekbones and blend outwards towards the ears. A higher blush placement works brilliantly here — it accentuates those cheekbones in the best way. For something a little more sculpted, try blending a small amount of colour from the cheeks up towards the temples. It draws the eye upwards and works with your bone structure rather than against it.
HEART
- A heart-shaped face has a wider forehead that tapers into a narrower chin, sometimes with a widow’s peak at the hairline. Blush on a heart face is all about adding softness and drawing attention to the centre of the face.
WHERE TO APPLY
- Focus on the apples of the cheeks and work in a curved, U-shaped motion along the cheekbones, extending towards the temples. Starting slightly lower on the cheeks helps to balance the wider forehead. Sweep back and forth to blend the edges cleanly — the result is a lifted, rounded flush that softens the overall shape.
TRIANGULAR
- A triangular face is narrower at the forehead and wider at the jaw and chin, which is the opposite of a heart shape. Here, blush is used to draw the eye upwards and create more balance across the face.
WHERE TO APPLY
- Apply blush in a sideways V shape across the cheekbones — starting from the apples of your cheeks and sweeping up towards the temples. From there, blend a little colour over the brow and towards the centre of the forehead. It sounds more involved than it is, and the effect is beautifully balancing.
03. FINAL TIPS
- Start with less than you think you need. Blush builds easily; it doesn’t come off as easily. A light hand to begin with gives you much more control to achieve the look you are after.
- When in doubt, follow your natural flush. Think about where your skin goes pink after a walk or a laugh — that’s where blush tends to sit most naturally, whatever technique you’re using.
- Blend past where you think you need to. The giveaway with blush is nearly always the edges — spend a little time softening them and the whole look comes together.