


LOVE AT FIRST MANI:VALENTINE’S NAIL LOOK
VALENTINE’S NAIL LOOK: YOUR STEP-BY-STEP GUIDE
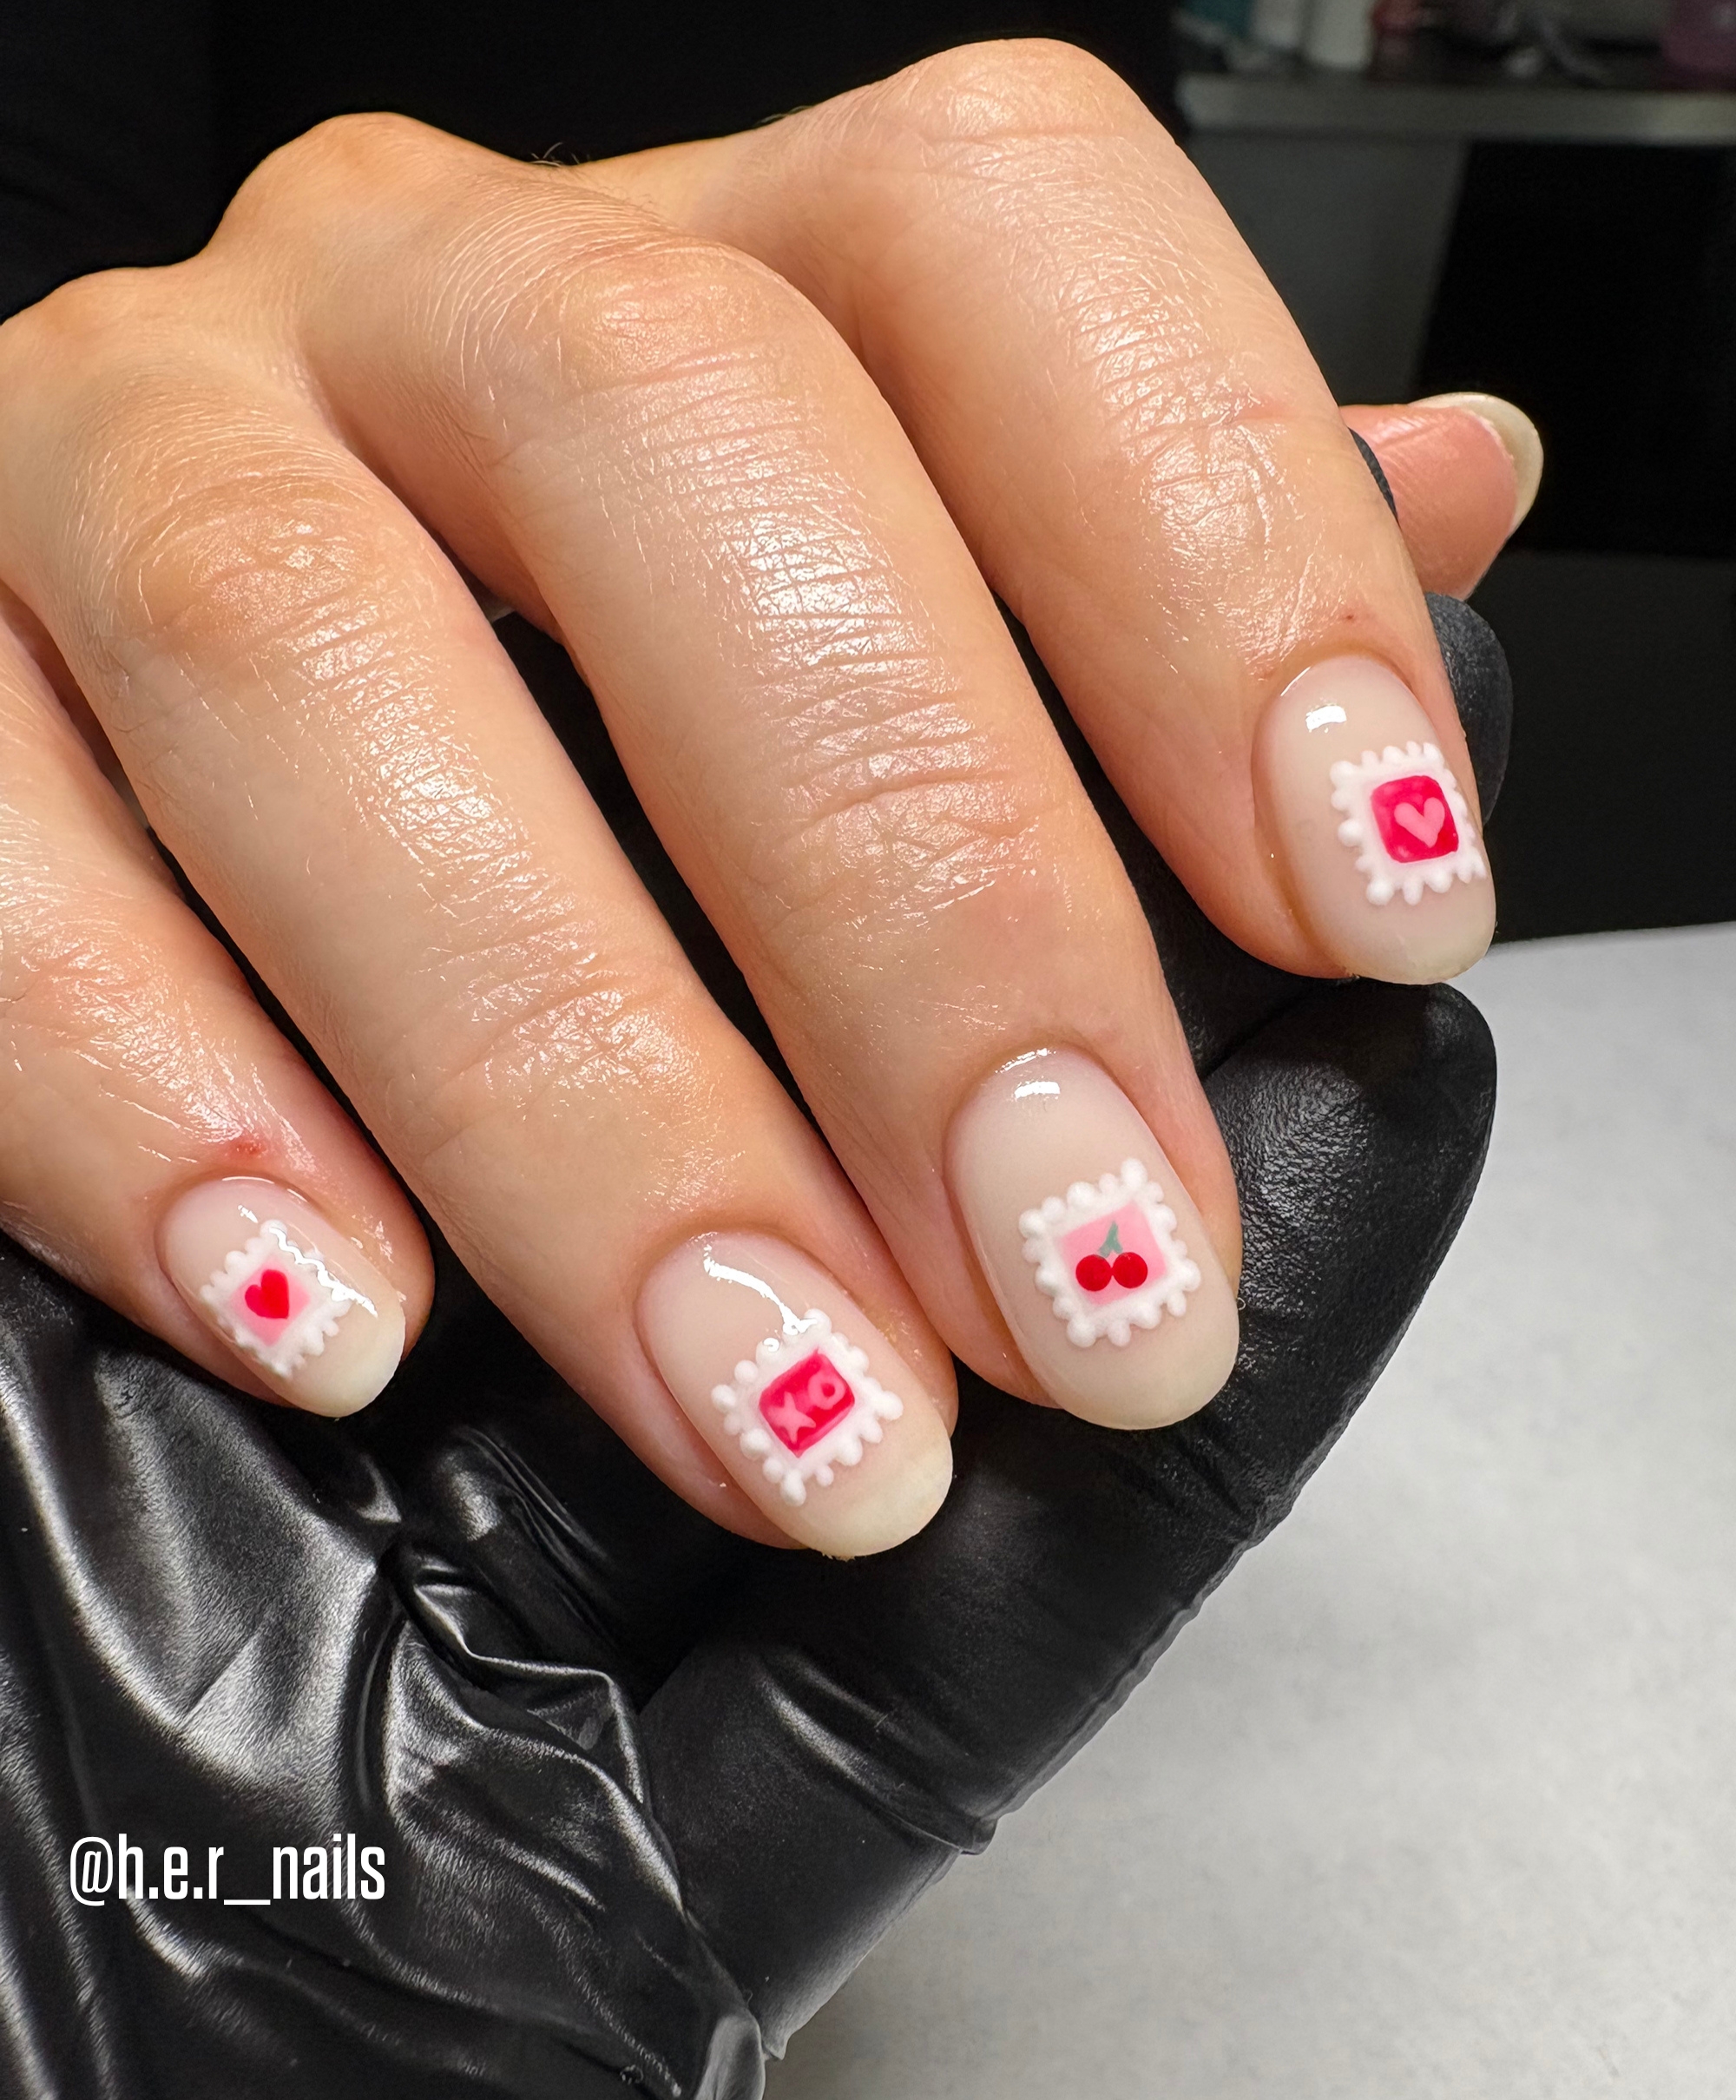
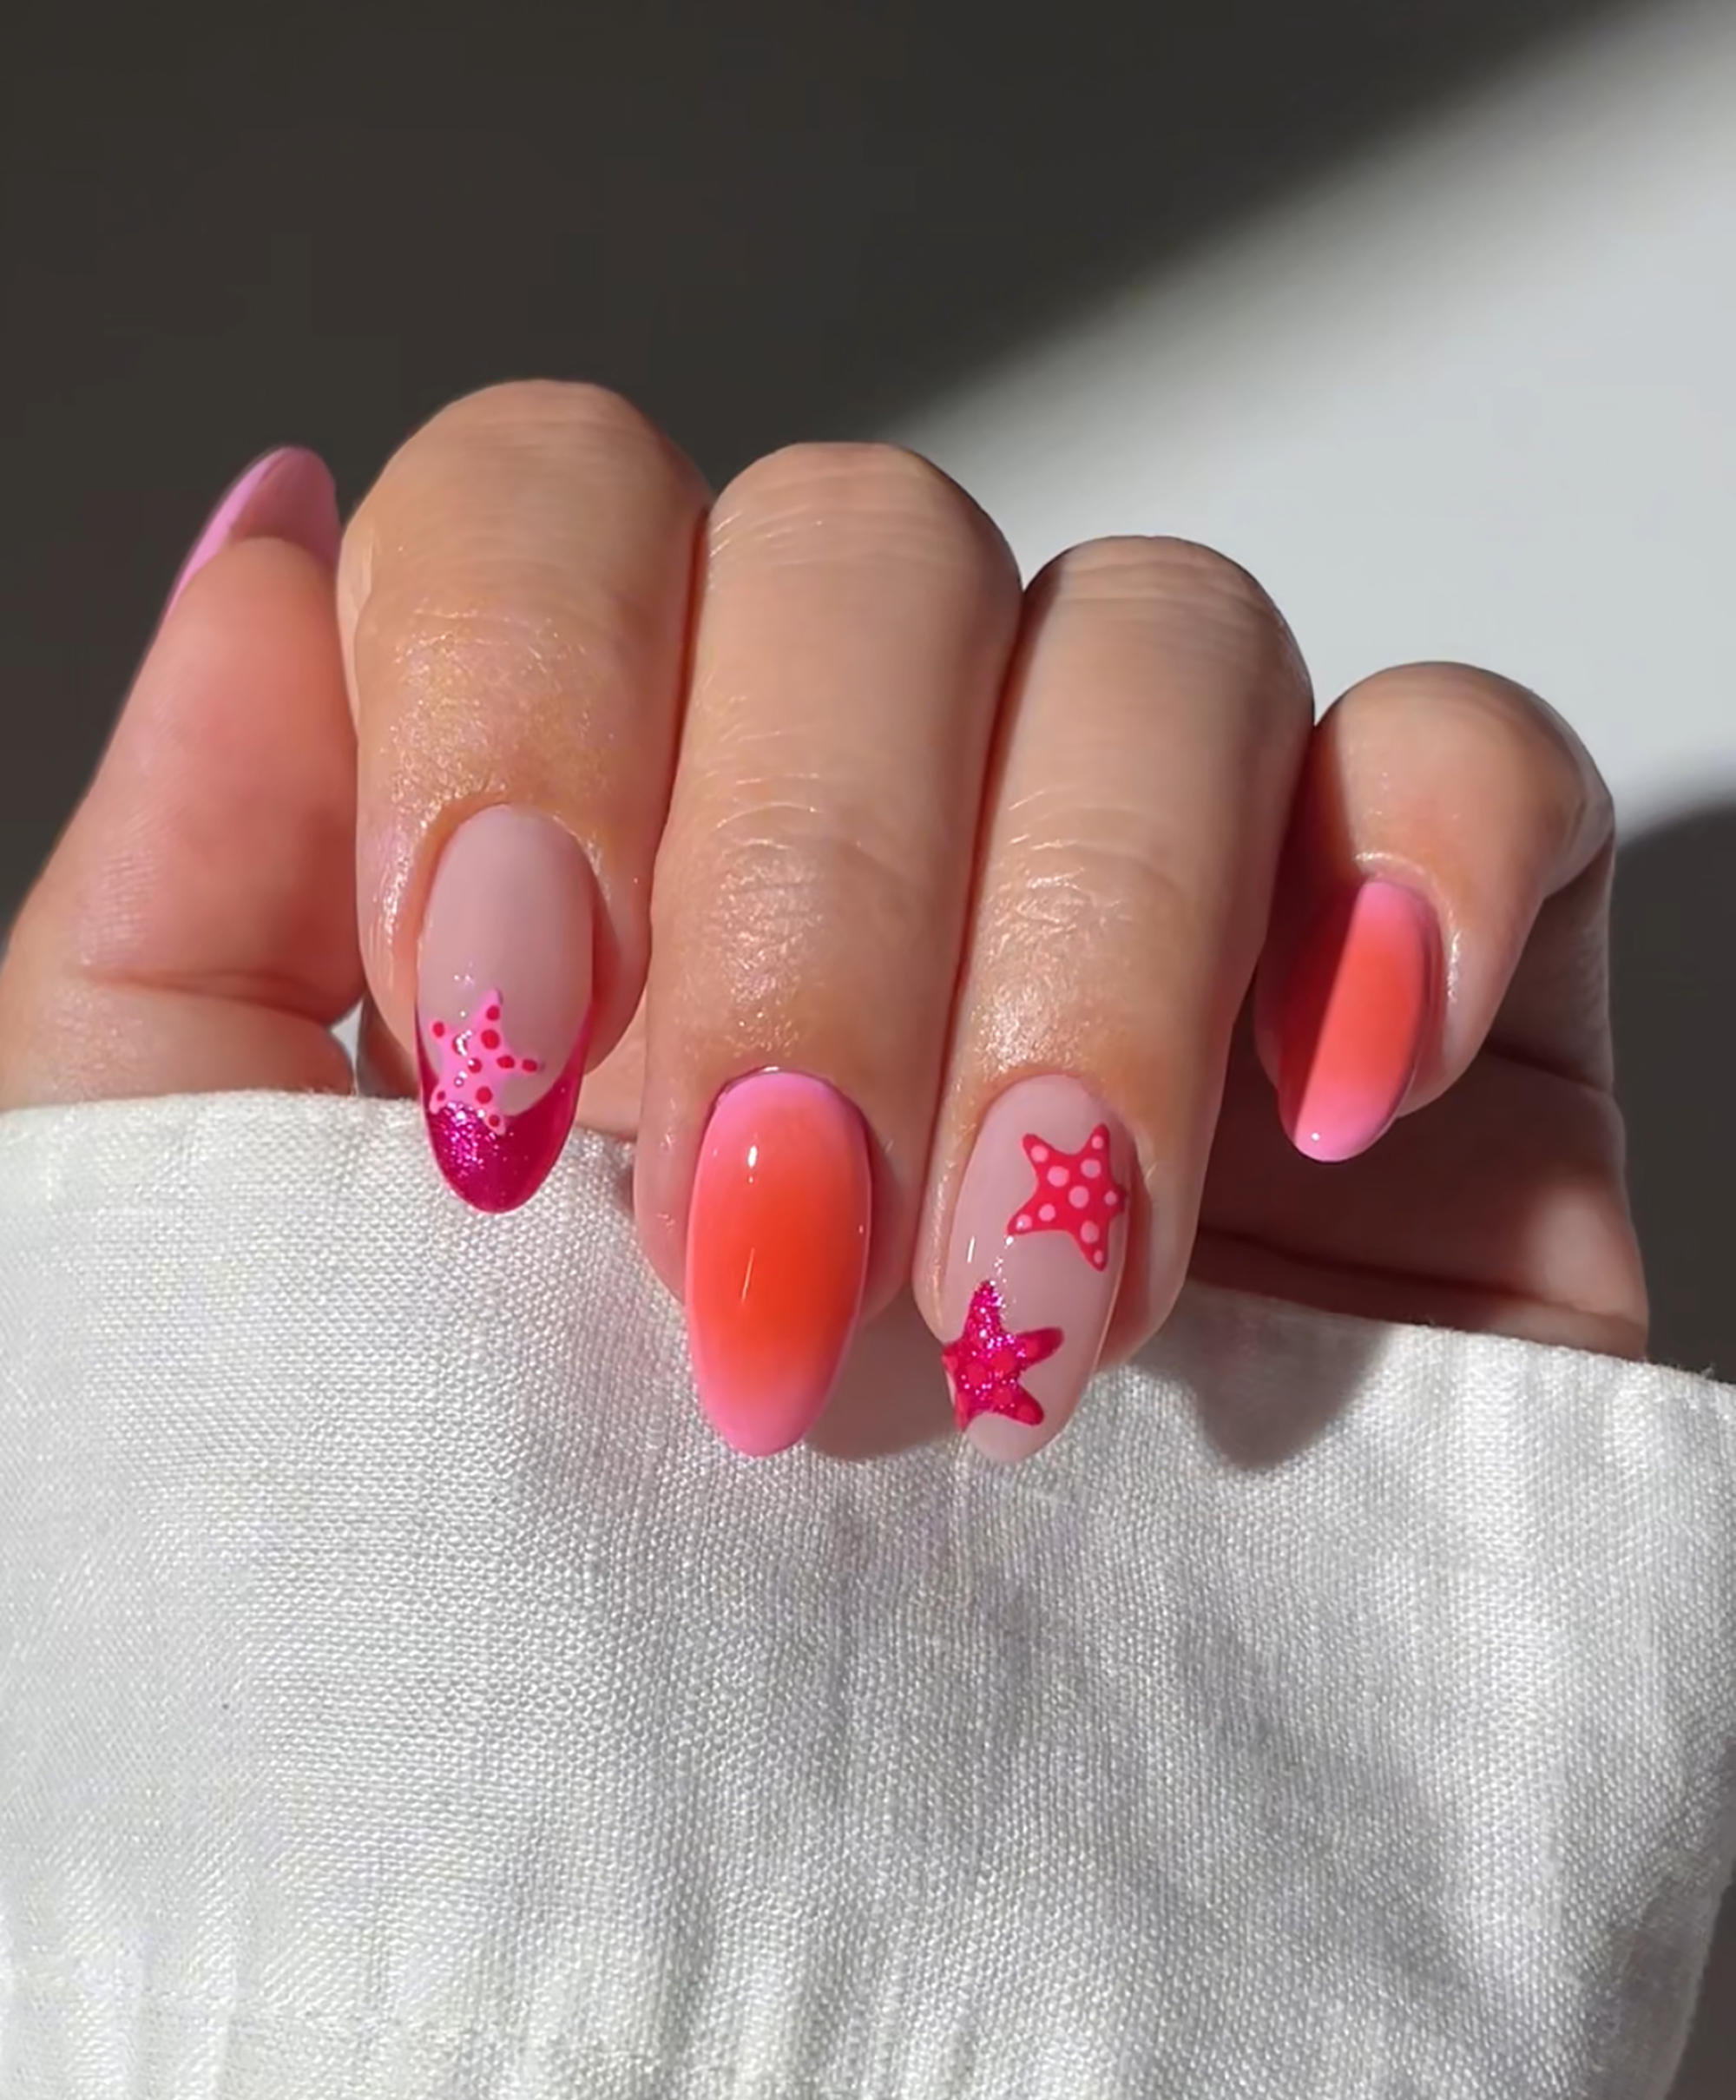
Get ready for Valentine’s Day with a nail look created by @h.e.r_nails that adds a touch of romance. Featuring delicate hearts, dainty dots, and soft pastel shades, this Valentine-inspired design is finished with a glossy polish for a stylish, love-filled look.
WHAT YOU’LL NEED
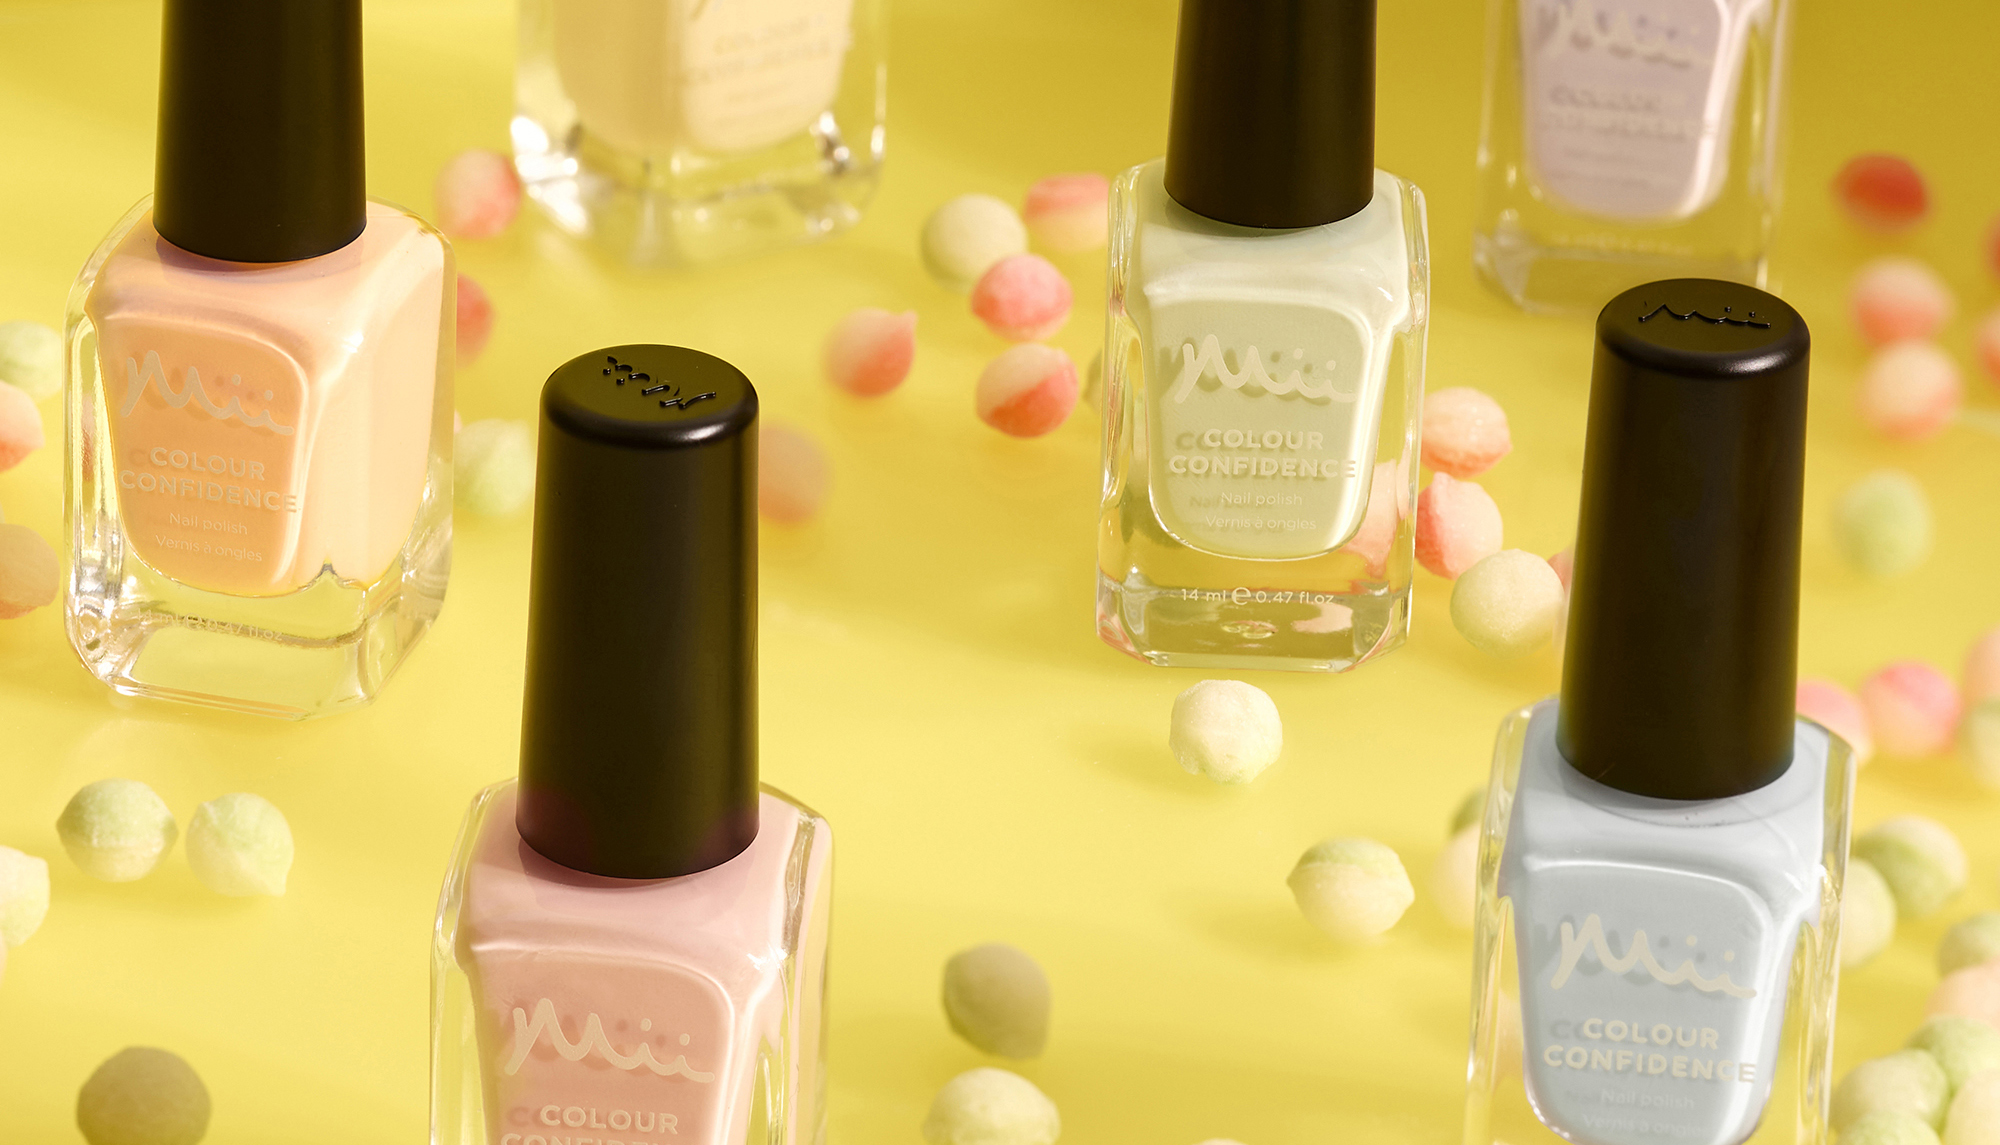
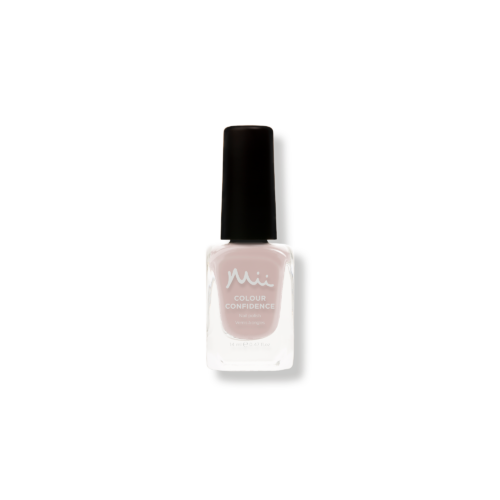
Sheer Elegance – a sheer light nude
Only Say Yes – a bright white crème
Fondant Fancy – a bubblegum pink
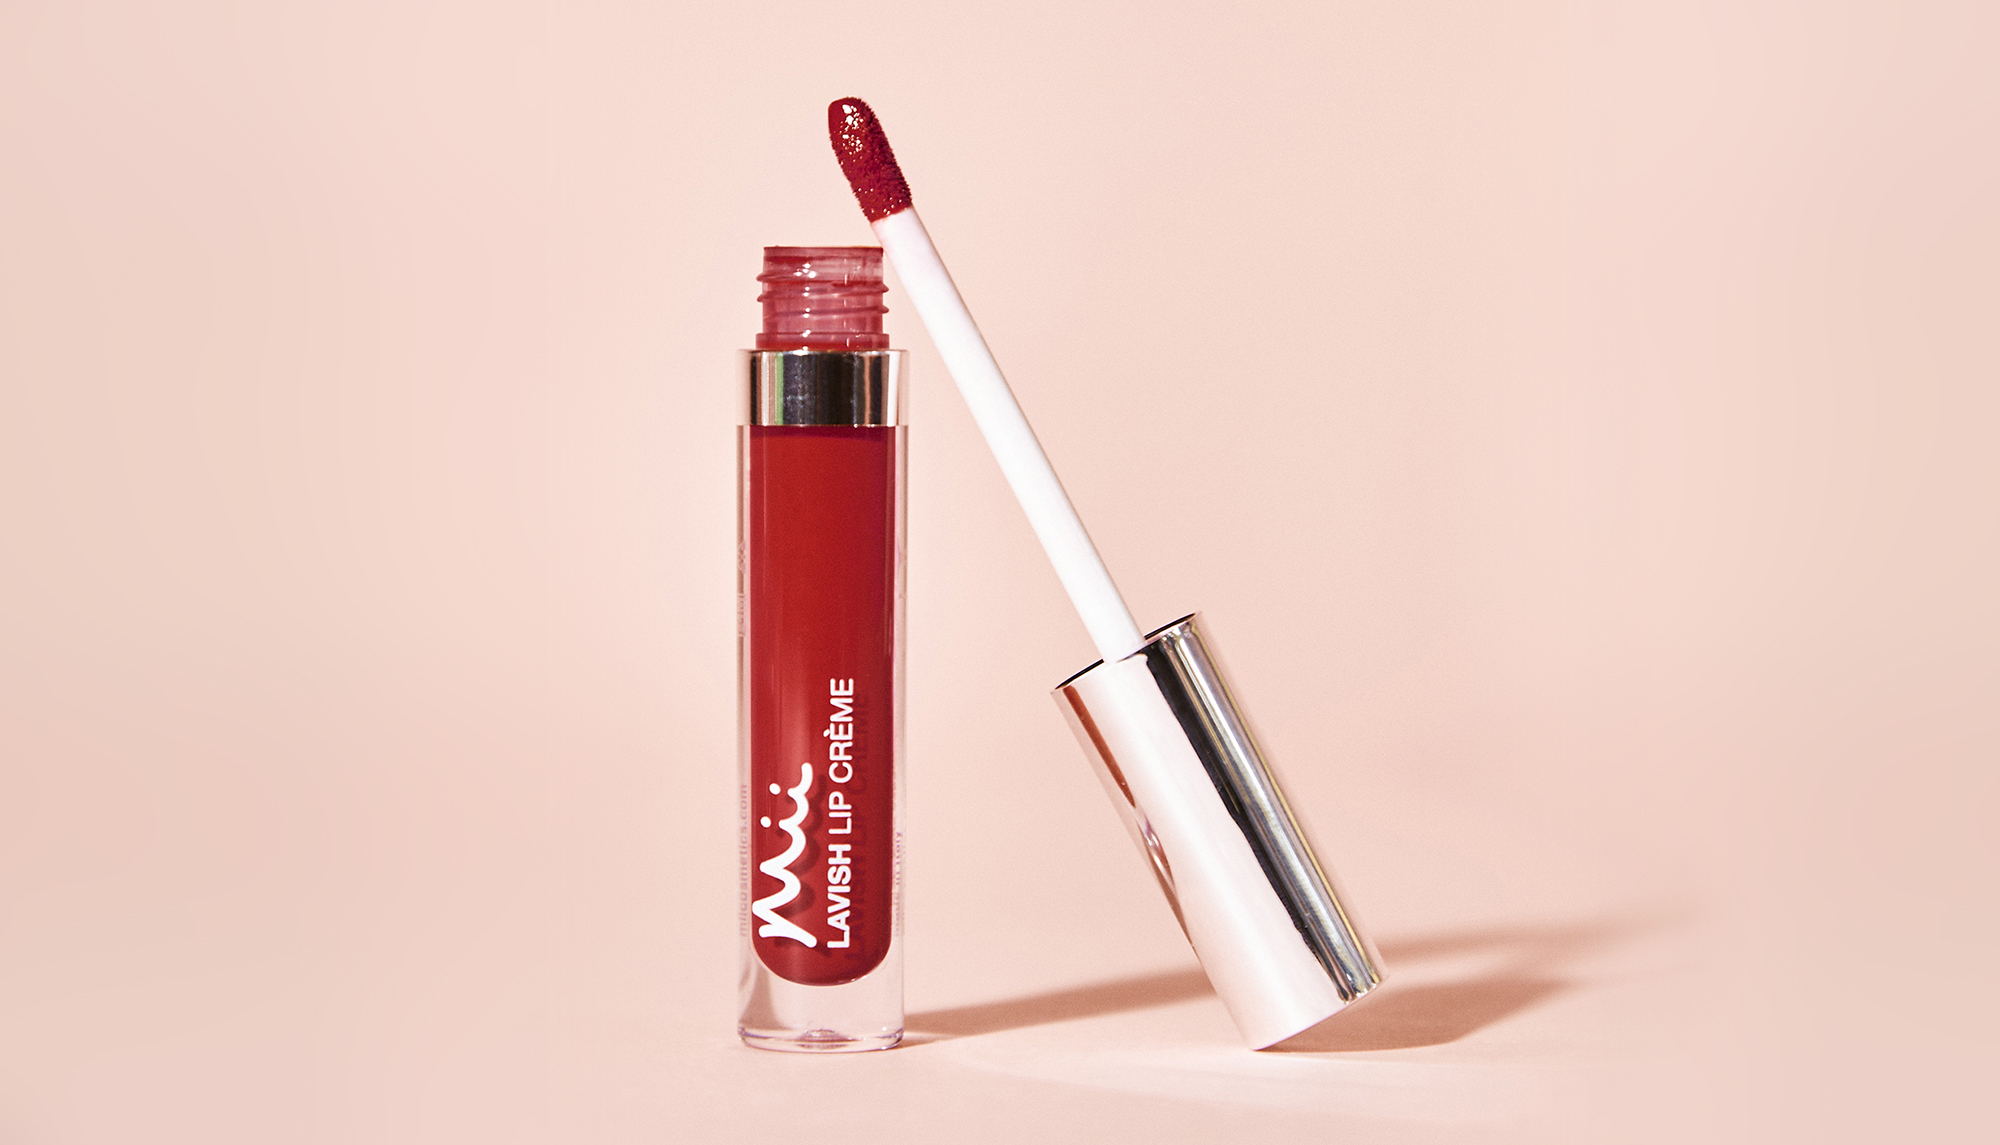
Indulgent Heart – a rich red crème
Positively Playful – a bright jade green crème
STEP 1: PREP

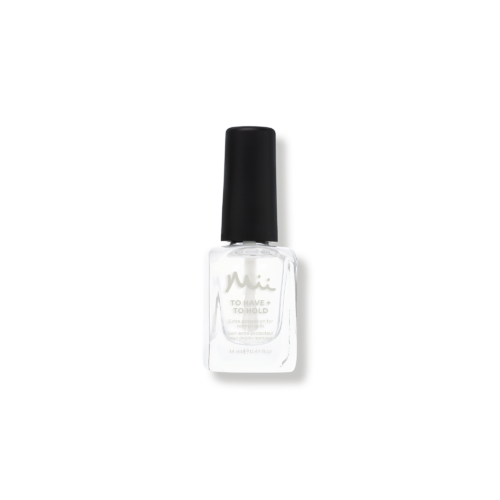
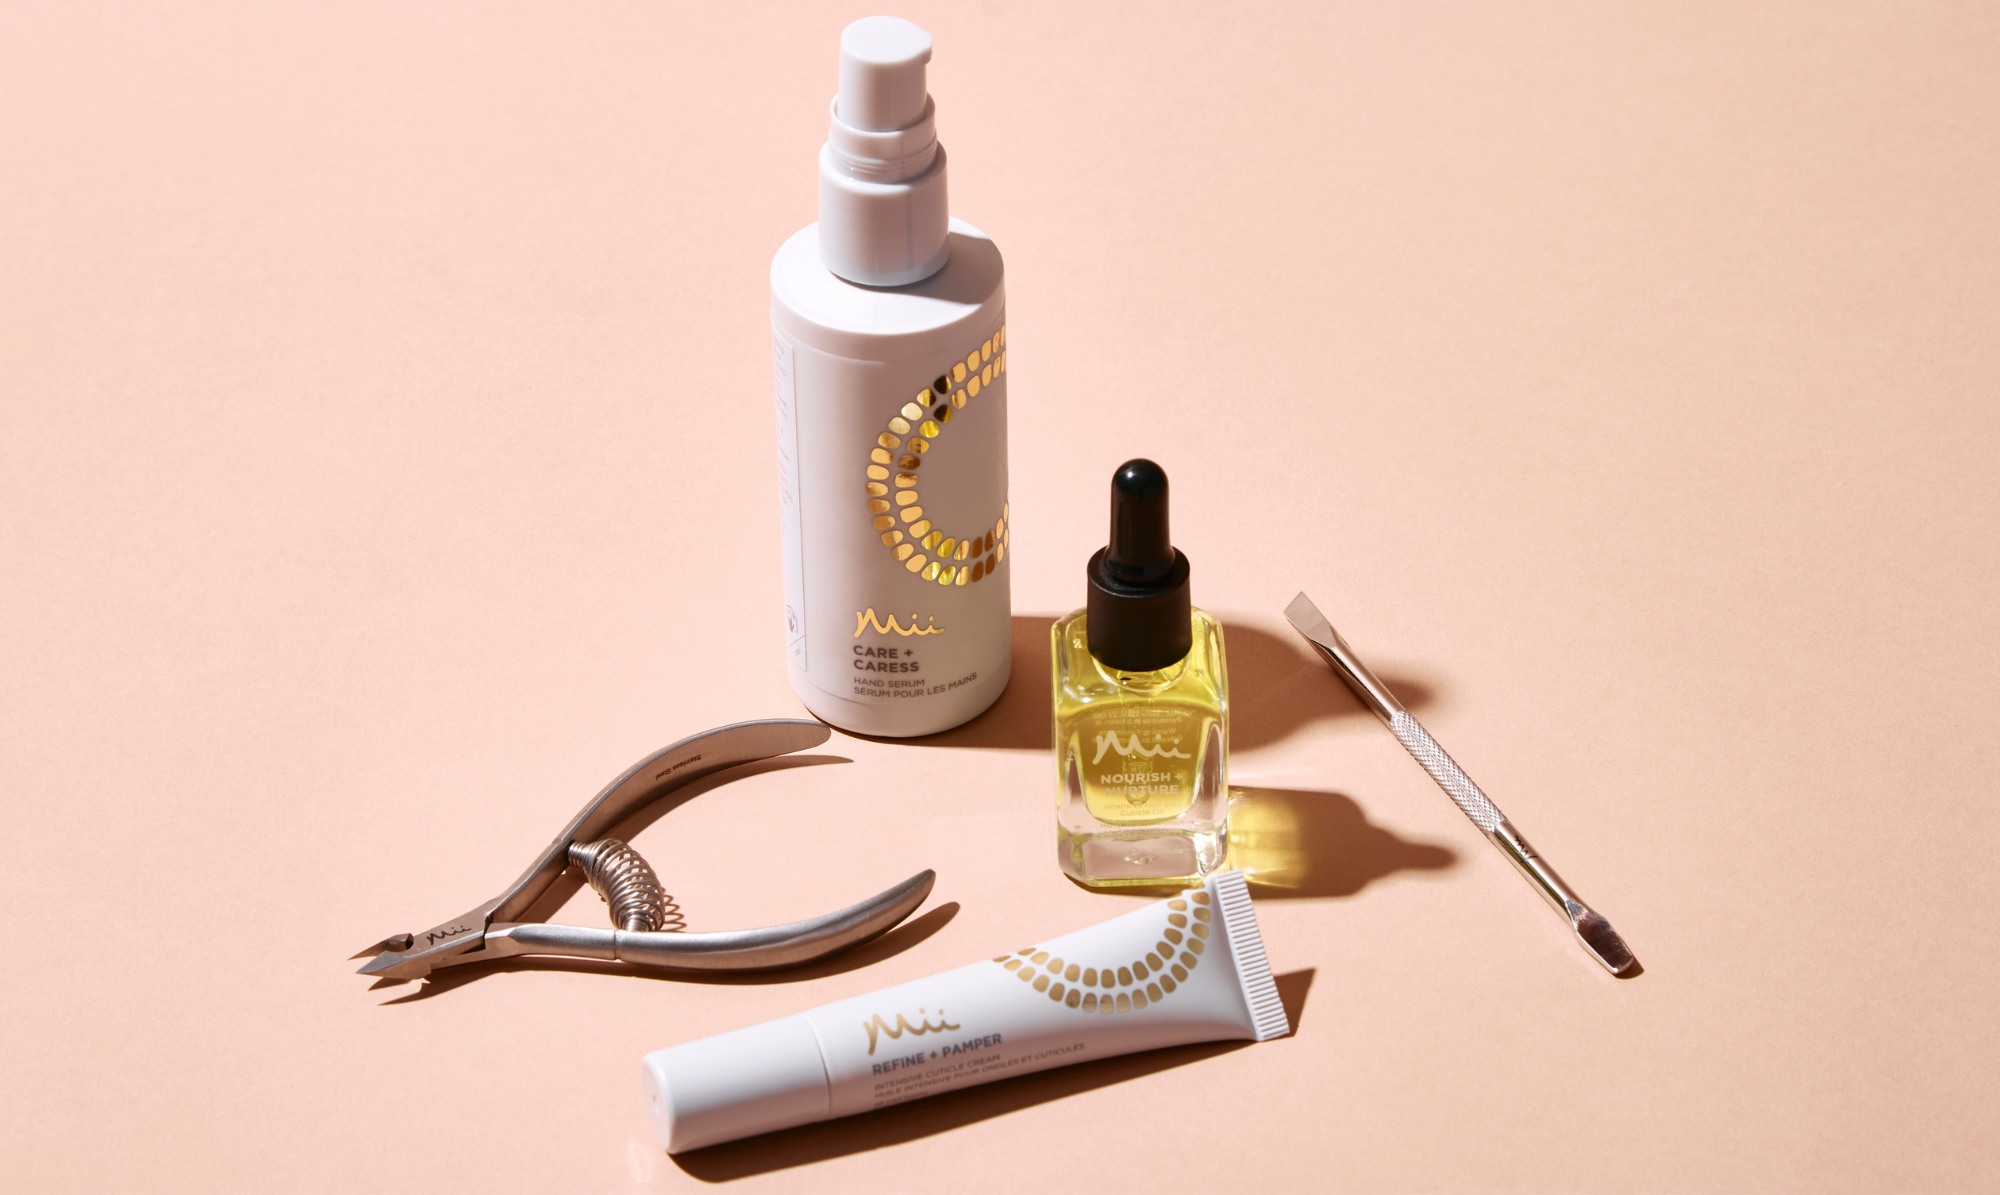
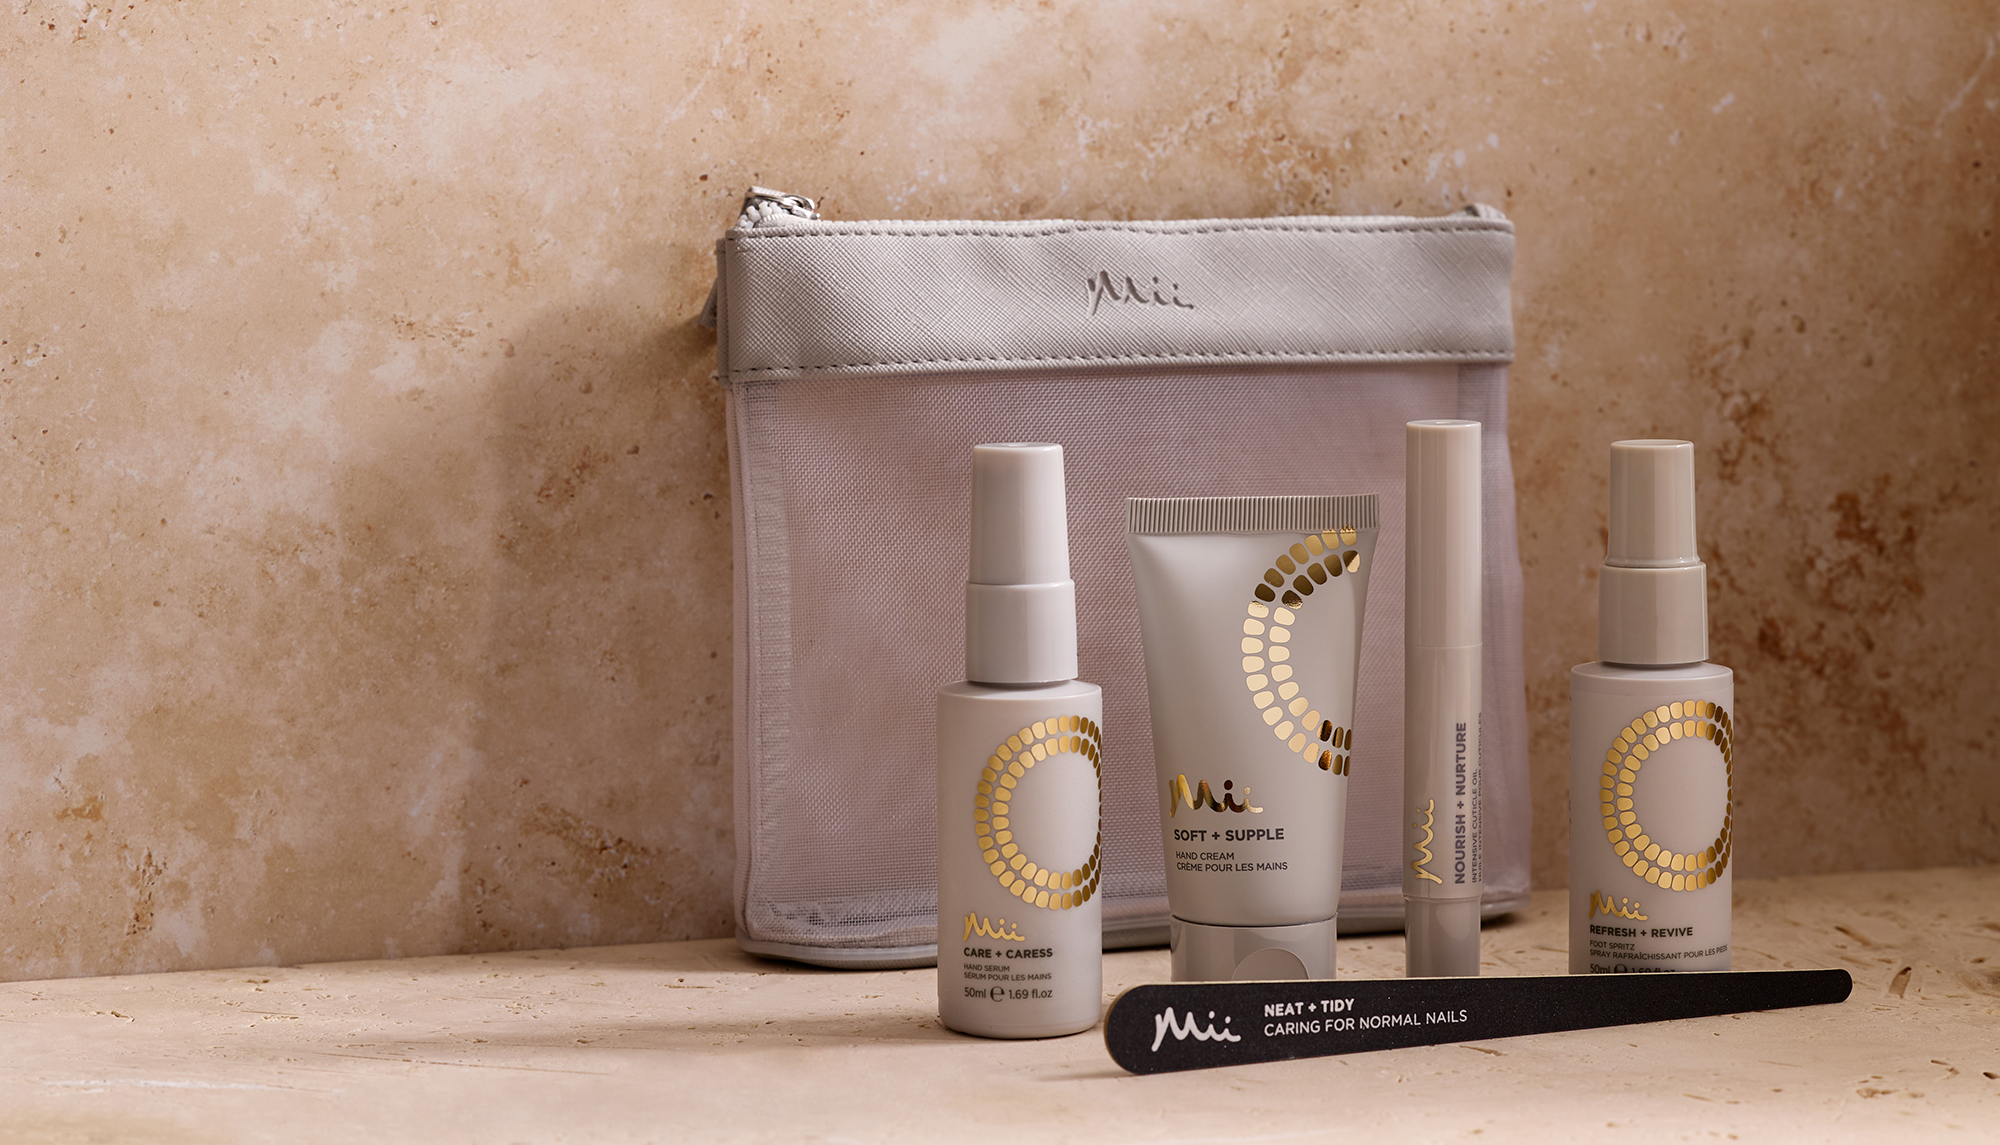
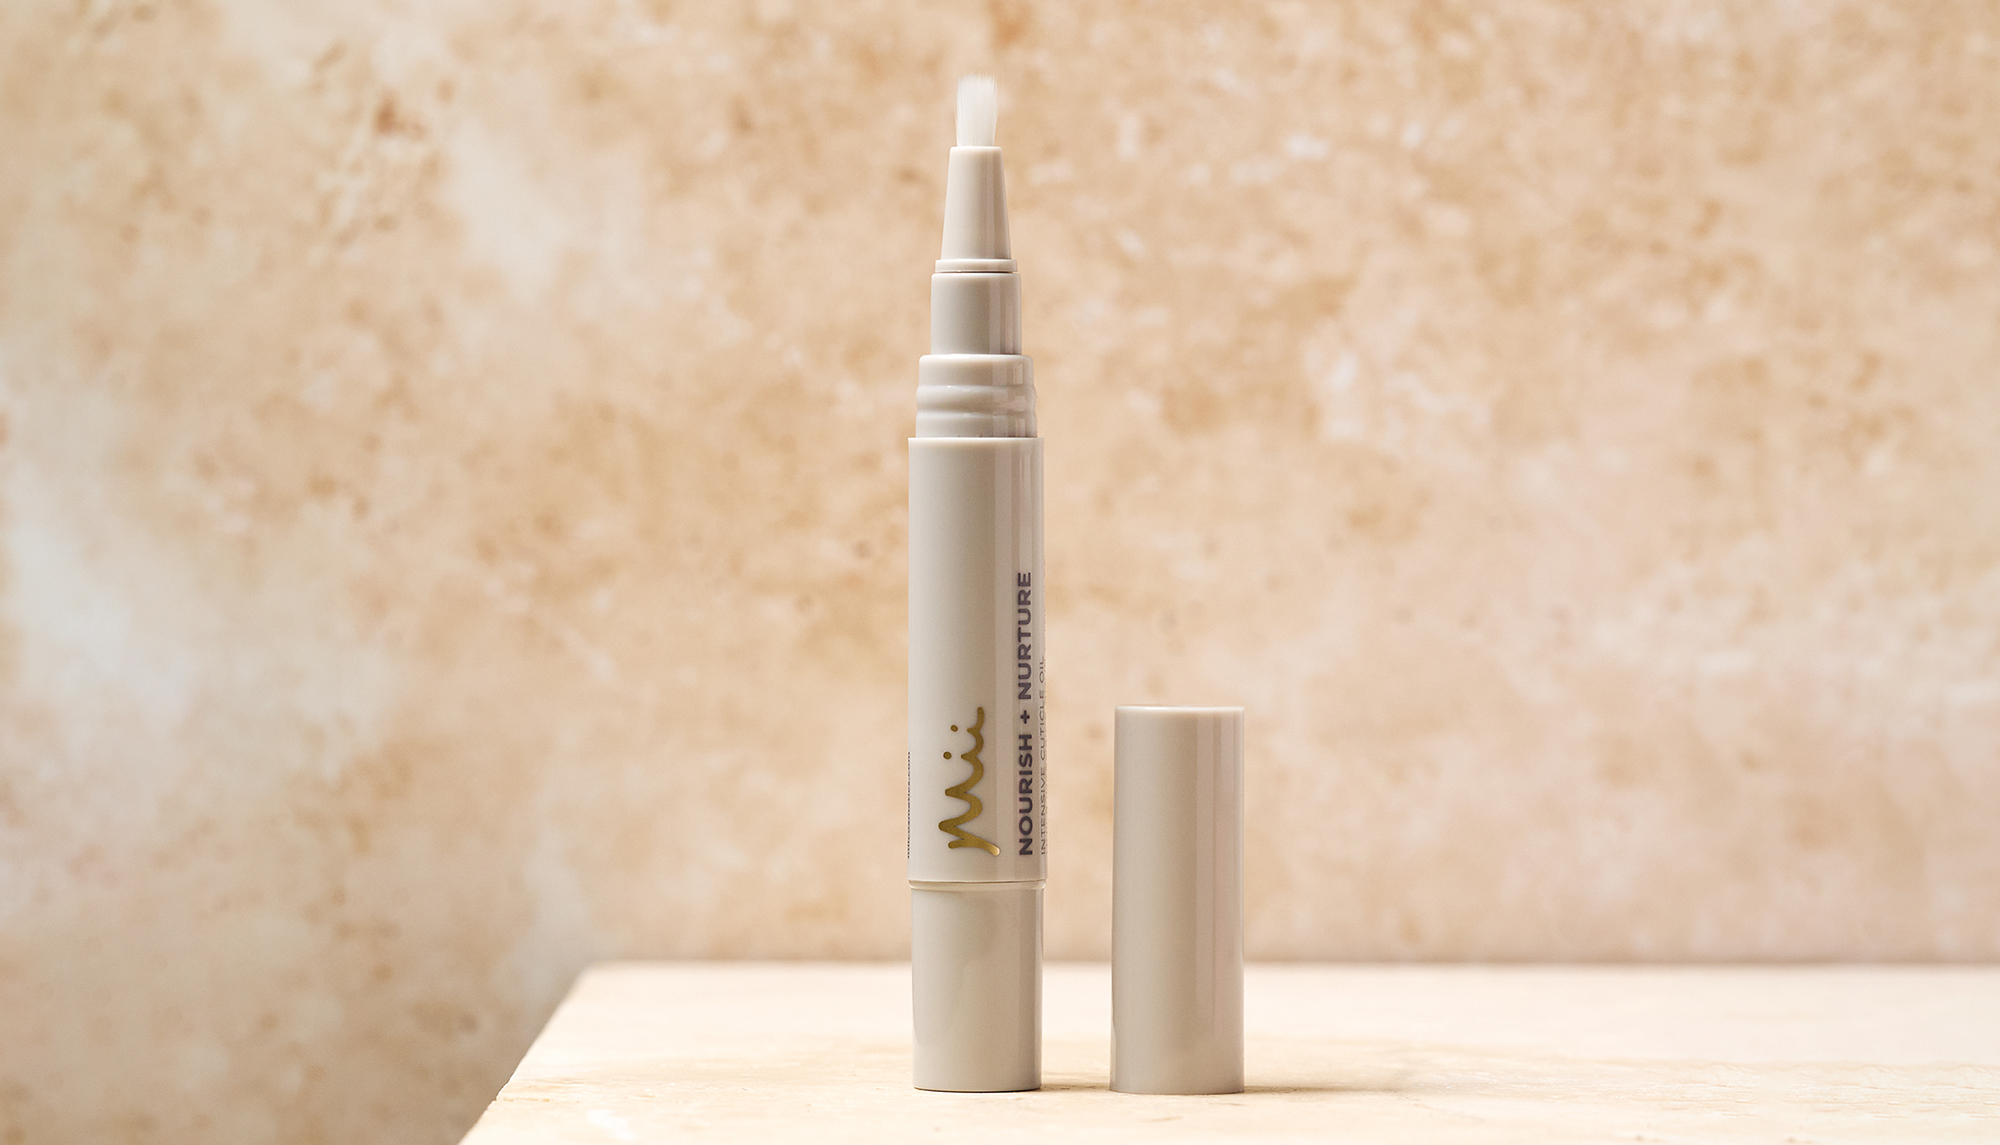
Start by shaping your nails using our Neat + Tidy Emery Boards, then buff lightly with the Neat + Tidy Three Way Buffer to smooth the surface. Push back cuticles carefully using the Neat + Tidy Cuticle Pusher or Neat + Tidy Orangewood Sticks for a neat, polished base. Next, apply To Have + To Hold Base Coat to protect your nail plate and create the perfect base for your designs.
STEP 2: BASE COLOUR

Apply two thin coats of Sheer Elegance for a smooth, natural-looking base.
STEP 3: CREATE THE CENTRE SQUARE

Using a thin nail brush and Only Say Yes, paint a neat square in the centre of each nail, keeping it away from the edges to leave room for the rest of the design.
STEP 4: SCALLOPED FRAME

With Only Say Yes and our Neat + Tidy Nail Art Dotting Tool, create a scalloped outline around the square. Use small half-moon shapes or dots that connect to form the scallop.
STEP 5: CENTRE DETAIL

Using a thin nail brush, fill in the inside of the square by alternating between Fondant Fancy and Indulgent Heart for a playful contrast.
Then, place a tiny motif — such as a heart, XO, cherry, or mini flower — in the centre of the pink square using a contrasting shade. Keep the details delicate for a clean, crisp finish.
STEP 6: SEAL THE DESIGN

Finish with a coat of Shine + Shield Top Coat to lock in the art and add long-lasting shine.